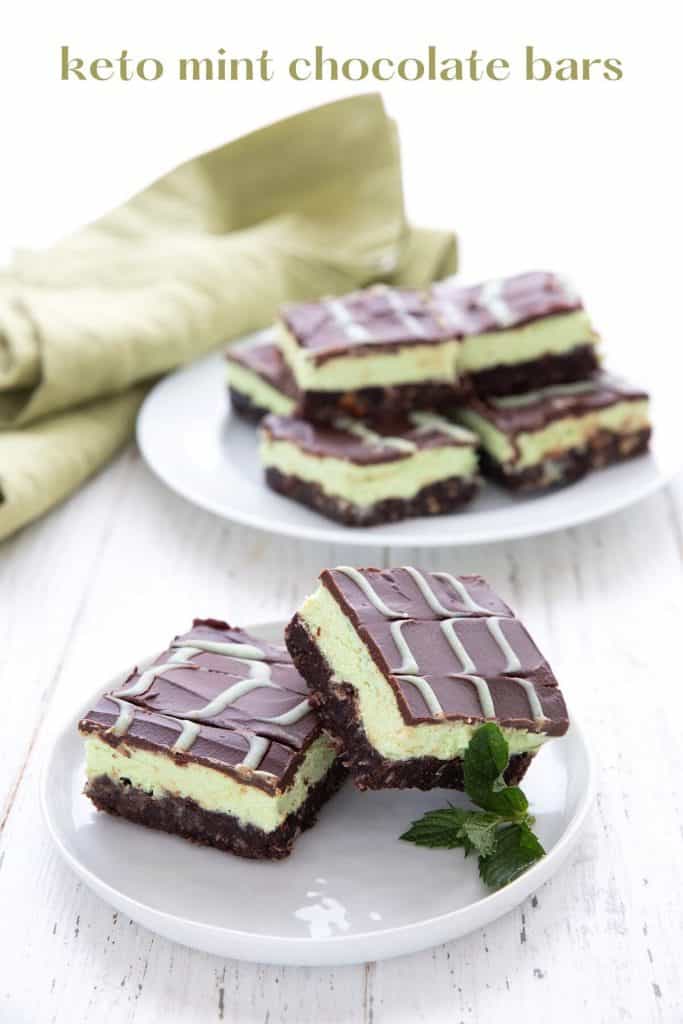
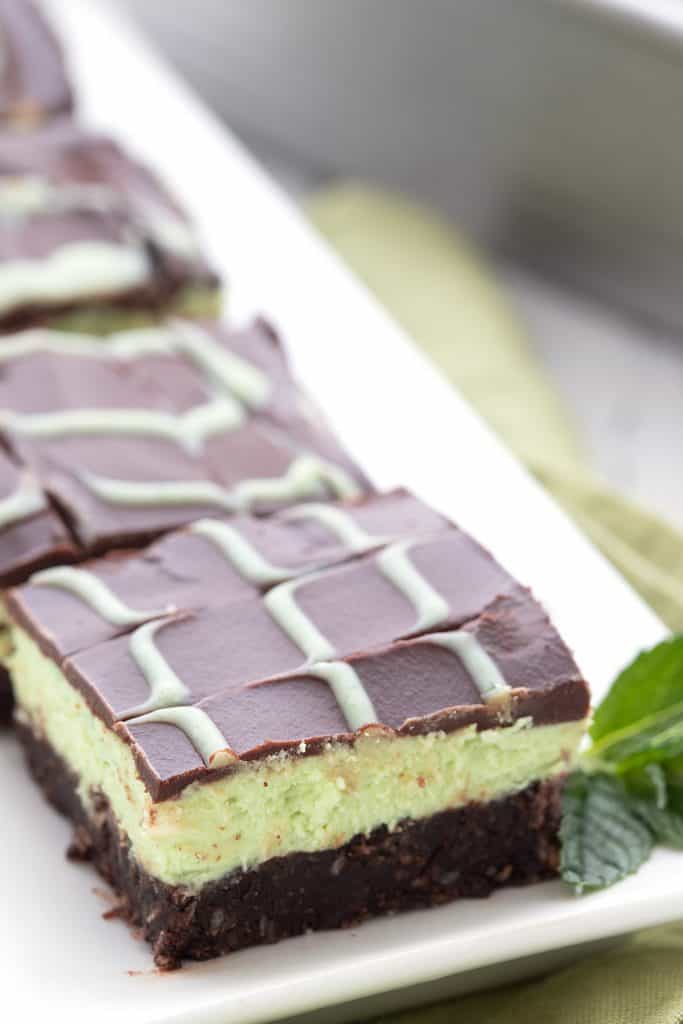
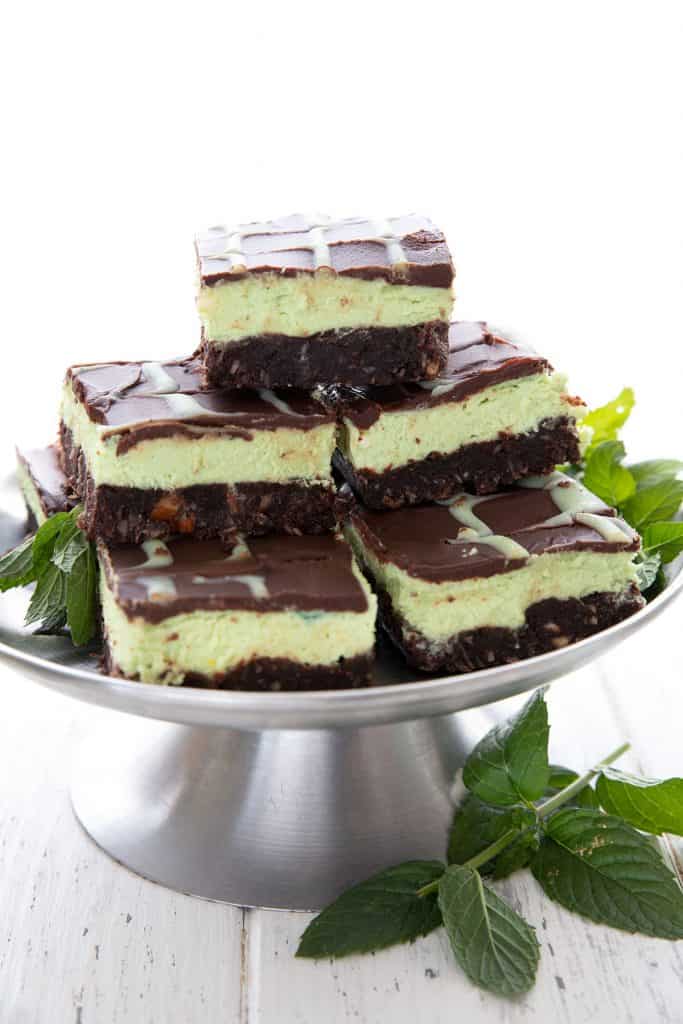
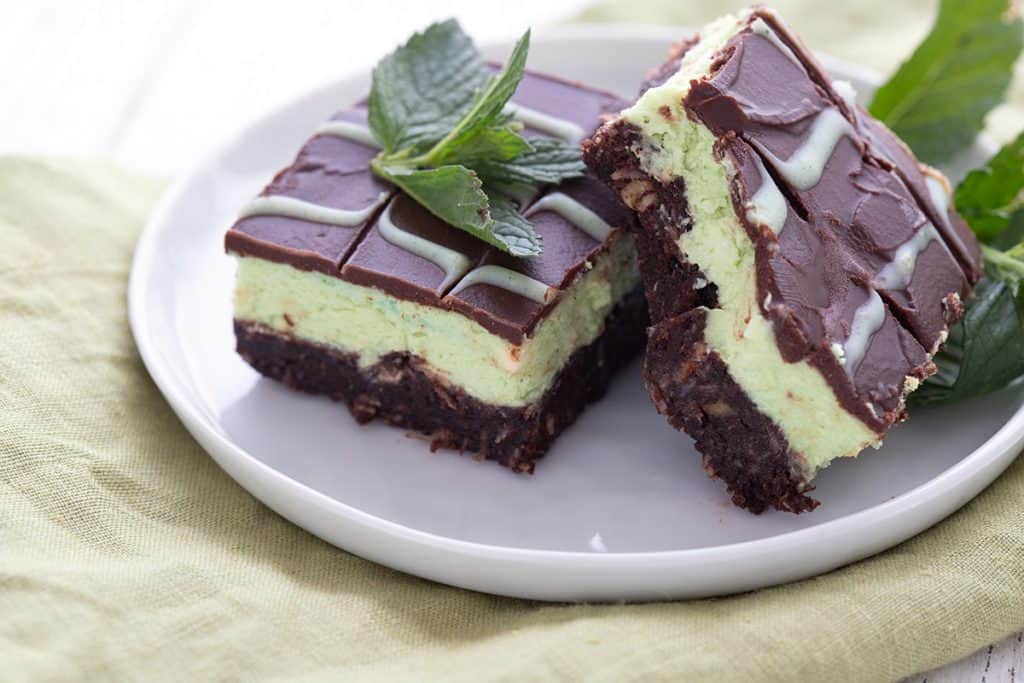
These keto mint chocolate bars are a delicious sugar free dessert recipe. They’re easy to make, with a no bake chocolate crust, a creamy, minty green filling, and a rich chocolate glaze.
This recipe goes out to all of my chocolate mint lovers. I know you’re out there!
Seriously, these keto no bake dessert bars are pure chocolate and mint heaven. They’re a delicious twist on my famous Keto Nanaimo Bars, and it’s an excellent twist indeed.
I have to say that these delicious bars exceeded my expectations. Mind you, I expected them to be good as it was. But when I bit into one, I found myself weak in the knees. They were so tender, so creamy, and so deliciously minty.
I foresee these bars being very popular. Possibly as popular as my Keto Thin Mints and my Keto Peppermint Patties. And that’s saying something!
Recipe Inspiration
Classic Nanaimo Bars are one of my favorite desserts so I don’t enter into this flavor variation lightly.
I often saw other flavors of the famous Canadian dessert growing up, but I always eschewed them in favor of the original. The other flavors were never as good and often far too sweet and cloying, and I felt that they sullied the reputation of the real thing.
But as I often do, I was poking about on Pinterest and saw these No Bake Mint Chocolate Bars from The Recipe Rebel. And my first thought was that crust looked exactly like a Nanaimo Bar crust.
They looked so tempting, I thought I’d give them a keto makeover. And while I can’t wrap my head around calling them Nanaimo Bars, I can say that they’re pretty freaking awesome.
How to make Keto Mint Chocolate Bars
Don’t be at all intimidated by the long ingredient list and instructions. These keto dessert bars are easy to make, with ingredients you probably already have in your pantry! Here are my best tips for getting it right.
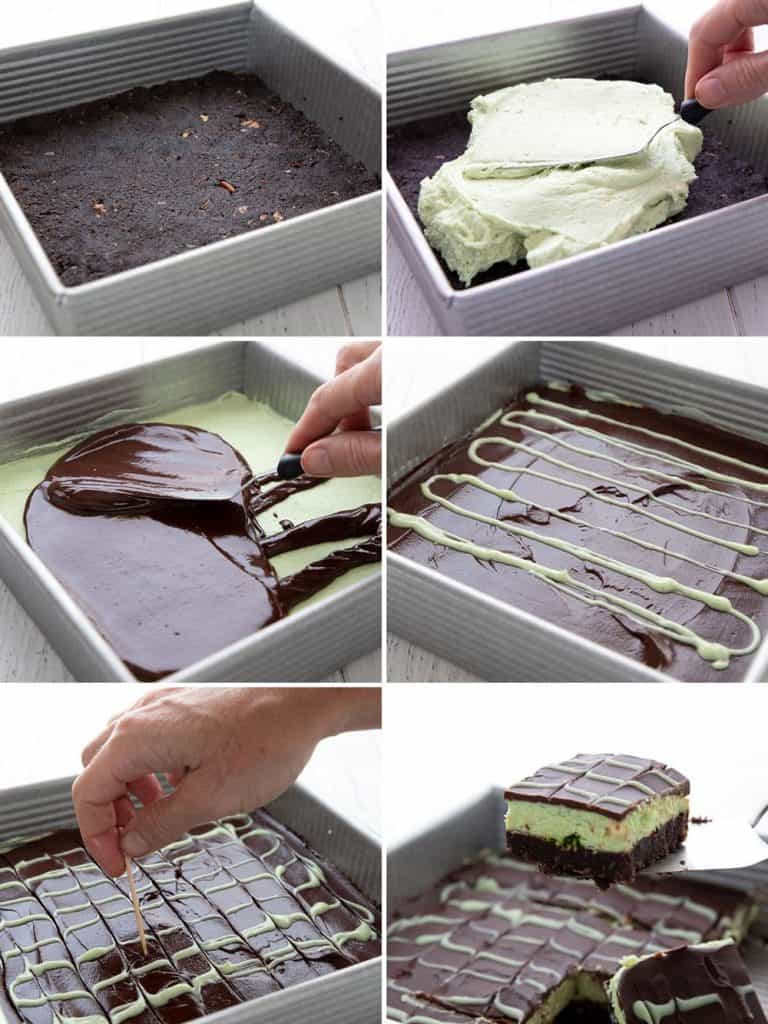
- Prepare the crust. This crust isn’t baked, but you do cook the ingredients together in a pan over low heat. It takes an egg, and by cooking it with the butter and cocoa powder, you both thicken the mixture and cook the egg enough to be safe.
- Press the crust into the pan. Press it in firmly and evenly. The mixture will seem a bit greasy as you do this but it will absorb as it cools. You do not need to grease the pan because the mixture has plenty of oil.
- Chill the crust. It needs at least 20 minutes to firm up properly.
- Prepare the filling. This filling doesn’t take custard, like a classic Nanaimo Bar. Instead it’s more of a buttercream frosting with mint.
- Add a touch of green. Or not! I love the look a bit of natural green food coloring gives these bars but you can leave it white if you prefer.
- Chill them again. They go back into the fridge to firm up the filling.
- Prepare the chocolate glaze. This is a simply glaze of chopped sugar free chocolate and butter melted together. As always, do it double boiler style so you don’t seize the chocolate.
- Chill them once more to firm up the chocolate.
Decorating the top of the bars
Curious about the pretty chevron design on the top of my bars? Okay, let’s discuss.
It’s an extra step for these keto chocolate mint bars, so it’s absolutely optional. Keep in mind that it adds nothing to the flavor, it’s simply for appearances. But it is fun so if you’re interested, here’s what I did:
- Melt some white chocolate with a bit of cocoa butter. I actually had some mint white chocolate from ChocZero but it’s seasonal and not available at the moment. Simply use regular white chocolate and it will give you the same effect.
- Drizzle lines over the chocolate glaze. Do straight lines across the pan in only one direction.
- Drag the lines. Drag a toothpick or skewer across the lines and it will create little chevrons. Do it in one direction down the pan and back in the other direction. Make the drag lines about 1 inch apart.
- Work quickly! Both the chocolate glaze and the white chocolate lines need to be quite soft as you do this so you need to be quick.
- Note that on some of my bars, you can see the lines the toothpick made in the chocolate glaze. I wasn’t quite fast enough because I trying to get photos of the process so I could show you! If you can do it quickly, the glaze is still soft enough that it fills in as you drag the toothpick across.
Frequently Asked Questions
Coconut flour won’t work in the crust but you can use sunflower seed flour instead. See how to make your own sunflower seed flour. It’s easy!
Use another 2/3 cup almond flour to give the crust of these chocolate mint bars the right structure.
The crust should be fine with any sweetener but I do recommend powdered or liquid to avoid grittiness. The filling really needs a bulk powdered sweetener for a proper buttercream consistency. Some of them are two times as sweet as sugar so be careful to read your labels.
Do keep in mind that if you experience the cooling sensation with erythritol based sweeteners, then this is the perfect recipe. You’re supposed to get a cooling minty sensation with mint bars!
I haven’t tried, but I imagine you could. You can easily replace the butter with coconut oil and the cream cheese with dairy free cream cheese.
For the chocolate glaze, coconut oil will make it very hard when chilled and it will crack when you cut it. I suggest using a tablespoon of coconut cream instead, to make a softer topping.
More delicious keto chocolate mint recipes
- Keto Peppermint Bark
- Chocolate Mint Chip Donuts
- Triple Chocolate Peppermint Biscotti
- Chocolate Peppermint Stars
- Peppermint Bark Cookies
- Chocolate Peppermint Pound Cake
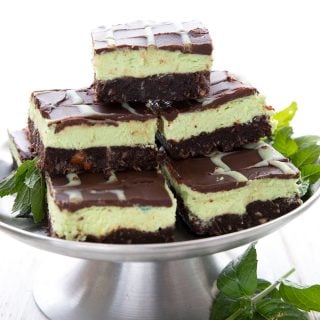
No Bake Keto Chocolate Mint Bars
Ingredients
Crust
- 1/2 cup (113.5 g) butter
- 1/3 cup (28.67 g) cocoa powder
- 6 tbsp powdered Swerve Sweetener
- 1 large egg, lightly beaten
- 1 tsp vanilla extract
- 1 cup (105 g) almond flour
- 2/3 cup (53.33 g) shredded coconut
- 1/3 cup (36.33 g) chopped pecans, (optional)
Filling
- 4 ounces (113.4 g) cream cheese, softened
- 1/2 cup (113.5 g) butter, softened
- 1 cup (182 g) powdered Swerve Sweetener
- 2 tbsp heavy whipping cream, room temperature
- 2 tsp peppermint extract
- Natural green food coloring
Chocolate Glaze
- 3 ounces (85.05 g) sugar free dark chocolate, chopped
- 2 tbsp butter
Optional Garnish
- 1/2 ounce (14.17 g) sugar-free white chocolate chips, (optional)
- 1/4 ounce (7.09 g) cocoa butter
Instructions
Crust
- In a medium saucepan over very low heat, melt the butter. Stir in the cocoa powder and sweetener, and then slowly whisk in the egg.
- Cook, stirring constantly, until mixture thickens. Remove from heat and stir in the vanilla, almond flour, shredded coconut and nuts. Press crust into a 9×9 or 8×8 square pan evenly and refrigerate until firm, about 20 minutes.
Filling
- In a large bowl, beat the cream cheese and butter together until smooth, then beat in the sweetener until well combined.
- Add the whipping cream and peppermint extract and beat until smooth. Beat in just enough food coloring to achieve a minty green.
- Spread the filling over the crust and refrigerate until firm, about 30 minutes.
Chocolate Glaze
- In a heatproof bowl set over a pan of barely simmering water, stir the chopped chocolate and butter together until melted and smooth. Spread over the chilled bars.
- Refrigerate the bars 20 minutes to set the chocolate OR decorate with white chocolate chevrons as described below.
Optional Garnish
- If you want to make the white chocolate chevron decorations, you will need to work quickly. I recommend melting the white chocolate at the same time as you are making the chocolate glaze.
- In a heatproof bowl set over a pan of barely simmering water, melt the white chocolate chips with the cocoa butter, stirring until smooth.
- Immediately after spreading the chocolate glaze on the bars, drizzle the white chocolate overtop in straight lines across.
- Then immediately drag a toothpick from one side of the bars to the other, across the white chocolate lines. Do this in opposite directions to create chevrons.
- Refrigerate the bars 20 minutes to set the chocolate.
Nutrition
Free Bonus: Secrets to Keto Baking!
Sign up for your favorite recipes delivered straight to your inbox plus get our FREE bonus: Secrets to Keto Baking!



It sounds delicious! I am excited to make it!
We enjoyed these! Very rich! So, a small slice is enough to satisfy. We will add them to our 2023 Christmas holiday baking list.