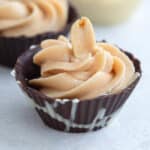
Impress your guests with these adorable Chocolate Dessert Cups! Make them with sugar-free chocolate and fill with keto mousse or pudding for a healthy but elegant treat.
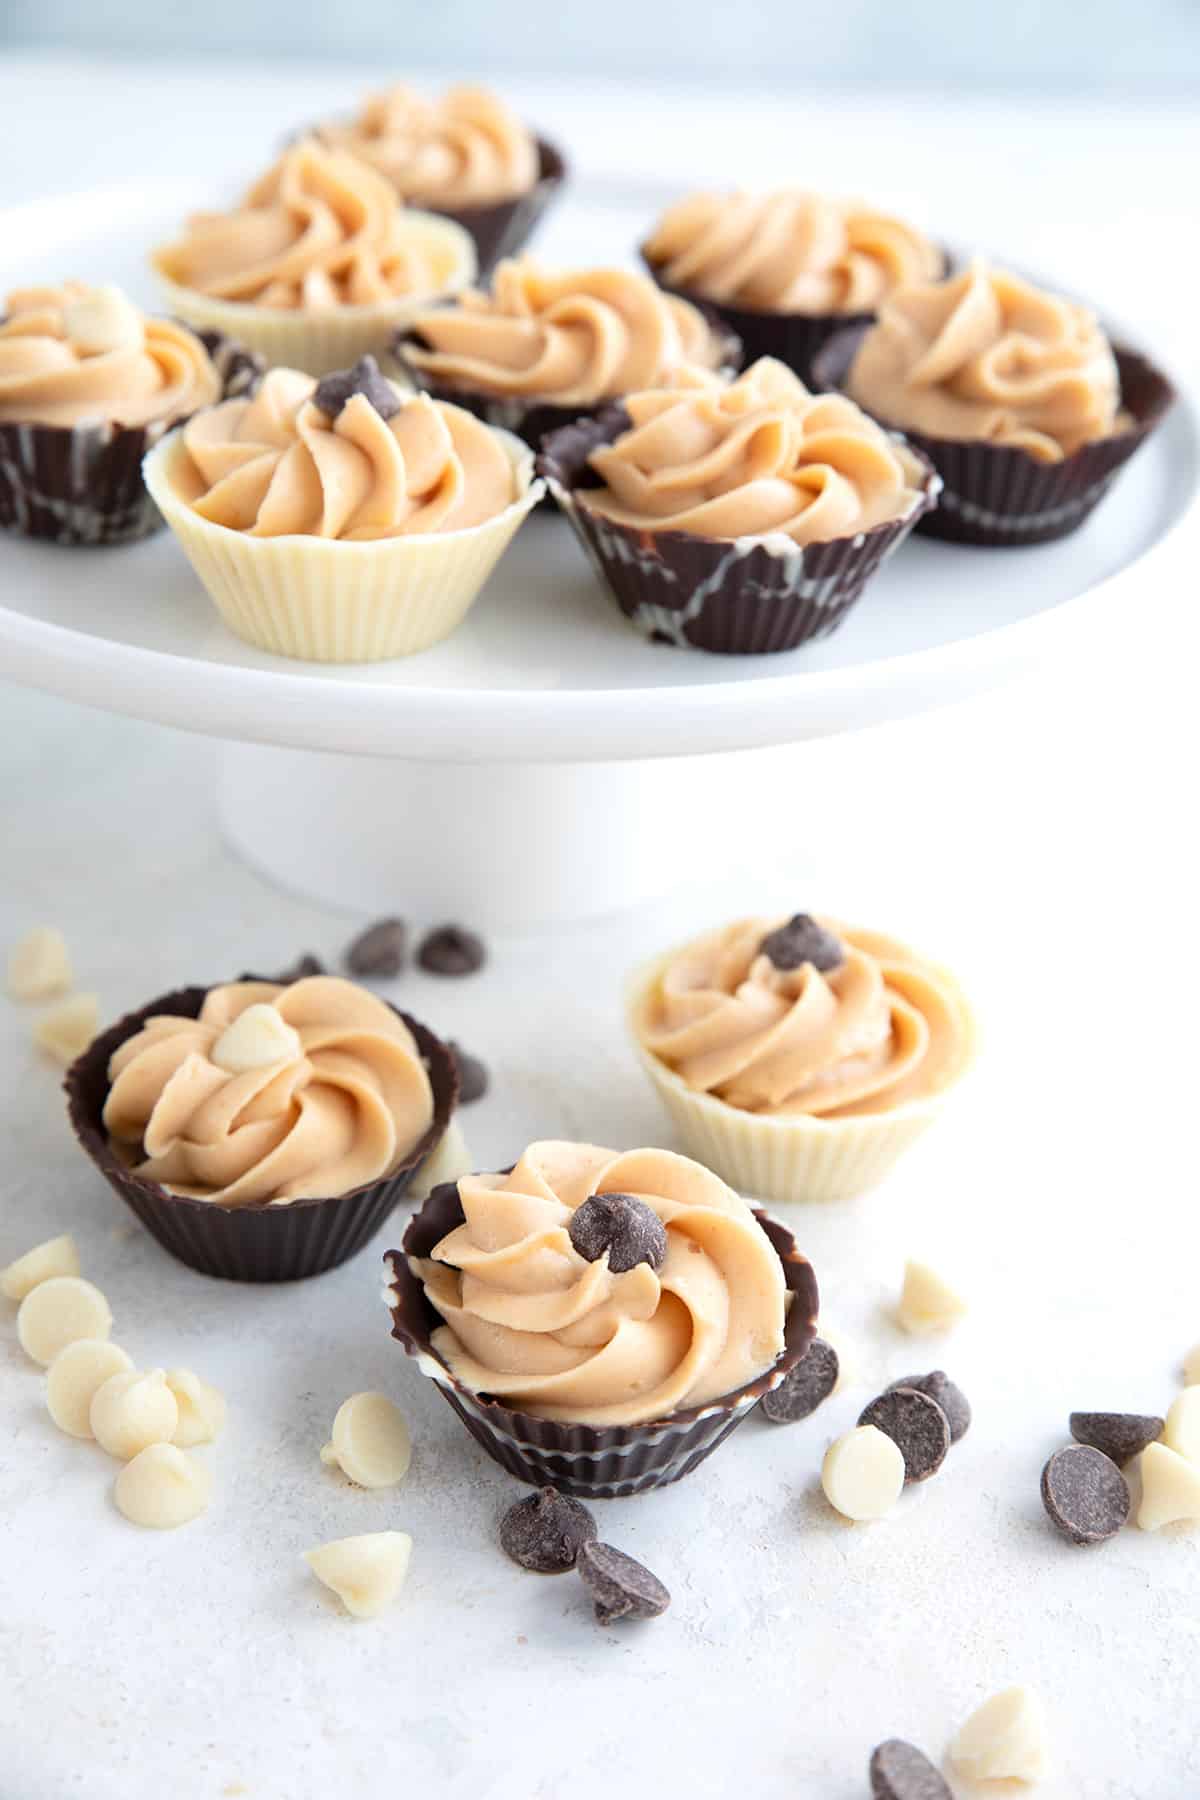
You know I love to create treats that don’t look remotely low carb or sugar-free. Nothing gives me more pleasure than when a reader says they took one of my desserts to a party, and no one could believe it was keto.
Well these mini chocolate dessert cups are just such a treat. They are pretty and eye-catching, and don’t look like they could possibly be made without sugar. And you can fill them with all sorts of delicious fillings like Keto Peanut Butter Mousse.
A lovely addition to holiday dessert trays. Or make them as a little finger-food treat for New Year’s Eve!
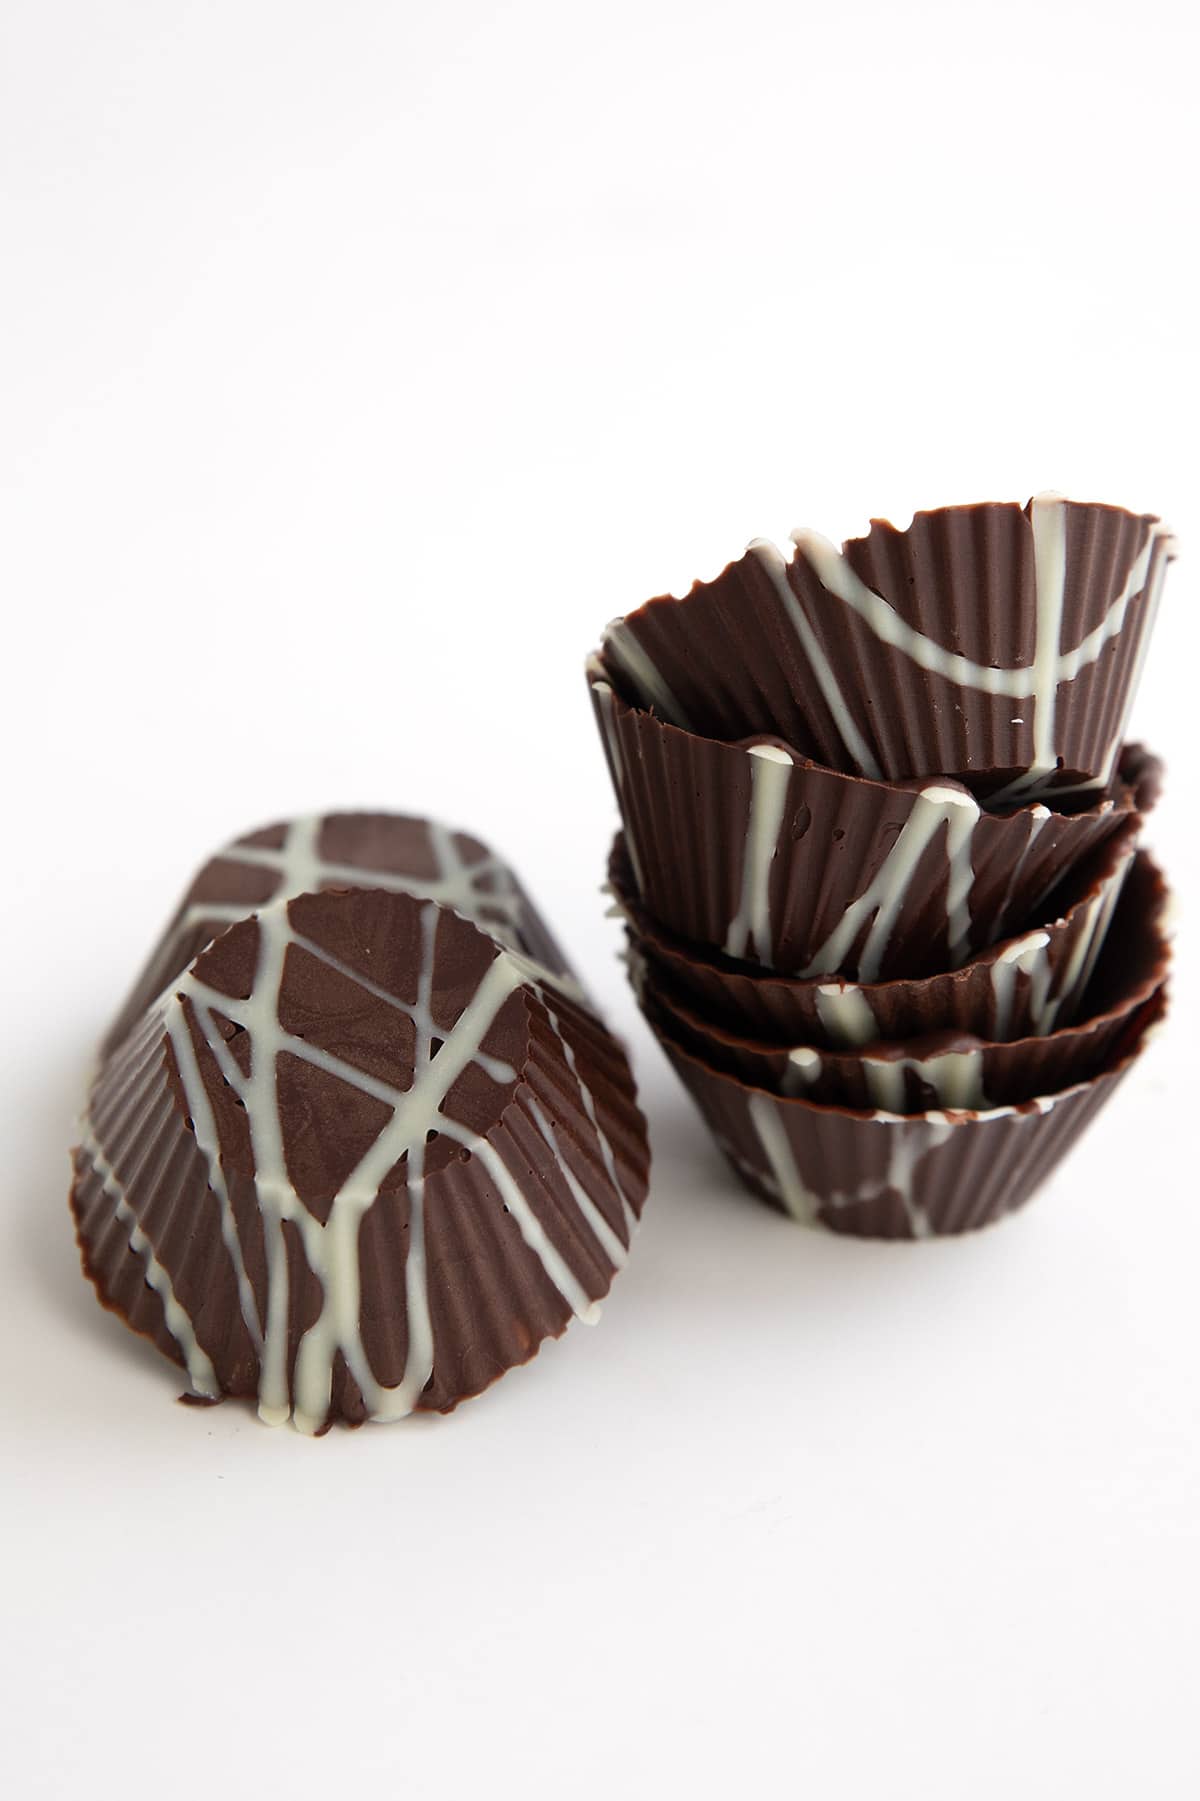
Give these edible chocolate cups a try
They look all fancy-pants but making your own chocolate dessert cups is easy and takes only 2 to 3 ingredients. You do need to set aside a bit of time for them but they are worth it.
If you’ve ever made your own Keto Peanut Butter Cups, you won’t have any trouble with these! And a serving of 2 mini cups has only 3.3g net carbs.
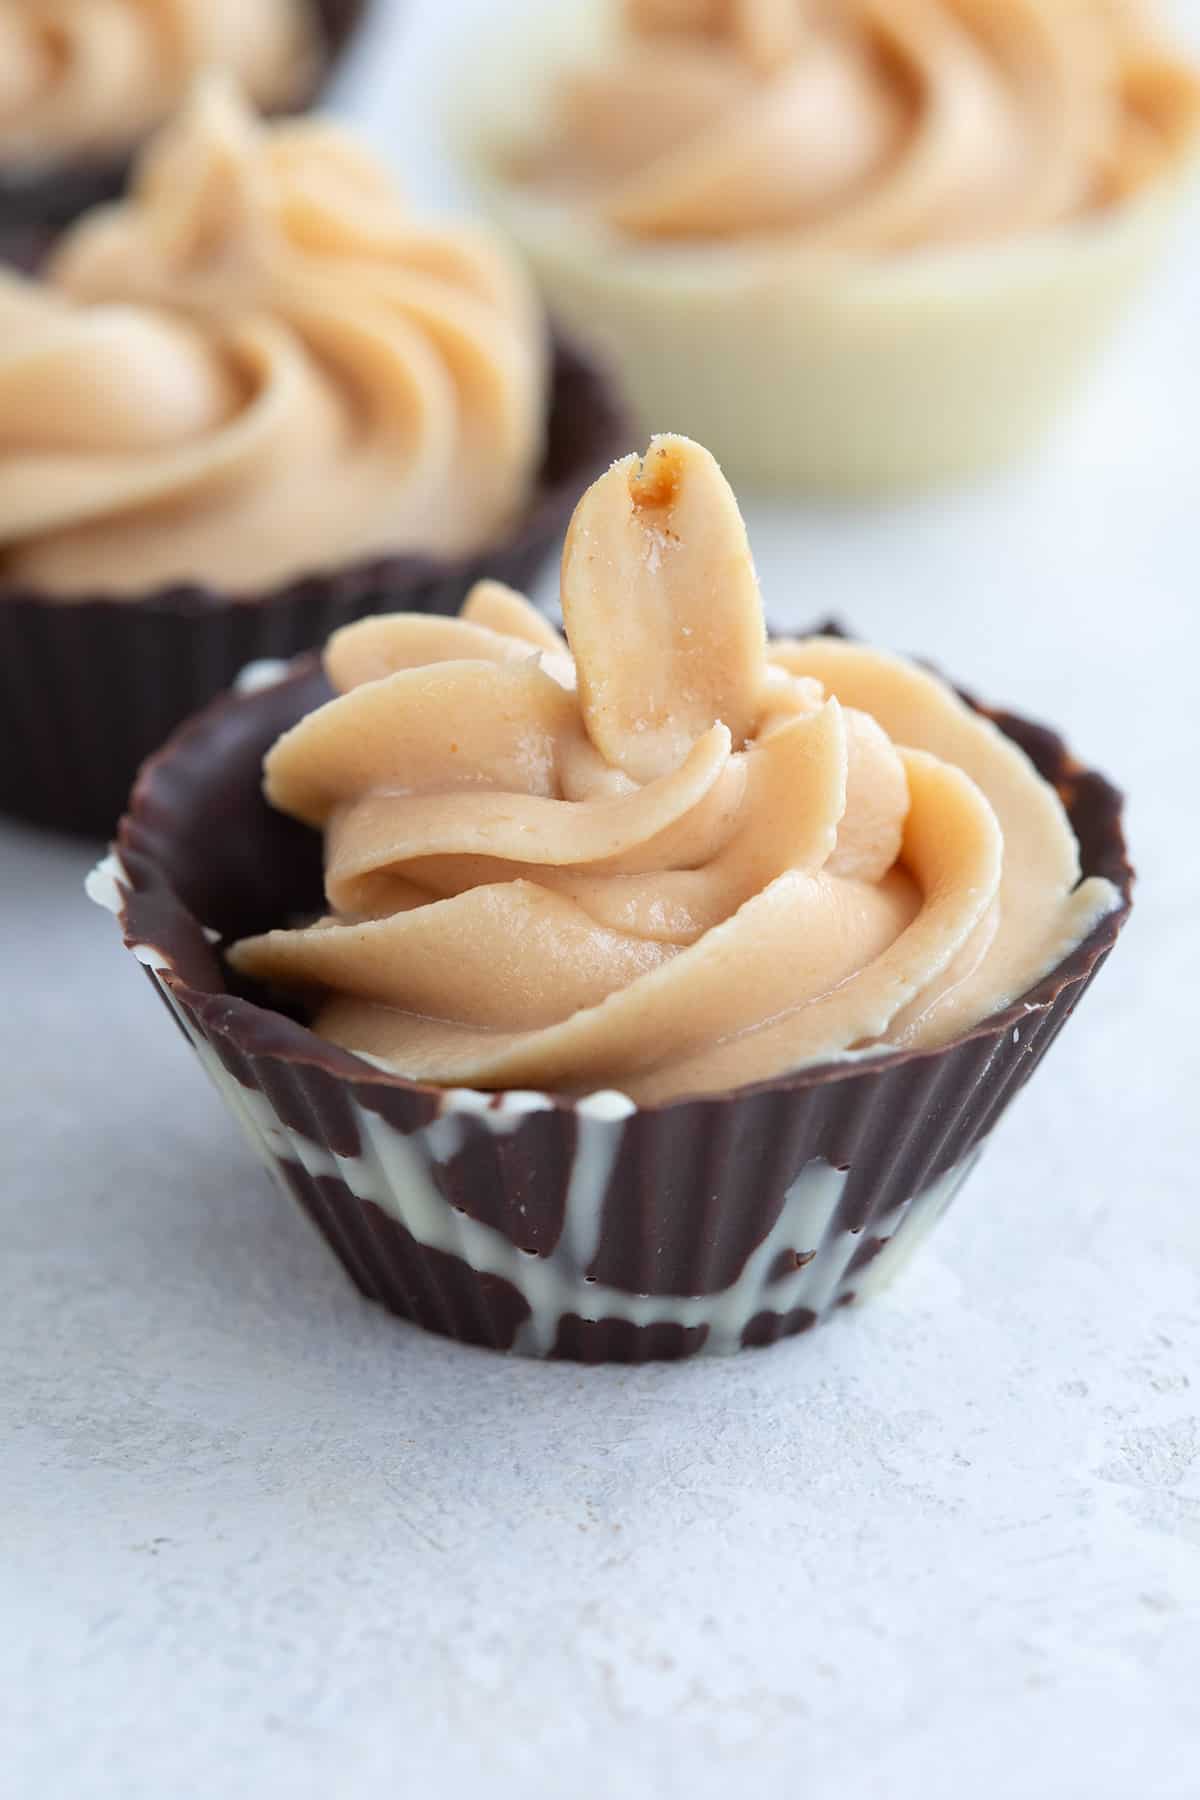
You can make them even fancier by drizzling white chocolate across the bottoms and sides of the cups before adding dark chocolate. I had a lot of fun doing that for pretty, eye-catching designs.
But I am crazy and like to spend long hours in my kitchen. If that’s not your jam, then skip those steps and just make them plain chocolate. They will be much faster and easier.
What you need
This post may contain Amazon or other affiliate links. As an Amazon Associate I earn from qualifying purchases.
- Silicone baking cups: I love these sturdy silicone baking cups from Silicone Kitchen. They are less floppy than other cups so they hold their shape a little better with the warm chocolate.
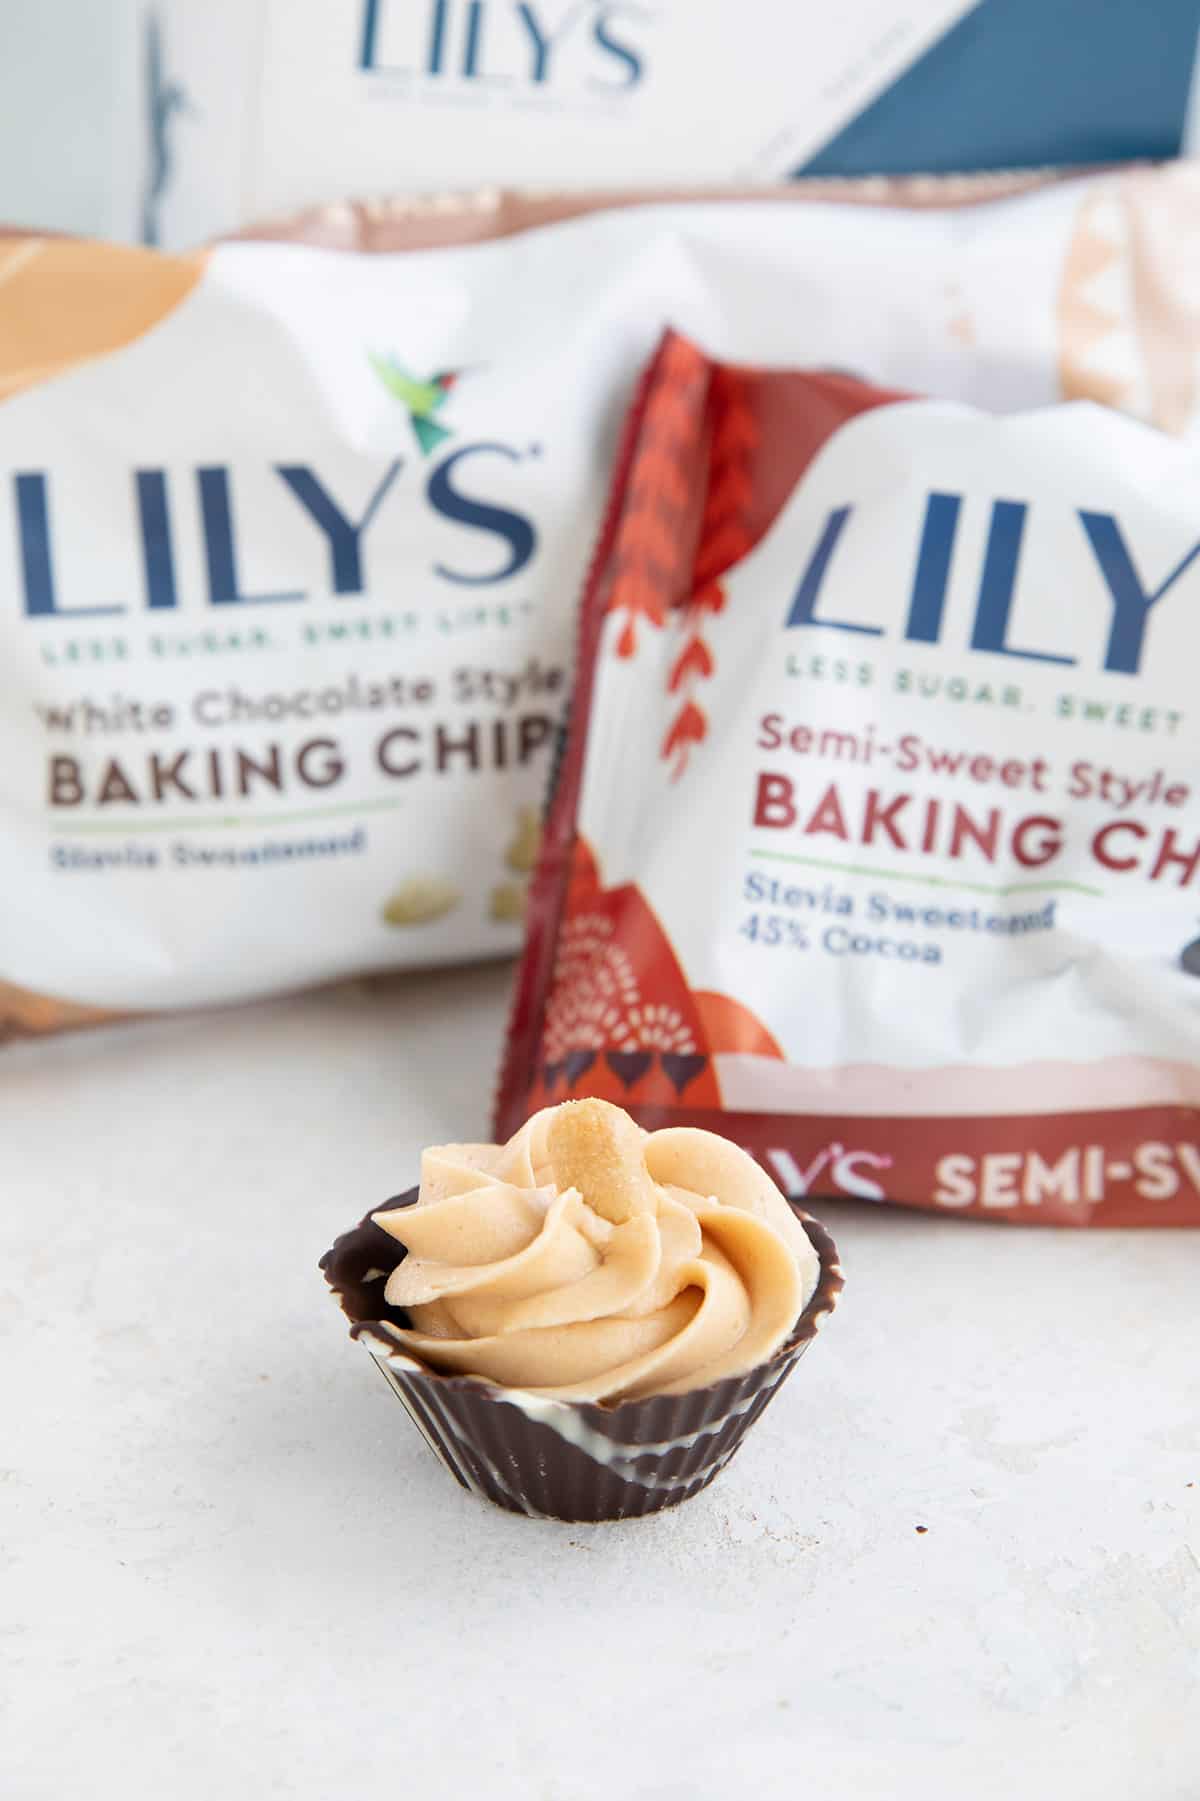
- Sugar-free dark chocolate chips: You can use Lily’s or ChocZero. They both melt well for this recipe.
- Sugar-free white chocolate chips: Again, both Lily’s and ChocZero work well.
- Cocoa butter: I always use a little cocoa butter when melting keto chocolate, as it helps it melt more smoothly and it thins it out a bit. I don’t recommend using coconut oil for this recipe, as it will make the cups too melty and soft at room temperature. If you decide to skip it, just melt the chocolate by itself and watch carefully.
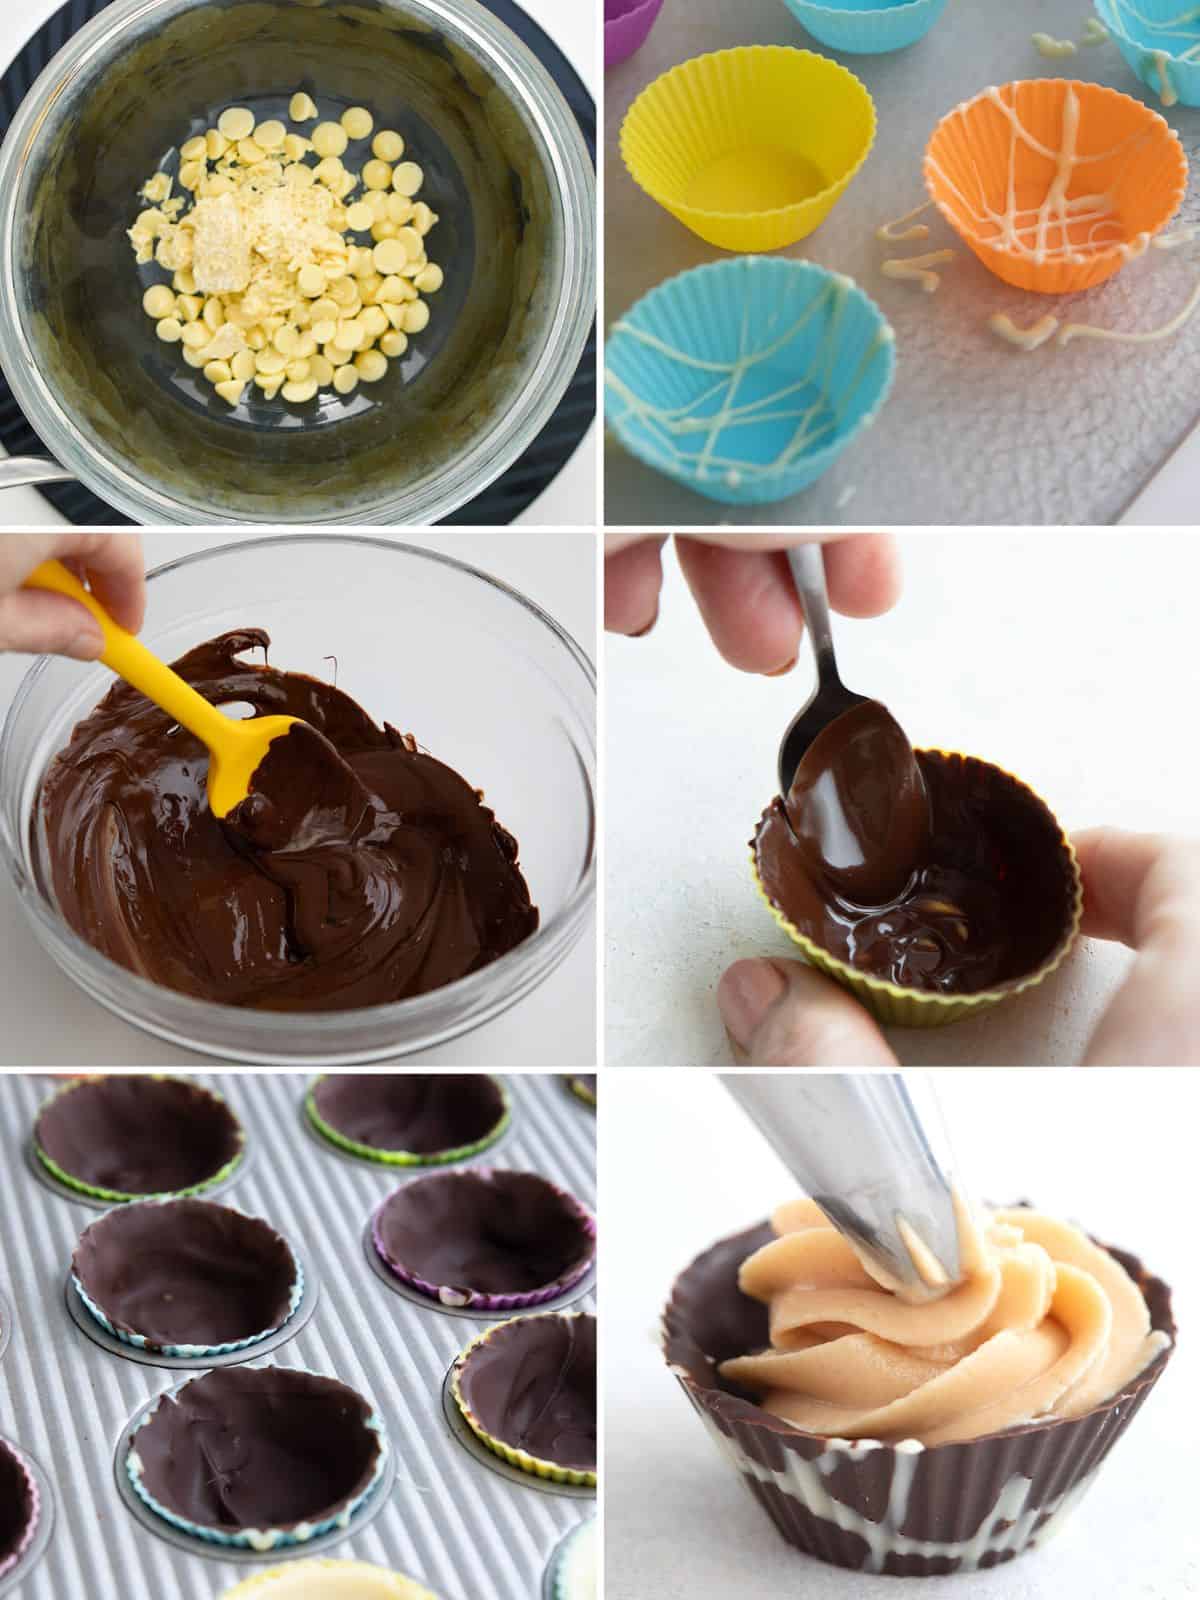
1. Melt the white chocolate: Place the white chocolate chips in a heatproof bowl set over a pan of barely simmering water. Stir constantly. Once the white chocolate begins to melt, remove the pan from heat, but keep the bowl over the pan. Continue stirring until melted and smooth.
2. Drizzle: Snip the smallest corner off a snack-size ziplock bag and spoon the white chocolate into it. Drizzle lightly in various directions into the prepared baking cups. Freeze until firm, about 20 minutes.
3. Melt the dark chocolate: In another heatproof bowl set over the pan of barely simmering water, combine the dark chocolate and cocoa butter. Stir until melted and smooth. Remove the bowl from over the pan so the chocolate doesn’t become too hot.
4. Paint the cups: Working with one cup at a time and keeping the rest in the freezer, use a small spoon to paint the chocolate on the bottom and up the sides. You need about 1/2 teaspoon for each cup, and it doesn’t need to be perfect.
5. Go over thin spots: Set the cups in a mini muffin pan or on another baking sheet. Freeze until firm, then use more chocolate to cover any thin spots or holes you missed the first time around. Freeze again.
6. Fill: Gently peel off the silicone cups and add your choice of fillings.
Expert Tips
Do not, I repeat, DO NOT turn your back on white chocolate as its melting. It needs your full attention or it will get over-heated and become a thick mess. Especially when you are working with such a small amount of it.
Stir constantly. I also recommend removing the whole double boiler from heat when the white chocolate has become about half melted. The residual heat from the hot water in the pan will keep it melting as you stir.
Dark chocolate is a little less finicky than white, but that doesn’t mean you can walk away while it’s melting. Stay nearby and stir almost constantly until it’s smooth.
I recommend using a small spoon to cover the silicone cups, rather than a pastry brush. Brushes tend to absorb some of the chocolate and apply too thin a coating.
You don’t want the dark chocolate too warm when you paint it up the sides of the cups, or it will melt your nice white chocolate drizzle. So let it cool a bit so that it’s just barely lukewarm. And take only one cup out of the freezer at a time as you do this, so the white chocolate drizzle stays as cold as possible.
How to fill Chocolate Dessert Cups
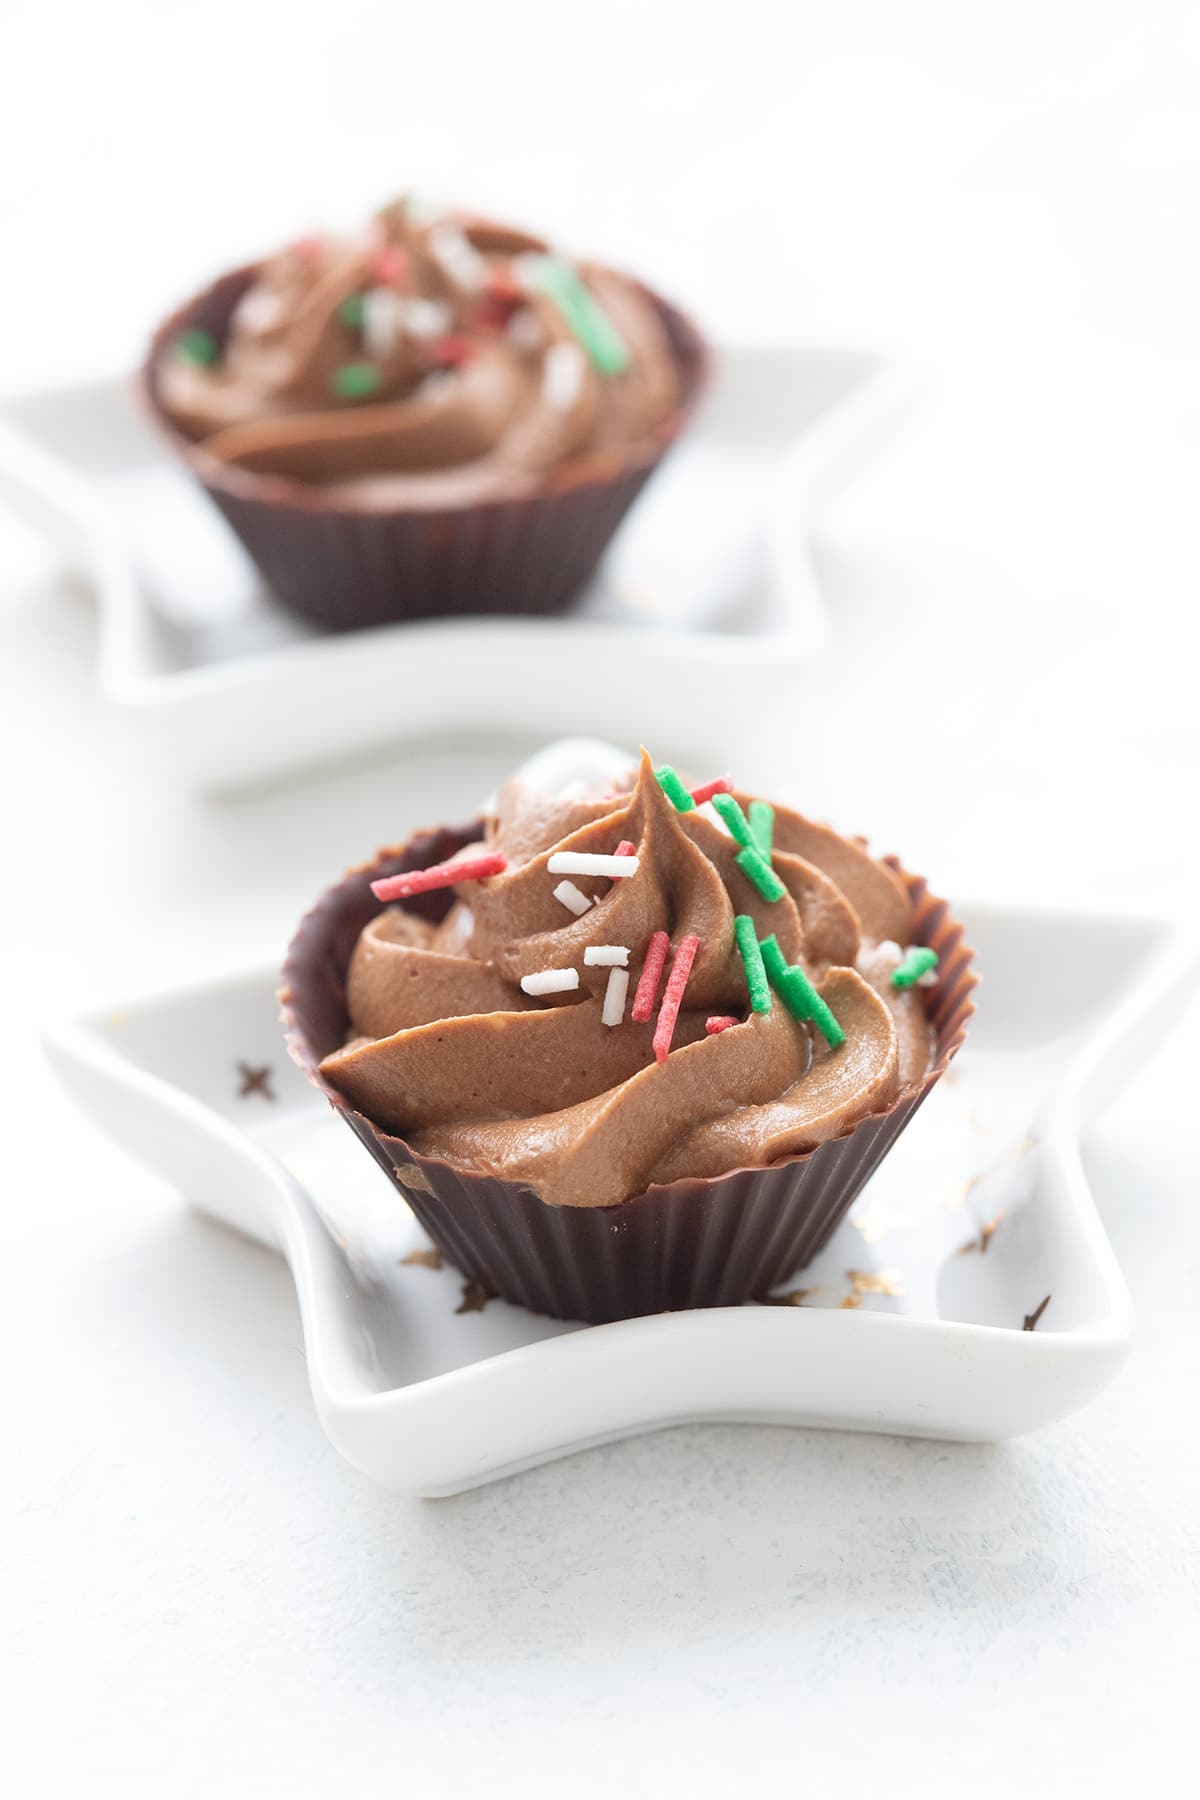
You have so many delicious sugar-free options for filling these adorable dessert cups! I love it with my Keto Peanut Butter Mouse but it’s also great with:
- Keto Chocolate Mousse
- Peppermint Cheesecake Mousse
- Keto Chocolate Pudding
- White Chocolate Mousse
- Keto Pumpkin Cheesecake
- Whipped cream and fresh berries
Frequently Asked Questions
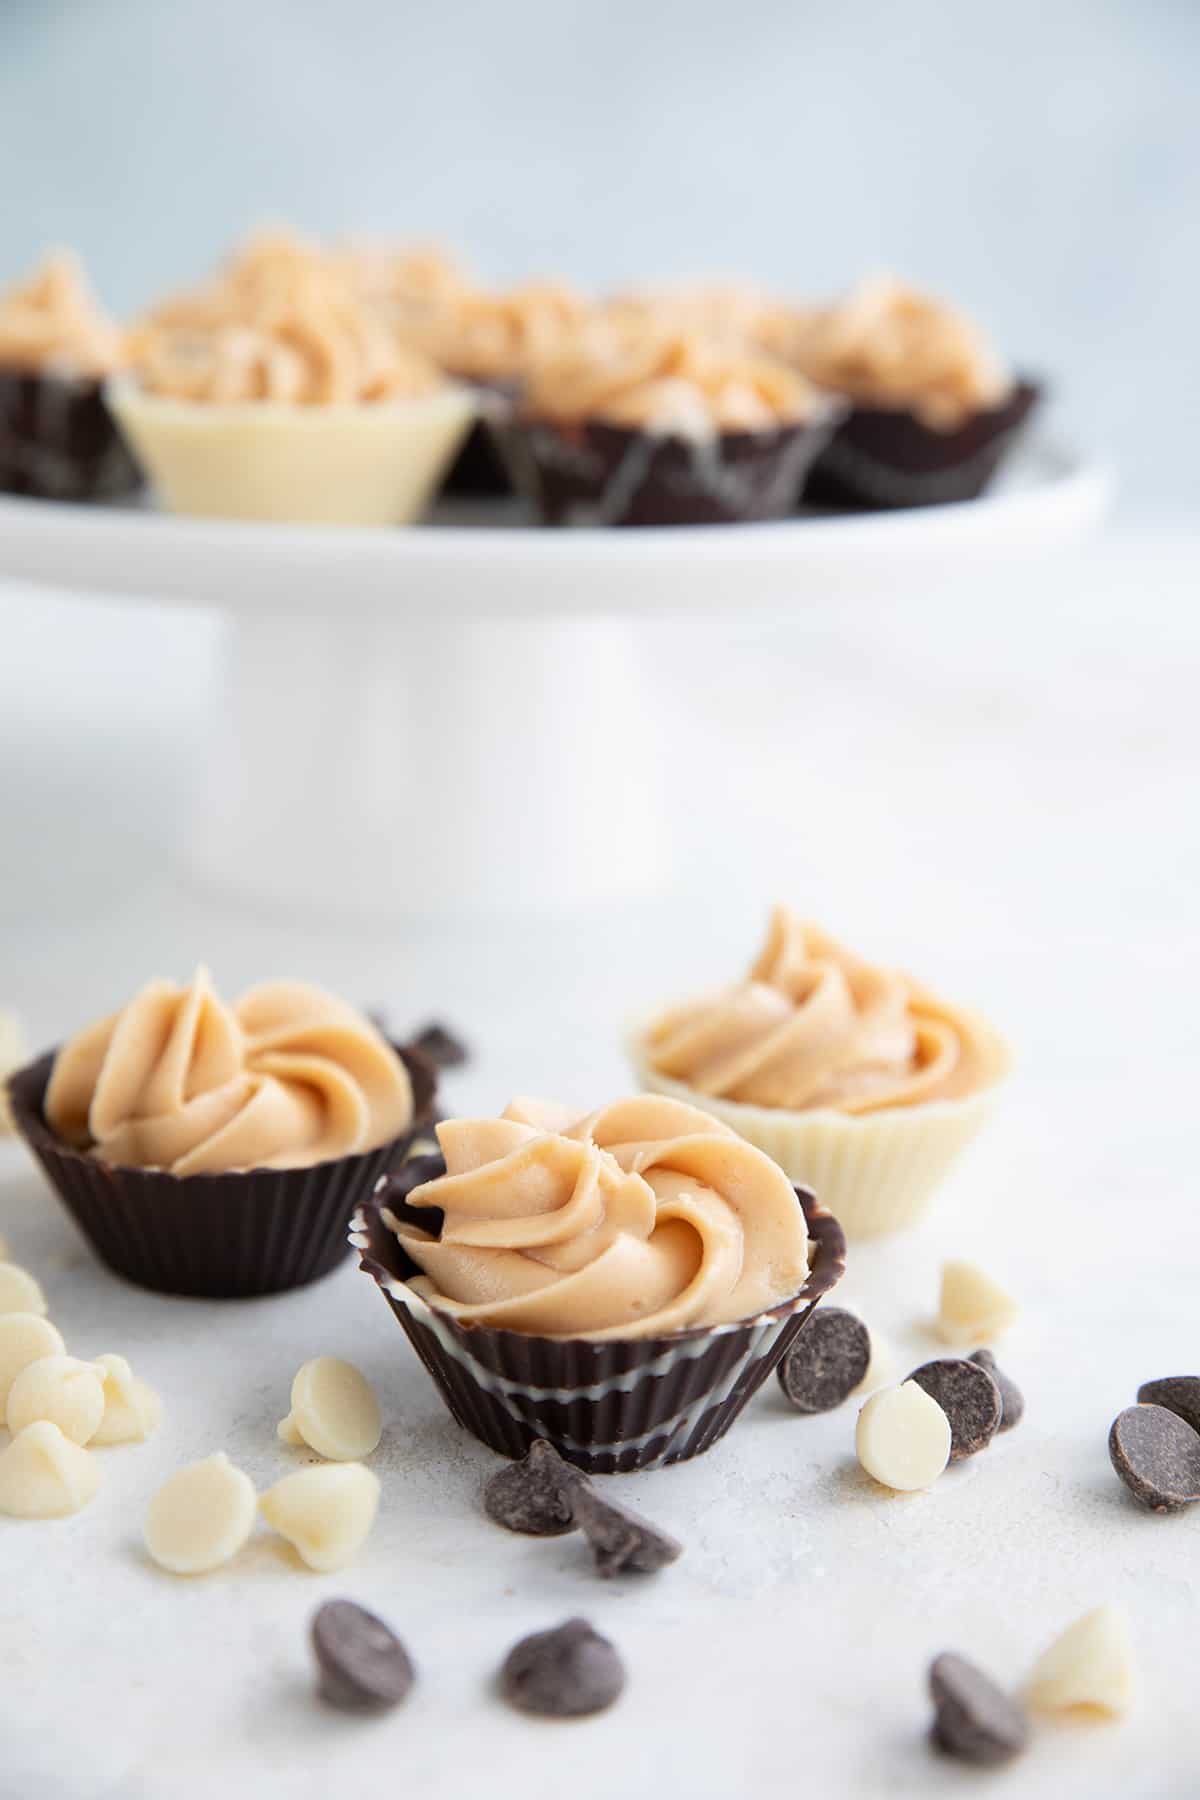
These little edible dessert cups are easy to make in advance. You can store them, unfilled, in a covered container in the fridge for several weeks, or in the freezer for several months. Just make sure not to knock them around too much as they can break more easily when frozen.
These chocolate dessert cups are made with no-added-sugar chocolate and have only 6.6g of carbs and 3.3g of fiber per serving. That means a serving of 2 mini cups (unfilled) has 3.3g net carbs.
I have made these little cups with just white chocolate, but it’s definitely trickier to work with. It really needs a little cocoa butter to melt smoothly, and it doesn’t coat the sides of the cups as well. So you definitely need to look for thin spots and coat them carefully. It also has a tendency to firm up quickly as it cools, and doesn’t re-melt as smoothly the second time.
Chocolate Dessert Cups – Sugar-Free!
Equipment
Ingredients
- 1 ounce (28.35 g) sugar-free white chocolate chips
- 6 ounces (170.1 g) sugar-free dark chocolate chips
- 1/2 ounce (14.17 g) cocoa butter
Instructions
- Set 24 mini silicone baking cups on a waxed paper lined tray.
- Place the white chocolate chips in a heatproof bowl set over a pan of barely simmering water. Stir constantly. Once the white chocolate begins to melt, remove the pan from heat, but keep the bowl over the pan. Continue stirring until melted and smooth.
- Snip the smallest corner off a snack-size ziplock bag and spoon the white chocolate into it. Drizzle lightly in various directions over the prepared baking cups.
- Freeze until firm.
- In another heatproof bowl set over the pan of barely simmering water, combine the dark chocolate and cocoa butter. Stir until melted and smooth. Remove the bowl from over the pan so the chocolate doesn't become too hot.
- Working with one cup at a time and keeping the rest in the freezer, use a small spoon to paint the chocolate on the bottom and up the sides. You need about 1/2 teaspoon for each cup, and it doesn't need to be perfect.
- Set the cups in a mini muffin pan or on another baking sheet. Freeze until firm, then use more chocolate to cover any thin spots or holes you missed the first time around. Freeze again.
- Gently peel off the silicone cups and add your choice of fillings.
Notes
Nutrition
Free Bonus: Secrets to Keto Baking!
Sign up for your favorite recipes delivered straight to your inbox plus get our FREE bonus: Secrets to Keto Baking!



This look like a really lovely recipe. Unfortunately, the white chocolate morsels never really seem to melt. They were thick, and I followed the directions explicitly. I ended up just putting it at the bottom of the cups so that the bottom would be white and put the dark chocolate on top of it. Next time I won’t use any white chocolate since it was incredibly thick, and could never be designed as you instructed.
What brand were you using? Because both Lily’s and ChocZero melt well, as long as you do it double boiler style and don’t have your heat too high.
chocolate and peanut butter, nothing better!!!!