This Keto Burnt Basque Cheesecake is so creamy and rich, and it’s absolutely impossible to mess up. The caramelized top and sides of this low carb cheesecake are unmistakeable.
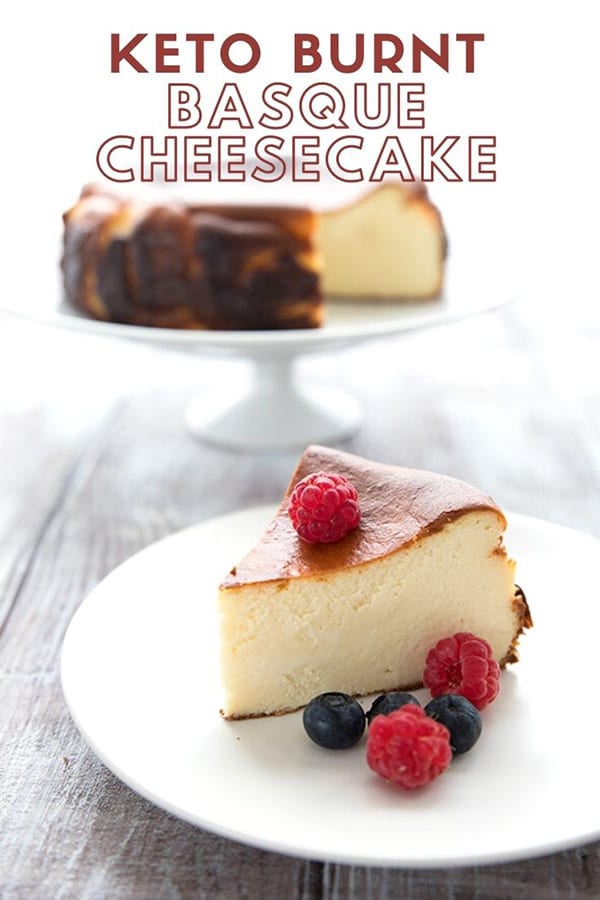
Ready to become a seriously trendy foodie? Burnt Basque Cheesecake is THE hot new dessert, and you have got to make this keto version!
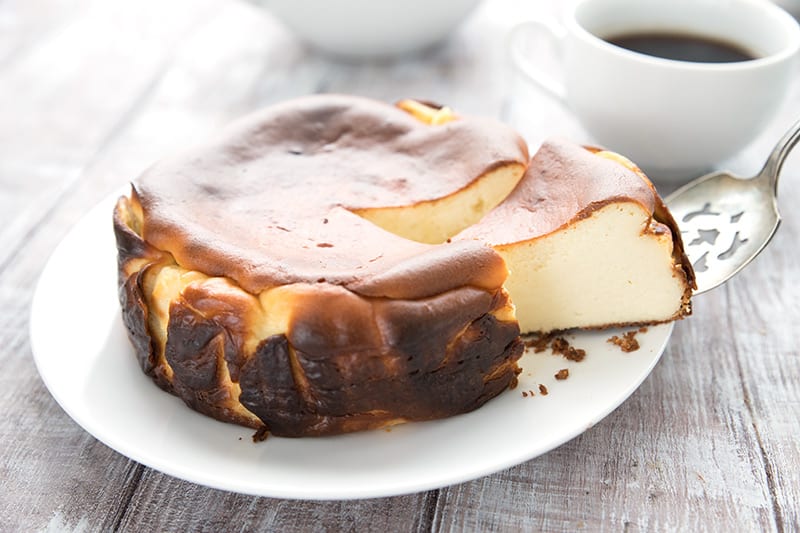
And yes, it’s supposed to look like that. It’s meant to be cracked and sunken, with a deep brown outer skin. The benefit of this somewhat ugly, plain-looking cheesecake is that you really can’t mess it up.
A cheesecake that you deliberately over-beat and over-bake? That you don’t care about rising and falling and cracking? Sounds kind of crazy, doesn’t it.
But oh my heavens, it is good. Ugly food for the win!

Keto burnt basque cheesecake inspiration
Let’s be clear, you all have my husband, Tim, to thank for this keto cheesecake deliciousness. So let’s all say it together: Thank you, Tim!
He saw a write up in Portland Monthly and shoved the magazine under my nose, asking me to make it keto friendly. The article did not have a recipe, so I did some quick research online.
One look at the ingredients, and I was on board. As it has no crust, Burnt Basque Cheesecake is extremely low carb – a perfect dessert for the keto diet.
I found two conventional recipes that appealed, since they were simple in method, and both made smaller, 6-inch cakes. I took the best tips from both No Recipes and Buttermilk Pantry, while also giving it my own little sugar-free, keto twist.
How to make keto burnt basque cheesecake
Those of you who have struggled with baked cheesecakes in the past are going to love this easy recipe. You can almost do no wrong here, since it’s supposed to be browned and even a little cracked.
That doesn’t mean you don’t still have to watch it in the oven! Here are my tips for getting it right:
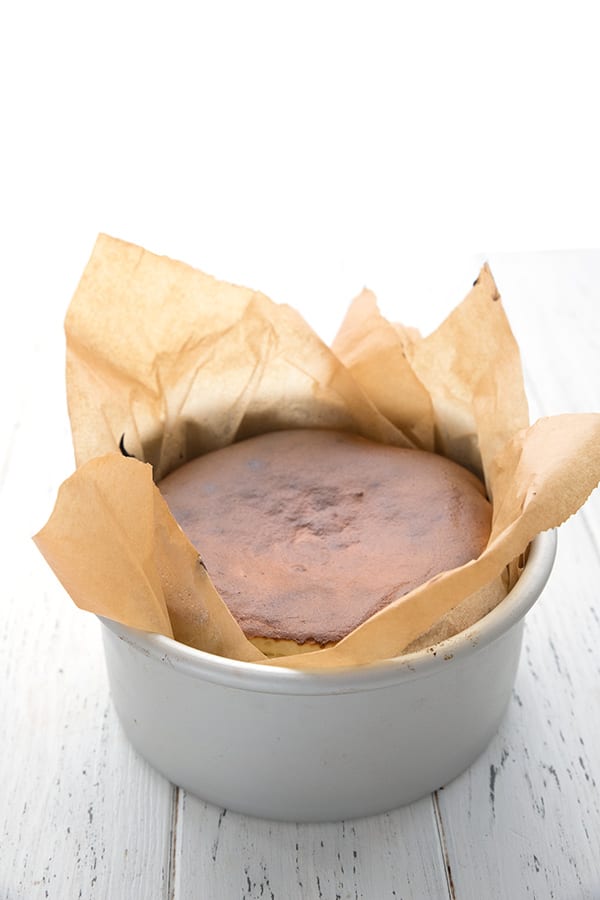
- You must line that pan with parchment paper. Lots of parchment, so that there is plenty of paper coming up over the sides of the pan for easy removal.
- I used both Swerve and BochaSweet for a slightly softer filling, but you can used just Swerve if you prefer. It won’t make too much of a difference.
- Blending the mixture in a food processor made it simpler, although I did find I had to constantly scrape down the sides and bottom of the bowl so I didn’t end up with any cream cheese lumps. But a good blender or a mixer will work well too. You don’t have to worry about overbeating this cheesecake!
- Room temperature ingredients, always. How often do I say this? Well you should know by now, it makes for a much smoother filling.
- Jack up that temp to a blistering 450F. Most cheesecake is baked at 300F or so, but this one wants to get all browned on the top. It helps caramelize the natural sugars in the cream cheese and cream.
- Let it come to room temperature after baking, then refrigerate for a few hours for that super dense, creamy quality.
Can you make burnt basque cheesecake ahead?
This is a perfect keto cheesecake for making a day in advance, because of its unique dense quality. I honestly think I enjoyed it more the second day.
Wrap the cheesecake up tightly, and it’s good for up to 4 or 5 days in the fridge. Store any leftovers wrapped up tightly as well.
How to serve keto burnt basque cheesecake?
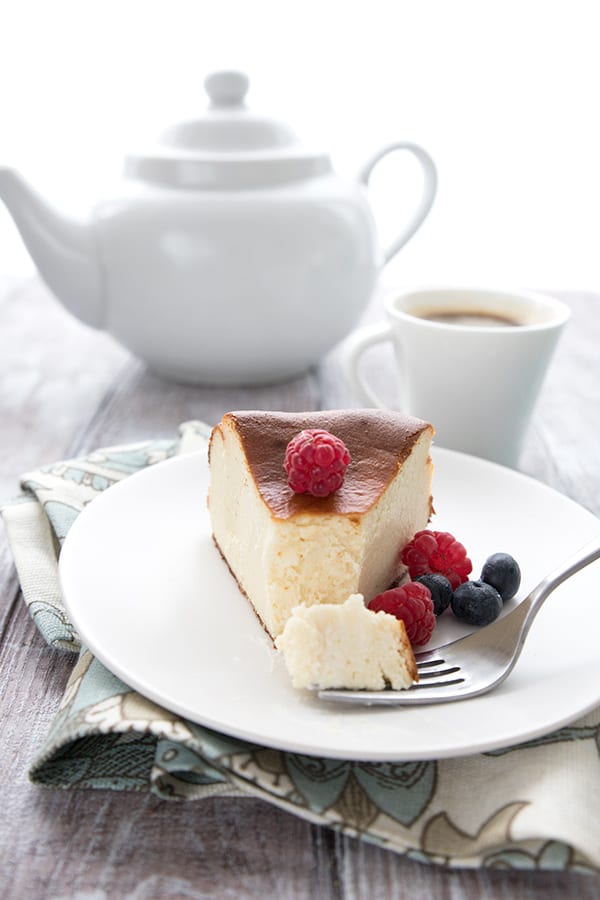
This is a glorious cheesecake on its own or served with a few fresh berries. I also made some of my Keto Caramel Sauce and drizzled that over a slice.
It would also be fantastic with some keto fudge sauce, or this amazing pecan praline sauce. Man, I wish I’d thought of that at the time!
Ready to make some delicious Keto Burnt Basque Cheesecake?
Also be sure to check out all the best keto cheesecake recipes here. You’re sure to find something you love!
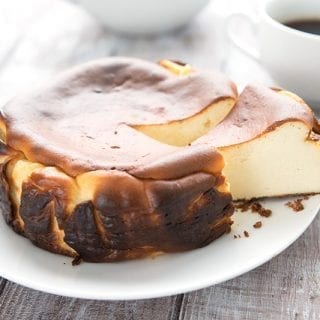
Burnt Basque Cheesecake
Equipment
- 6-inch round metal cake pan
Ingredients
- 16 ounces cream cheese, softened
- ⅓ cup powdered Swerve Sweetener
- ⅓ cup BochaSweet (can do additional Swerve)
- 3 large eggs room temperature
- ⅓ cup heavy cream room temperature
- 1 teaspoon vanilla extract
- 1 ½ tablespoon coconut flour
Instructions
- Preheat the oven to 450F and line a 6-inch cake pan with parchment paper so that the parchment sticks up above the sides of the pan.
- Place the cream cheese and sweeteners in a food processor and blend until well combined. Add the eggs, one at a time, and blend until smooth. Scrape down the sides and bottom of the food processor as needed.
- Add the heavy cream and vanilla and blend until smooth, then add the coconut flour and blend until combined. Again be sure to scrape the bottom and sides of the food processor bowl so there are not unblended chunks.
- Pour the mixture into the prepared pan and smooth the top. Bake 40 to 45 minutes, until the top is a rich golden brown and the center just jiggles slightly.
- Remove and let cool 1 hour, then transfer to the fridge until completely chilled, about 2 more hours.
- Remove from the pan by lifting out with the parchment edges.
Michelle Melendez says
Delicious
my husband keeps asking for it
Susan K says
I made this for the second time today. It was so creamy and luscious the first time. #2 is currently cooling in the fridge and looks like it will be just as delish. Both times I have made it in a 9 inch pan and both time I increased the serving size to 12 (ergo the ingredients). It has still had a nice height to it, but in reading a comment below it seems like my math is wrong. Next time should I increase the portion size (ingredients) to 16? ( or perhaps more sensibly buy a 6 inch pan). Also, does putting the still warm cheesecake (after one hour cooling on the stove) contribute to the creaminess of the texture…the cold fridge temp interacting with the still warm custardy consistency? Ty for this recipe and all your recipes. I have 3 of your cook books and always go to AFIDAF first when looking for inspiration.
Jennifer says
I made this for the first time last week. My second one just came out of the oven!
I made mine in a 6 inch spring-form pan purchased for this recipe. (Actually, my husband bought the pan for me after I showed him the pictures, sighing as I said that I didn’t have the right size pan to make this. 😊)
Jamie Belrose says
I attempted to make this for Christmas dinner….I was not successful. I made two changes: (1) I used a 9″ metal round pan, and (2) I used powdered monkfruit. When it was time for dessert the entire cheesecake had deflated as flat as a pancake. 🙁
Carolyn says
You made the recipe with the same amounts but put it in a 9 inch pan? Well, yes… it would be quite flat if that’s the case. The area of a 9 inch circle is 63 square inches. The area of a 6 inch circle is 28 inches. So you basically spread the same amount of batter over more than twice the area.
Helen Lemon says
I don’t have a 6″ cake pan. could I use a glass 9×5 inch load pan do you think? should I adjust ingredients or cooking time? Thanks Carolyn, dying to try this with salted Carmel or praline sauce!!
Carolyn says
You can certainly try but you need to keep your eye on it because I have no idea of the baking time. Make sure you still line with parchment!
Belinda says
I made this cheesecake for the first time three weeks ago for an extended family dinner. It was completely devoured and people wanted seconds! We are having another extended family dinner tomorrow, so today I am doubling the recipe! I put strawberries on it last time. I think I will get some raspberries to top it tomorrow. Thank you for this very good and popular (in my family) recipe!