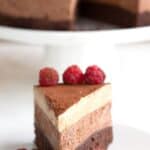
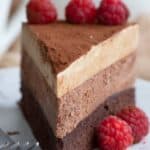
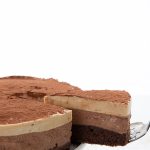


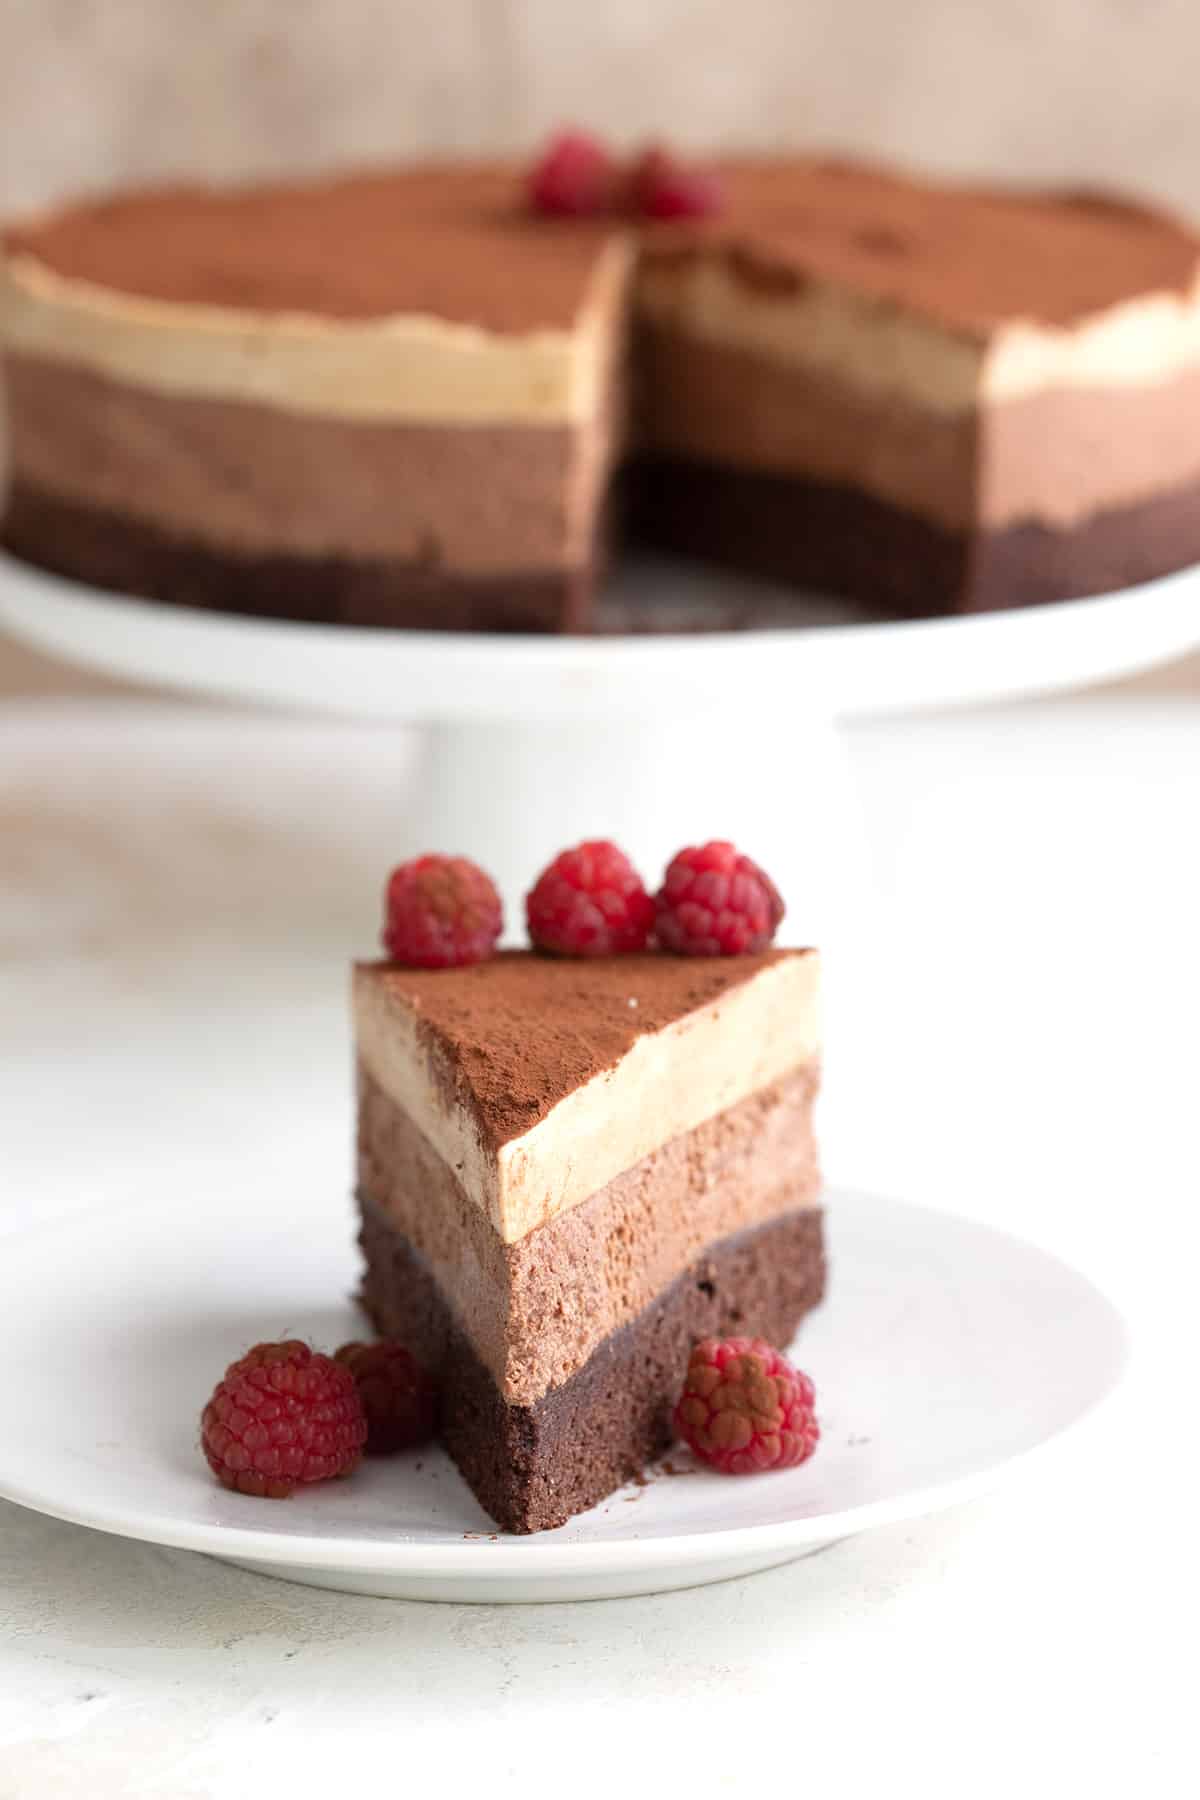
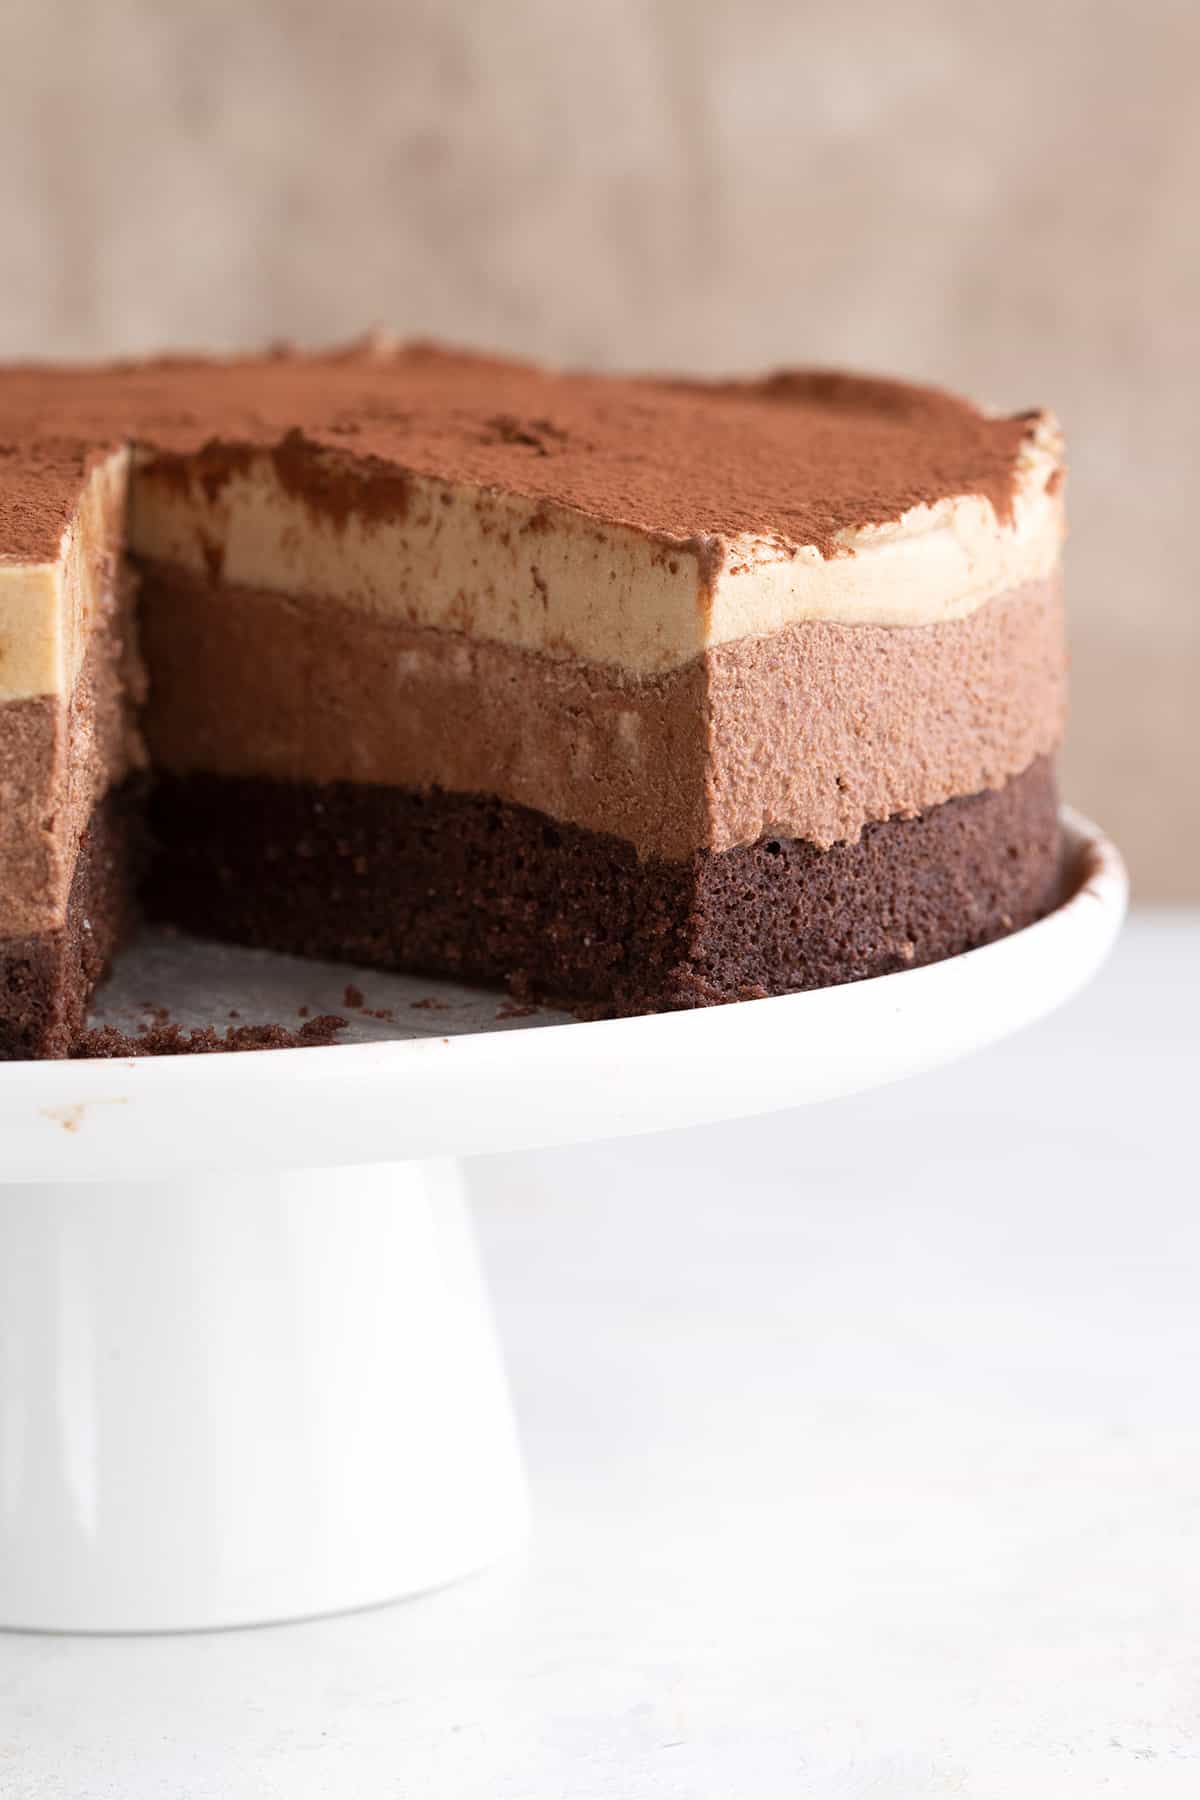
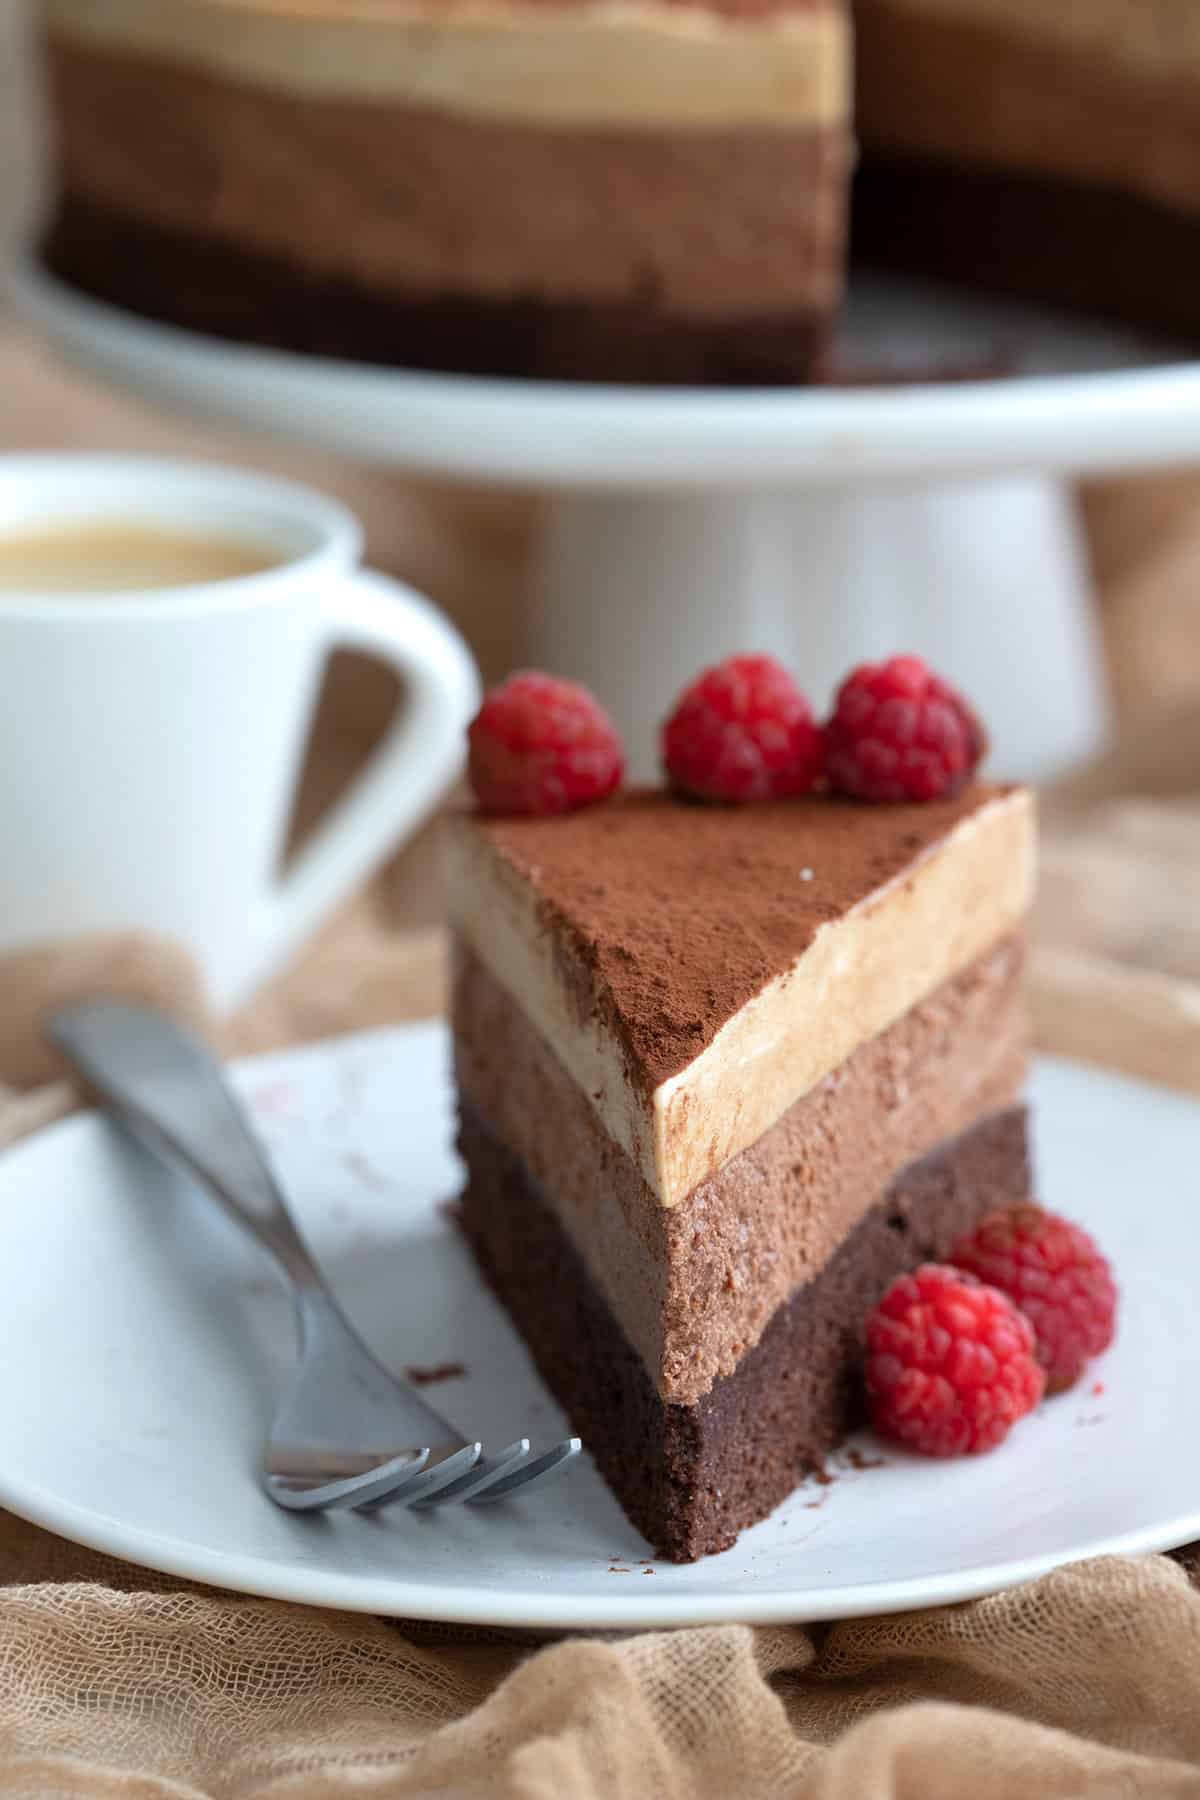
This triple layer keto mousse cake is a glorious sugar-free dessert recipe. It combines a brownie base with creamy keto chocolate mousse, all topped off with airy espresso mousse.
This takes keto baking to a whole new level!
You may have noticed that I have a thing for rich, creamy chocolate desserts. And perhaps you’ve figured out by now that I adore coffee and coffee-flavored treats.
So it only makes sense that I bring these two passions together from time to time. Keto tiramisu is a prime example, as are my keto chocolate truffles with espresso.
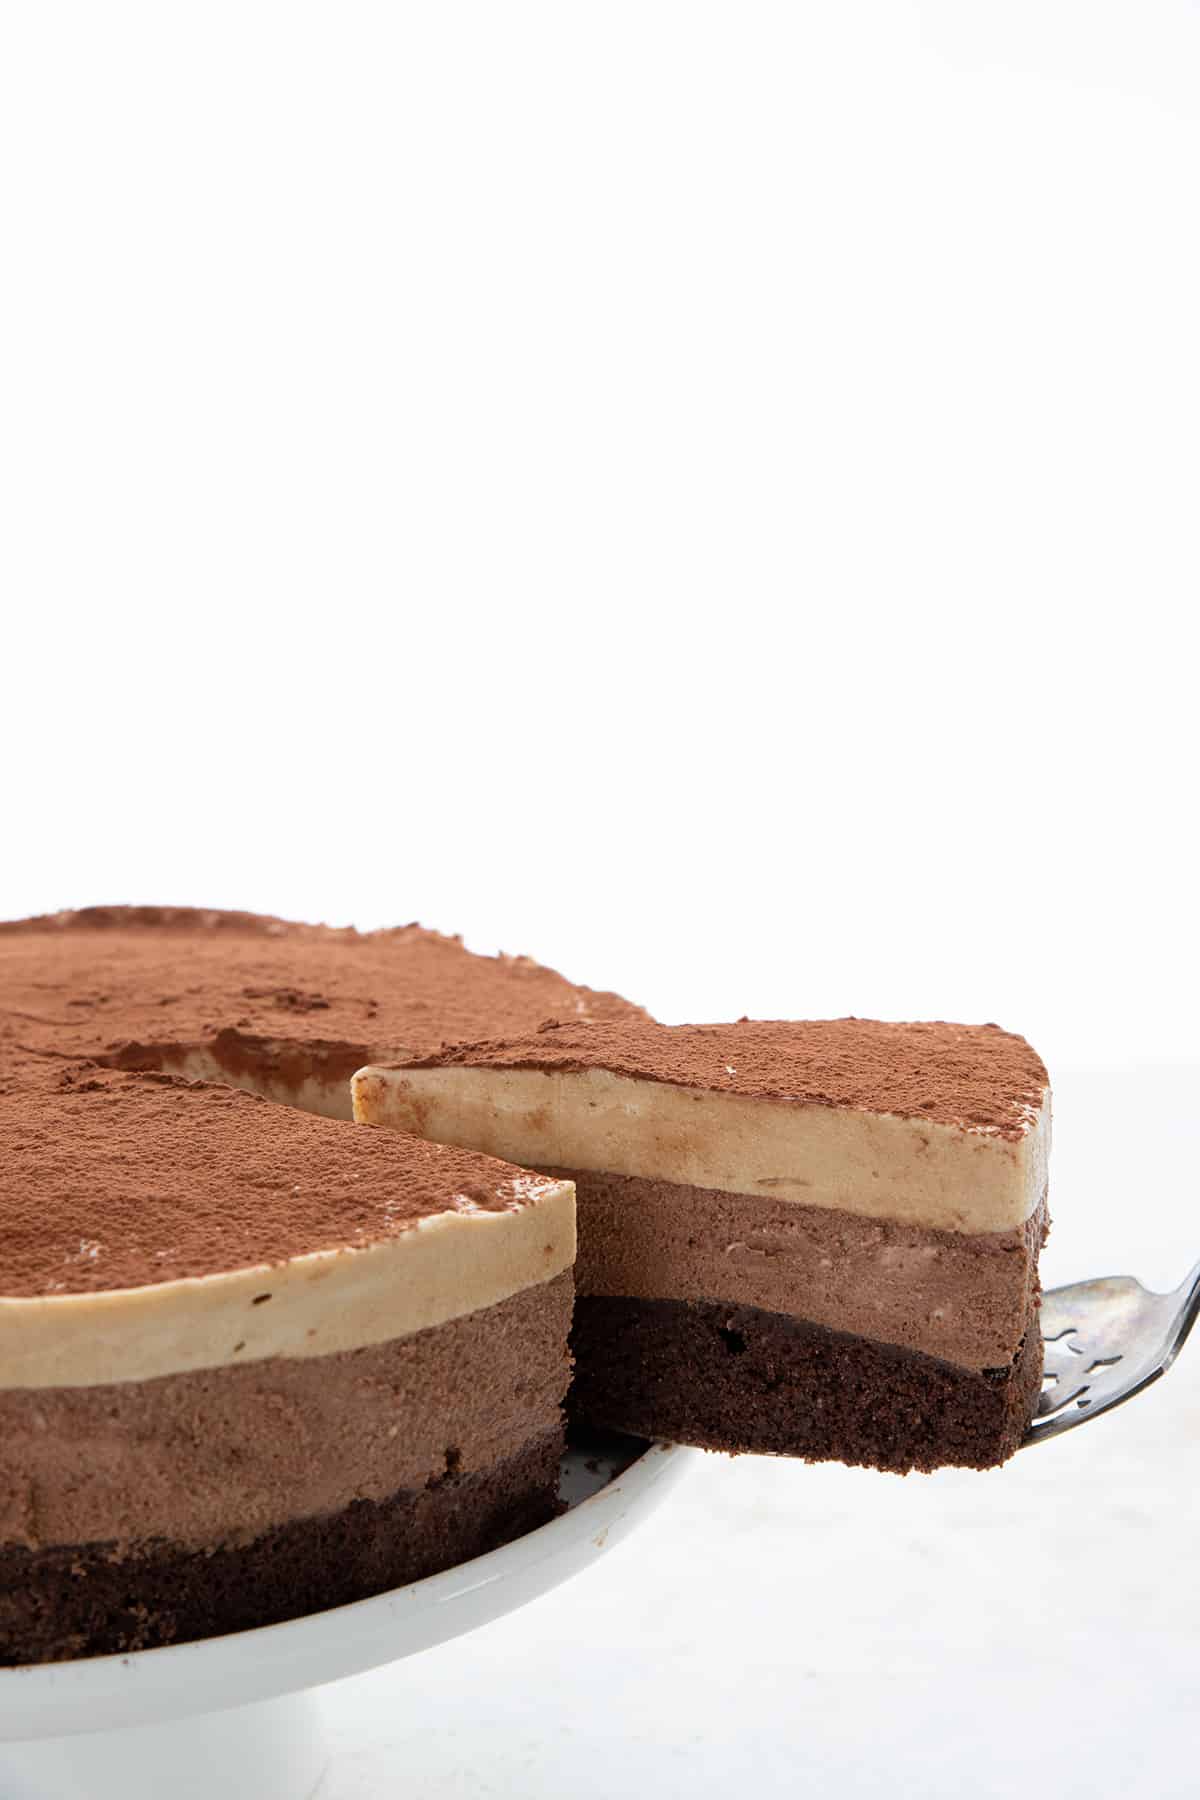
But this stunning keto mousse cake may be the crowning achievement of keto desserts. It’s so creamy, so light, and yet so rich. Two delicious layers of mousse on top of a fudgy brownie crust. I dream about this stuff!
Easy Keto Mousse
There are any number of ways to make keto mousse. There is the traditional French style mousse, which involves whipping egg whites to stiff peaks and folding them into the chocolate mixture.
And then there are easier versions based on cream cheese and whipped cream. My famous 5 Minute Keto Peanut Butter Mousse falls into this category, as does my Keto White Chocolate Mousse.
But this keto mousse cake employs a third method that uses gelatin to set a whipped cream mousse. It’s ideal for mousse that needs to maintain its shape, such as in a mold or a cake. And it’s quite easy to do, so don’t be intimidated by all the layers of this cake. Let me walk you through it, step by step!
How to make Triple Layer Keto Mousse Cake
1. Prepping the Pan
I wanted this cake to be taller and more impressive looking, so I chose to use an 8-inch cake pan. You could also do a 9-inch pan, but the layers will be more spread out and the brownie base will cook through faster.
You can’t use any old cake pan, however, or you will never get your cake out in once piece. It must be a pan with removable sides. Choose a springform pan or a pan with a removable bottom.
Grease the pan well, so the brownie layer doesn’t stick, and line the bottom with parchment so it’s easier to transfer the cake to a cake plate.
2. Brownie Base Layer
Keto Chocolate Espresso Mousse Cake utilizes keto brownies as the crust. My favorite brownie recipe contains almond flour, but you also use coconut flour brownies if you want to be nut-free.
Because a round pan has less total area than a square pan of the same width, the brownies will take a bit longer to bake through than normal. Keep your eye on them, and remove them from the oven when the edge are set but the center is still a tiny bit jiggly.
I also recommend setting the cake pan on a cookie sheet before baking, especially if using a pan with a removable bottom. This keeps any oils that drip out during baking from messing up the bottom of your oven.
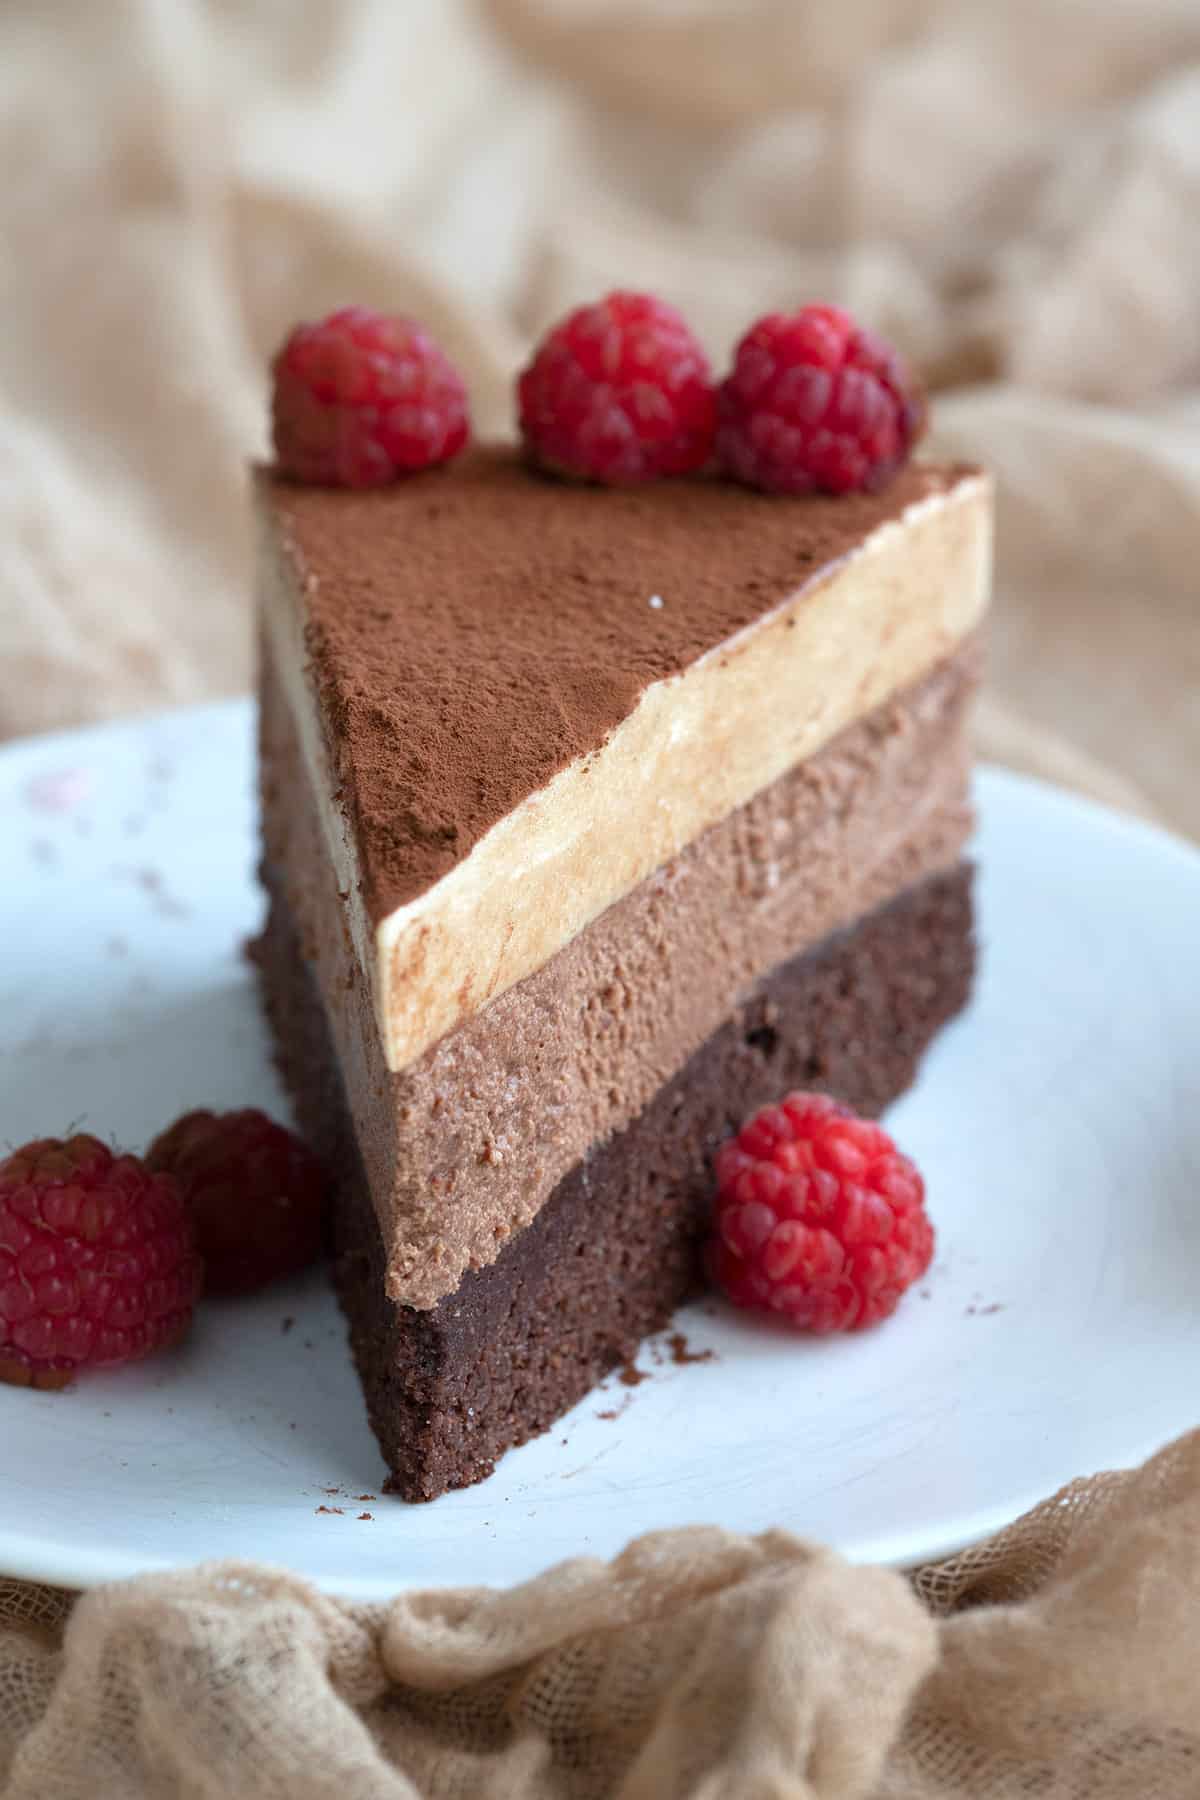
3. Chocolate Mousse Layer
First, make sure to melt the chocolate completely, but don’t let it get too hot or it will seize. I recommend melting with a little butter or coconut oil to smooth it out.
Bloom the gelatin in some water in a saucepan, and and then heat it gently with a little of the cream. Once the gelatin dissolves, whisk this into the bowl of melted chocolate.
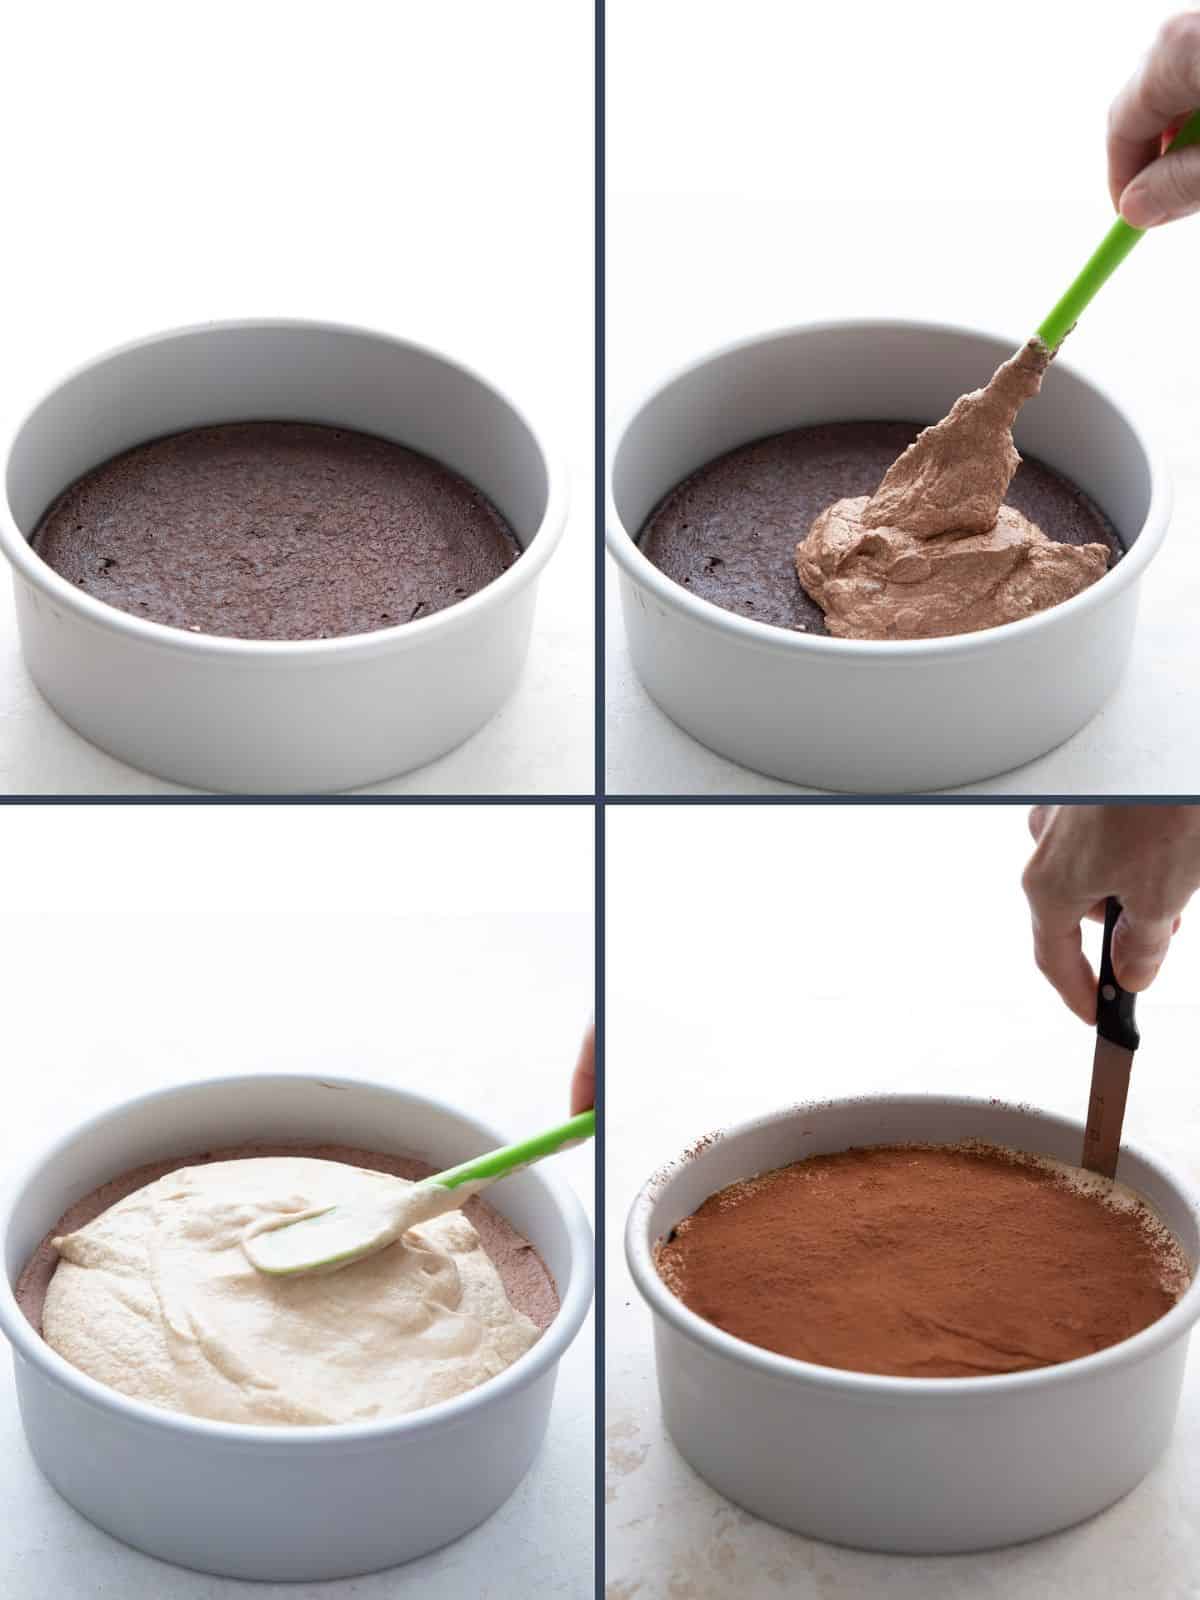
Then whip the remaining cream with sweetener and vanilla until it holds stiff peaks. Fold this carefully into the melted chocolate until no streaks remain. Pour over the crust and refrigerate.
4. Espresso Mousse Layer
Bloom the gelatin again in some strong coffee or espresso, and then gently heat until the gelatin dissolves. Let this mixture cool to lukewarm.
Whip the cream with the sweetener and vanilla until it holds stiff peaks. Then stir in the espresso mixture until no streaks remain and pour this over the chocolate mousse layer.
Refrigerate the cake until completely set, then dust the top with cocoa powder.
Frequently Asked Questions
Yes, you can still make this cake. Just know that your brownie base will be thinner and thus will bake through faster. So set your timer for 15 minutes and check on it frequently.
The finished cake will also be lower and wider than the one featured here.
Yes, certainly! You can either swap the almond flour in the brownies for sunflower seed flour, or you can use my coconut flour brownie recipe.
You really need a powdered sweetener to give the mousse some structure without grittiness. Other powdered sweeteners may work but I do find that things made with allulose tend to take a long time to set properly.
This cake keeps well for up to 5 days. Store in the refrigerator at all times in a covered container, with any cut edges covered with plastic wrap to keep it from drying out.
I have not tried freezing this recipe.
More keto coffee recipes
- Easy Keto Frappuccino
- Chocolate “Kahlua” Cake
- No Churn Keto Coffee Ice Cream
- Sugar-Free Coffee Liqueur
- Keto Espresso Shortbread Cookies
- Mocha Latte Cheesecake Bites
- Frozen Mocha Mousse Bars
Keto Mousse Cake Recipe
Equipment
Ingredients
Brownie Layer
- 1 recipe Ultimate Keto Brownies
Chocolate Mousse Layer
- 2 ounces (56.7 g) unsweetened chocolate, chopped
- 1 tbsp (1 tbsp) butter
- 1/4 cup water
- 1 1/4 tsp (1.25 tsp) grassfed gelatin
- 1 cup (250 g) heavy whipping cream, divided
- 1/3 cup (60.67 g) Swerve Confectioners
- 1/2 tsp (0.5 tsp) vanilla extract
Espresso Mousse Layer
- 2/3 cup (158 g) espresso or strongly brewed coffee, cooled
- 1 1/2 tsp (1.5 tsp) grassfed gelatin
- 3/4 cup (178.5 g) heavy whipping cream
- 1/4 cup (45.5 g) Swerve Confectioners
- 1/2 tsp (0.5 tsp) vanilla extract
Garnish
- 1 tbsp cocoa powder
- Fresh raspberries
Instructions
Brownie Base
- Preheat the oven to 325ºF and lightly grease an 8-inch springform pan or a cake pan with a removeable bottom. Line with parchment paper and grease the paper. Set the pan on a rimmed baking sheet.
- Prepare the brownie batter according to the directions and spread in the prepared baking pan. Bake 20 to 25 minutes, or until the edges are set but the center is still a little jiggly. Remove and let cool completely.
Chocolate Mousse Layer
- In a large microwave safe bowl, melt the chocolate with the butter on high in 30 second increments, stirring in between until smooth.
- Place the water in a small saucepan and sprinkle the gelatin over top. Let bloom 5 minutes, then place the pan over medium low heat and add 1/4 cup of the heavy cream. Stir until the gelatin is dissolved, but do not let it come to a boil. Slowly whisk into the chocolate mixture.
- In a large bowl, beat the remaining cream with the sweetener and vanilla extract until it holds stiff peaks. Stir about ¼ of the whipped cream into the chocolate to lighten it, then fold in the remaining cream until smooth.
- Spread this mixture over the cooled cake and refrigerate while making the espresso mousse.
Espresso Mousse Layer
- In the same saucepan as above, place the espresso. Sprinkle with the gelatin and let bloom 5 minutes, then place over medium low heat. Stir until the gelatin is dissolved, but do not let it come to a boil. Remove from heat and cool to lukewarm.
- In a large bowl, beat the cream with the sweetener and vanilla extract until it holds stiff peaks. Gently fold in the cooled espresso mixture until well combined.
- Spread over the chocolate mousse in the pan and refrigerate until firm to the touch, 1 to 2 hours.
- Use a sifter to sprinkle the top of the cake evenly with cocoa powder.
To unmold the cake
- Warm up a small sharp knife by either running boiling water over it or holding it over a gas flame for a few seconds. Run the knife around the inside of the pan to loosen the cake.
- Release the pan sides for a springform pan. If using a cake pan with a removeable bottom, simply push the bottom up to release the cake.
- Serve with fresh berries.
Nutrition
Nutritional Disclaimer
Please note that I am not a medical or nutritional professional. I am simply recounting and sharing my own experiences on this blog. Nothing I express here should be taken as medical advice and you should consult with your doctor before starting any diet or exercise program. I provide nutritional information for my recipes simply as a courtesy to my readers. It is calculated using MacGourmet software and I remove erythritol from the final carb count and net carb count, as it does not affect my own blood glucose levels. I do my best to be as accurate as possible but you should independently calculate nutritional information on your own before relying on them. I expressly disclaim any and all liability of any kind with respect to any act or omission wholly or in part in reliance on anything contained in this website.
Free Bonus: Secrets to Keto Baking!
Sign up for your favorite recipes delivered straight to your inbox plus get our FREE bonus: Secrets to Keto Baking!












We had a bake off at work and, as a diabetic, I wanted to enter with something low carb. Over the weekend I did a test run of three different recipes and this one was my family’s favorite. It was the only low carb entry and won an award for most creative. The ultimate compliment came from someone who didn’t know it was gluten free and low carb. After the contest was over, he went back for more and said he was taking the leftovers home to his kids.
Great to hear!
This is my all time favorite cake! It is delicious and worth time you spend making it. Thank you for the recipe!
This cake is amazing and delicious! It takes some time to make it but it worth it.
Thank you!
This was a great make-head dessert. I loved the presentation. It was easy to make when the work was divided over two days–I made the base two days before serving and both mousse mixtures one day before. My only suggestion is for those who use regular Knox Gelatin because they have it (rather than the grassfed, recommended) I would bloom it and lightly heat it before adding it to the brownie base. Mine seemed a bit gritty. But that did not stop my husband from eating it and asking for seconds. Thanks for a great recipe.