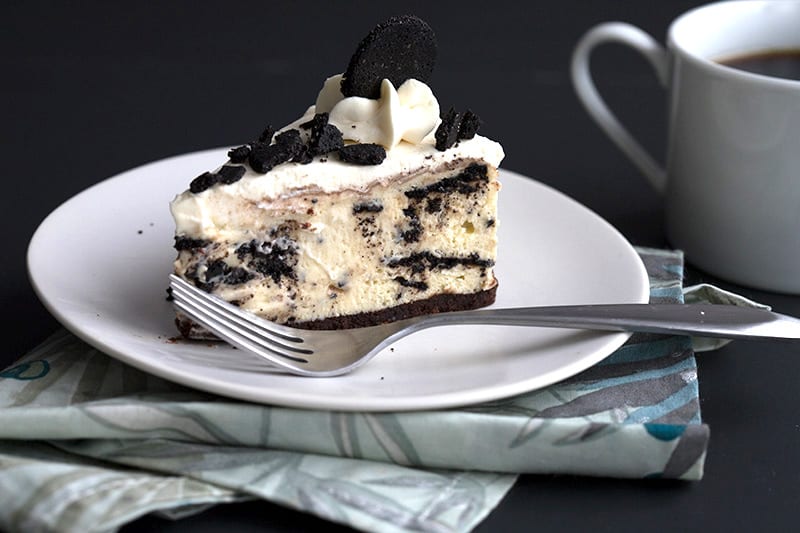
Creamy keto instant pot cheesecake with the delicious flavors of Cookies and Cream! This low carb cheesecake recipe is a must make. Oven instructions included.
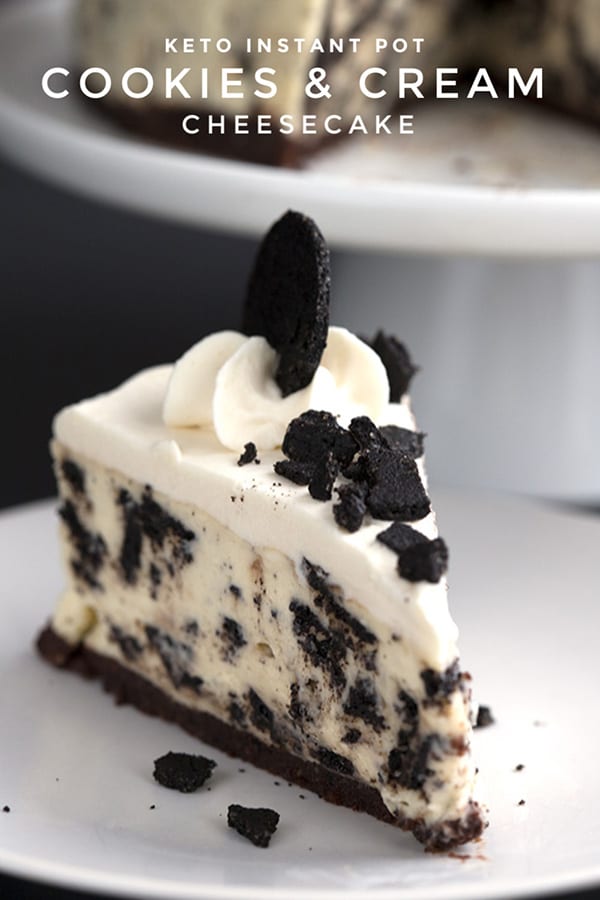
Have you ever made a keto cheesecake in an Instant Pot? You’ve got to try it! I love the intense creaminess that comes from the pressure cooking, and I love that it’s a smaller, more manageable size.
I have a number of keto instant pot cheesecake recipes and they’ve all been delicious. So if you have an instant pot, I do urge you to try it.
My other recipes include keto pecan pie cheesecake, keto lemon cheesecake, and instant pot pumpkin cheesecake.
And now, this over-the-top good Keto Cookies And Cream Cheesecake. Or keto “Oreo” cheesecake, if you prefer.
Does it really taste like Cookies and Cream?
I know some of you skeptics out there might be wondering this very thing. Let me assure you that it does.
Even my kids, who are not big cheesecake fans, loved it and thought it had real Oreo flavor. So that’s telling you something.
The trick to getting keto desserts to taste like Oreos is the cocoa powder. You can use any old cocoa powder, but if you want that really deep dark chocolate flavor, you really need really dark or even black cocoa powder.
Because that’s what gives Oreos their distinctive flavor and you will taste the difference immediately. I like the black cocoa from King Arthur Flour, but Valrhona makes a very rich dark dutched cocoa that is also great.
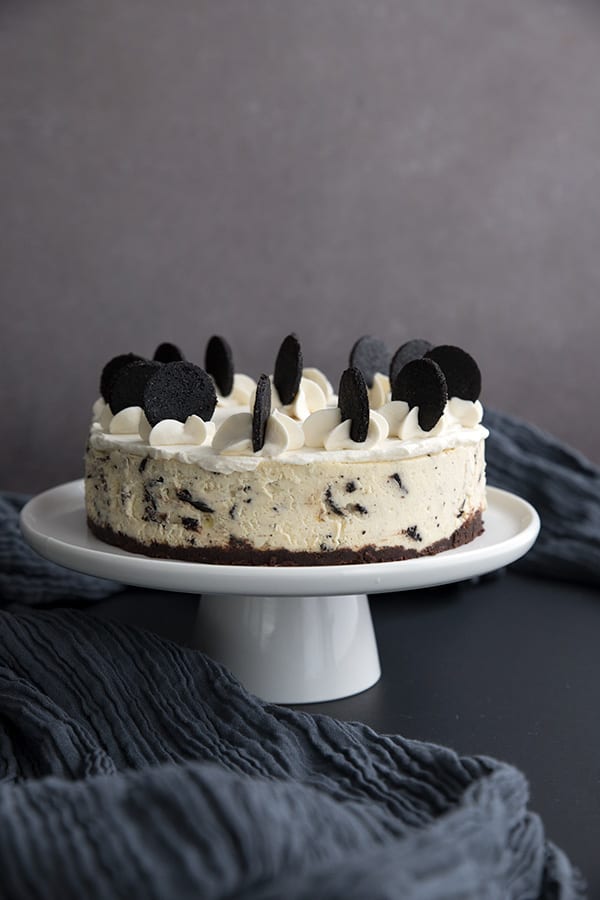
Tips for Keto Cookies And Cream Cheesecake
If you look at the recipe, you may feel a little intimidated by the ingredient list and long instructions. But this really isn’t that difficult to make and the results are spectacular.
Let’s walk through it together.
Making the cookie crumble
You want to make the “Oreo” part of the cake first, and you can make this ahead of time very easily. It’s essentially a smaller version of the chocolate wafers from my Keto Thin Mints.
You only need a tablespoon of egg for this part, but you won’t be wasting the egg, as the rest goes into the filling. Beat your egg well and then measure out a tablespoon.
You do want to roll the dough pretty thinly. Aim for even thinner than 1/4 inch, and roll as evenly as you can.
Cut out 11 small circles after rolling out the dough, so you can decorate the top of each slice and have one circle for the middle of the cake. You can bake the rest of the crumble as one whole piece, because you will be breaking it up with your fingers later on.
Baking cheesecake in an Instant Pot
For the most part, this is actually a pretty basic keto cheesecake recipe but there are some notable difference.
Because of the size constrictions of an Instant Pot, you do need a 7-inch springform pan. I have this one from NordicWare. The crust and filling ingredients are also scaled down to size.
You don’t bake the crust first, as you normally would do for an oven, because the pressure cooking method will keep it from being crisp anyway. So just pour your filling right over top.
You need to wrap the whole cheesecake tightly in foil to prevent moisture from seeping in. Once you’ve wrapped both top and bottom, there should be very little of your actual pan showing through.
When the cooking time is done, leave the cheesecake in the pot to let all the pressure naturally release. Then take it out, unwrap it, and let it cool. If any droplets of water have gotten on top, you can pat them dry with a paper towel.
Patience! It needs to chill
Just like any cheesecake, this one needs to chill properly before you can dig in. That means refrigerating it for at least 3 hours.
Refrigerate it in the pan itself. Once it’s cold, you can release the sides. But don’t just pop them off! You want to loosen the cake from the sides of the pan. I did this with a hot knife that I ran around the inside of the pan, for a cleaner release.
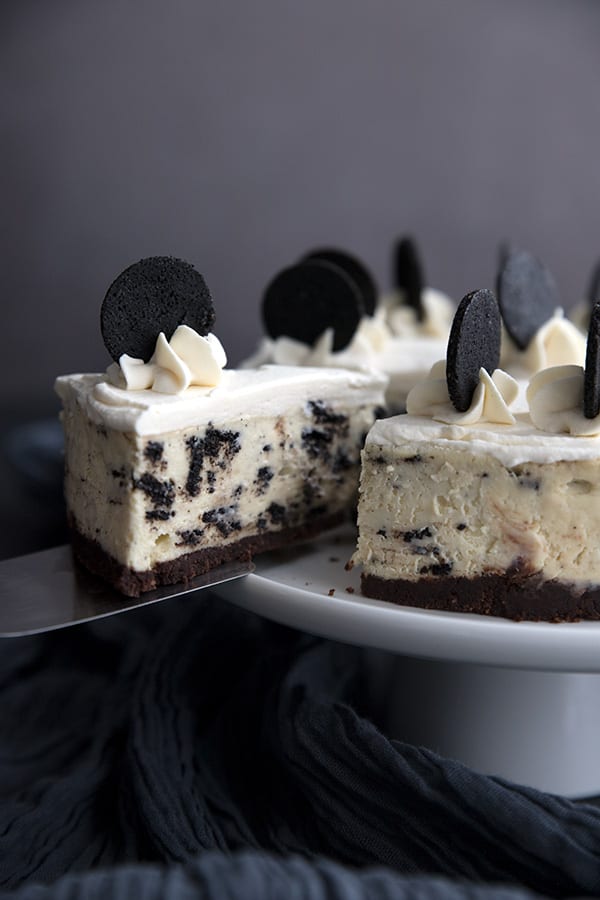
Storing keto instant pot cheesecake
You can store this cake just like any other cheesecake, in the fridge. It will last well for up to 5 days.
So you don’t disturb the decorations on the cake, leave the top exposed but press plastic wrap flush to the surface of the cut sides.
If you want to make this cake ahead to serve another day, I recommend making the full cake through to the chilling part, and skip the topping and decorating until you are ready to serve.
Ready to make this delicious keto instant pot cheesecake?
More keto instant pot recipes
- Instant Pot Fried Cabbage
- Instant Pot Chicken and Mushrooms
- Creamy Instant Pot Salsa Chicken
- Instant Pot Asian Pepper Beef
- Instant Pot Lemon Chicken
- Instant Pot Sticky Toffee Pudding
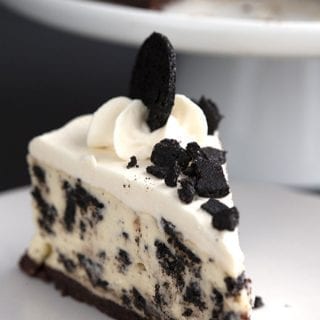
Keto Instant Pot “Oreo” Cheesecake
Ingredients
Cookie Crumble
- 1/2 cup almond flour, (can sub sunflower seed flour)
- 2 tbsp dark cocoa powder
- 2 tbsp Swerve Sweetener
- Pinch salt
- 1 tbsp butter, melted
- 1 tbsp beaten egg , (reserve remaing egg for filling)
- 1/4 tsp vanilla extract
Chocolate Crust
- 1/2 cup almond flour, (can sub sunflower seed flour)
- 2 tbsp dark cocoa powder
- 2 tbsp powdered Swerve
- 2 tbsp butter, melted
Filling
- 16 ounces cream cheese, softened
- 2/3 cup powdered Swerve Sweetener
- 3 tbsp heavy whipping cream, room temperature
- 1 tsp vanilla extract
- 1 large egg, room temperature , (plus remaining egg from the crumble)
Topping
- 1/3 cup heavy whipping cream
- 2 tbsp powdered Swerve Sweetener
Instructions
Cookie Crumble
- Preheat the oven to 300F.
- In a medium bowl, whisk together the almond flour, cocoa powder, sweetener, and salt. Stir in the melted butter, egg, and vanilla extract until the dough comes together. If it's too dry, add water a tiny bit at a time.
- Gather up the dough into a ball and place on a silicone mat or large piece of parchment paper. Top with another piece of parchment and roll out to less than 1/4 inch thick.
- Use a 1-inch cookie cutter to cut out 11 little circles for decorating the top of the cake. Lift and place around the mat or parchment. Transfer the whole mat or parchment to a large baking sheet.
- Bake 20 minutes or so, until dry-ish and firm to the touch. Turn off the oven and let cool inside.
Crust
- Lightly grease the bottom and sides of a 7-inch springform pan.
- In the same bowl from the crumble, whisk together the almond flour, cocoa powder, and powdered sweetener. Stir in the butter until well combined.
- Press firmly and evenly into the bottom of the prepared baking pan.
Filling
- In a large bowl, beat the cream cheese until smooth. Beat in the sweetener until well combined, then beat in the heavy cream and vanilla.
- Beat in the egg and the remaining egg from the cookie crumble until just combined. Break up the crumble into small pieces, reserving the circles for decorating. Fold most of the cookie crumble into the filling mixture, reserving some for the top of the cake.
- Pour the filling over the crust and spread to the edges.
To cook
- Wrap the bottom of the springform pan tightly in a large piece of foil. Place a piece of paper towel over the top of the springform pan (not touching the cheesecake) and then wrap foil around the top as well. Your whole pan should be mostly covered in foil to keep out excess moisture. Make sure the foil fits tightly.
- Place the rack that came with your Instant Pot or pressure cooker into the bottom. Pour a cup of water into the bottom. Carefully lower the wrapped cheesecake pan onto the rack (there are ways to do this with a sling made out of tin foil but I didn't bother with that).
- Close the lid and set the Instant Pot to manual mode for 35 minutes on high. Once the cooking time is complete, let the pressure to release naturally (do not vent it).
- Lift out the cheesecake and let it cool to room temperature, and then refrigerate for 3 or 4 hours, or even overnight.
- To release the sides, heat up a knife by holding it over a gas stove flame for a few seconds or by running some boiling water over it. Run the knife around the inside edge of the pan to loosen.
Topping and decorating
- Whip the cream and the sweetener until the cream holds stiff peaks. Spread over the top of the cake, saving some to pipe decorative rosettes, if desired.
- Use the cut out circles to decorate each slices and one for the middle of the cake. Any remaining cookie crumble can be sprinkled over top.
Notes
- No need to wrap the pan in foil.
- You may also want to bake the bottom crust for 10 minutes at 325F to help it firm up.
- Bake the cheesecake at 300F for at least 30 minutes. Check on it every 5 minutes after that. Because I did not try this in the oven, I can’t tell you exactly how long it will take to bake.
- The edges should be set but the center should still jiggle slightly when the pan is shaken.
Nutrition
Free Bonus: Secrets to Keto Baking!
Sign up for your favorite recipes delivered straight to your inbox plus get our FREE bonus: Secrets to Keto Baking!





Hello wanted to make this for just me but I dont want something with 10 servings. Do you think I could just half ingredients to make a smaller version? Thank you 🙂
Probably but you will need to figure out the amounts to scale it down and find the appropriate pan.
Hi I’m making this today for Valentines. I have monk fruit, THM Gentle Sweet and Super Sweet. Can I use Gentle Sweet? How much? Thanks!!
I have no idea, I don’t use it.
Do a web search for the conversion chart for those products.
I made this for a birthday celebration, and it came out so pretty! It was so delicious also! Everyone complimented me on it numerous times. I chose to make a sour cream topper (1/2 c sour cream plus 2 tsp granulated Swerve) for the cake, instead of the whipped cream topping thinking that it would be more durable than whipped cream, and it was delicious. I also added a drizzle of keto chocolate syrup to the top of the cake to amp up the chocolate flavor and overall sweetness of the dessert. I will definitely make this again and again. Thank you, Carolyn, for the work you do to bring these recipes to us.
REQUEST: please add point #4 under the crust instructions…. “4. If using instapot, skip this note. If using oven, pre-bake the crust as per notes following recipe.”
Without this warning, most will just continue step by step as per instapot instructions and won’t find the pre-bake notes until the filling has already been poured in… so toooooo late! doh! thanks for the help so others can avoid this issue.
did mine in the toaster oven… 30 mins was just right. it was good… but it was more “cookie” than “cookies n cream” flavored… after some brainstorming we decided to add sugar free white chocolate chips! it worked, and the added crunch was nice. next time need to figure out how to swirl some s.f. white chocolate right into the cheesecake!
I’ve done this recipe Keto Cookies & Cream Cake in the oven for the first time with the help of my rehab coach. I’ve been involved in a MVA & baking is such a help for me especially dealing with pain.
Everyone who’ve attended my birthday & my son’s post birthday celebration loves it so much. Thank you for the recipe.
Glad to hear it!
I made the cookies and cream cheesecake today. It’s fabulous. It’s better than fabulous. It’s fantastic. 5 star review from my family!
So I tried this recipe today and while the actual cheesecake part was okay I found both the Oreo crumble and crust to be super under sweetened. The Oreos themselves did not taste like traditional Oreos, the only flavour I was getting was that of the black cocoa and I found the texture of the Oreo cookies was also off. I ended up crumbling all the oreo crumble (including the cookies) into the batter and I plan to make a separate batch (more sweetened) of Oreos for the top. I typically love the recipes on this site, but this one as written did not work for me (for my taste preference).
I suspect you used a different sweetener, yes? That would account for the cookies not being as sweet to your palate. What did you use?
Hi Carolyn
I used Swerve powdered, I’m only now realizing you listed Swerve granular.
I’m not sure if that made the difference?
Hmmmm. When you said they weren’t sweet, I thought maybe you’d gone with an entirely different sweetener. But we do all experience these sweeteners differently so maybe you just need to add more? I do find that the granular crisps up more for cookies, though.
If I don’t have an instant pot can I bake in the oven?
Please read the recipe notes.