This is the best keto cheesecake recipe! So rich and creamy, it will make you swoon at the first bite. With only 3g of carbs per slice, you can dig in with gusto!
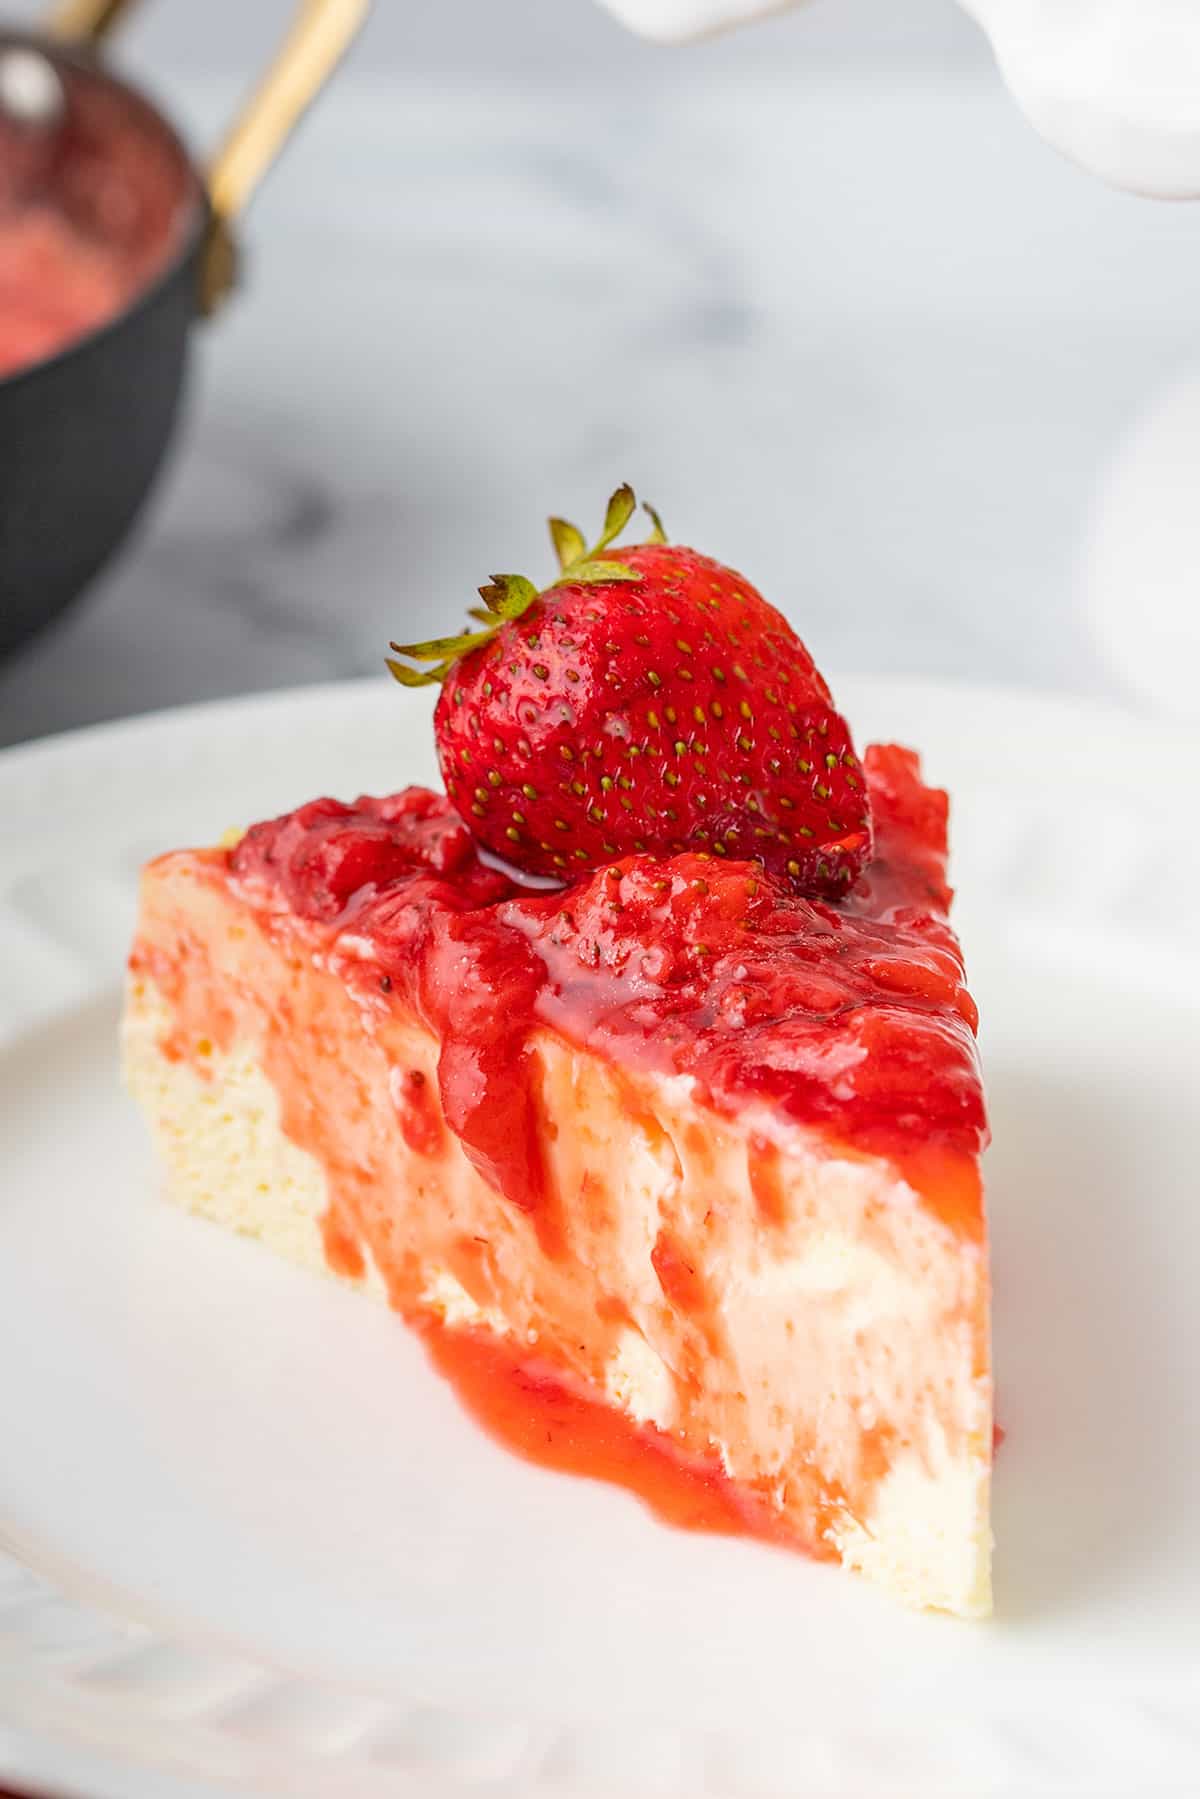
Let’s just get this straight right now. Keto cheesecake is possibly as close to heaven as you will get on this earth. Or at least as close to heaven as you will get on a ketogenic diet.
I really do have a passion for making cheesecake and I am grateful that it’s so easy to make without sugar. When I first embarked on a low carb diet, cheesecake was among the first keto dessert recipes I made. And it was so good, I kept dreaming up all sorts of different flavors. Now I’ve got everything from Keto Strawberry Cheesecake to Mini “Snickers” Cheesecakes.
So you might say that it’s one of the things that keeps me happily sticking to my healthy diet. As long as I know that there is keto cheesecake in the world, I can handle anything.
Why you must try this recipe
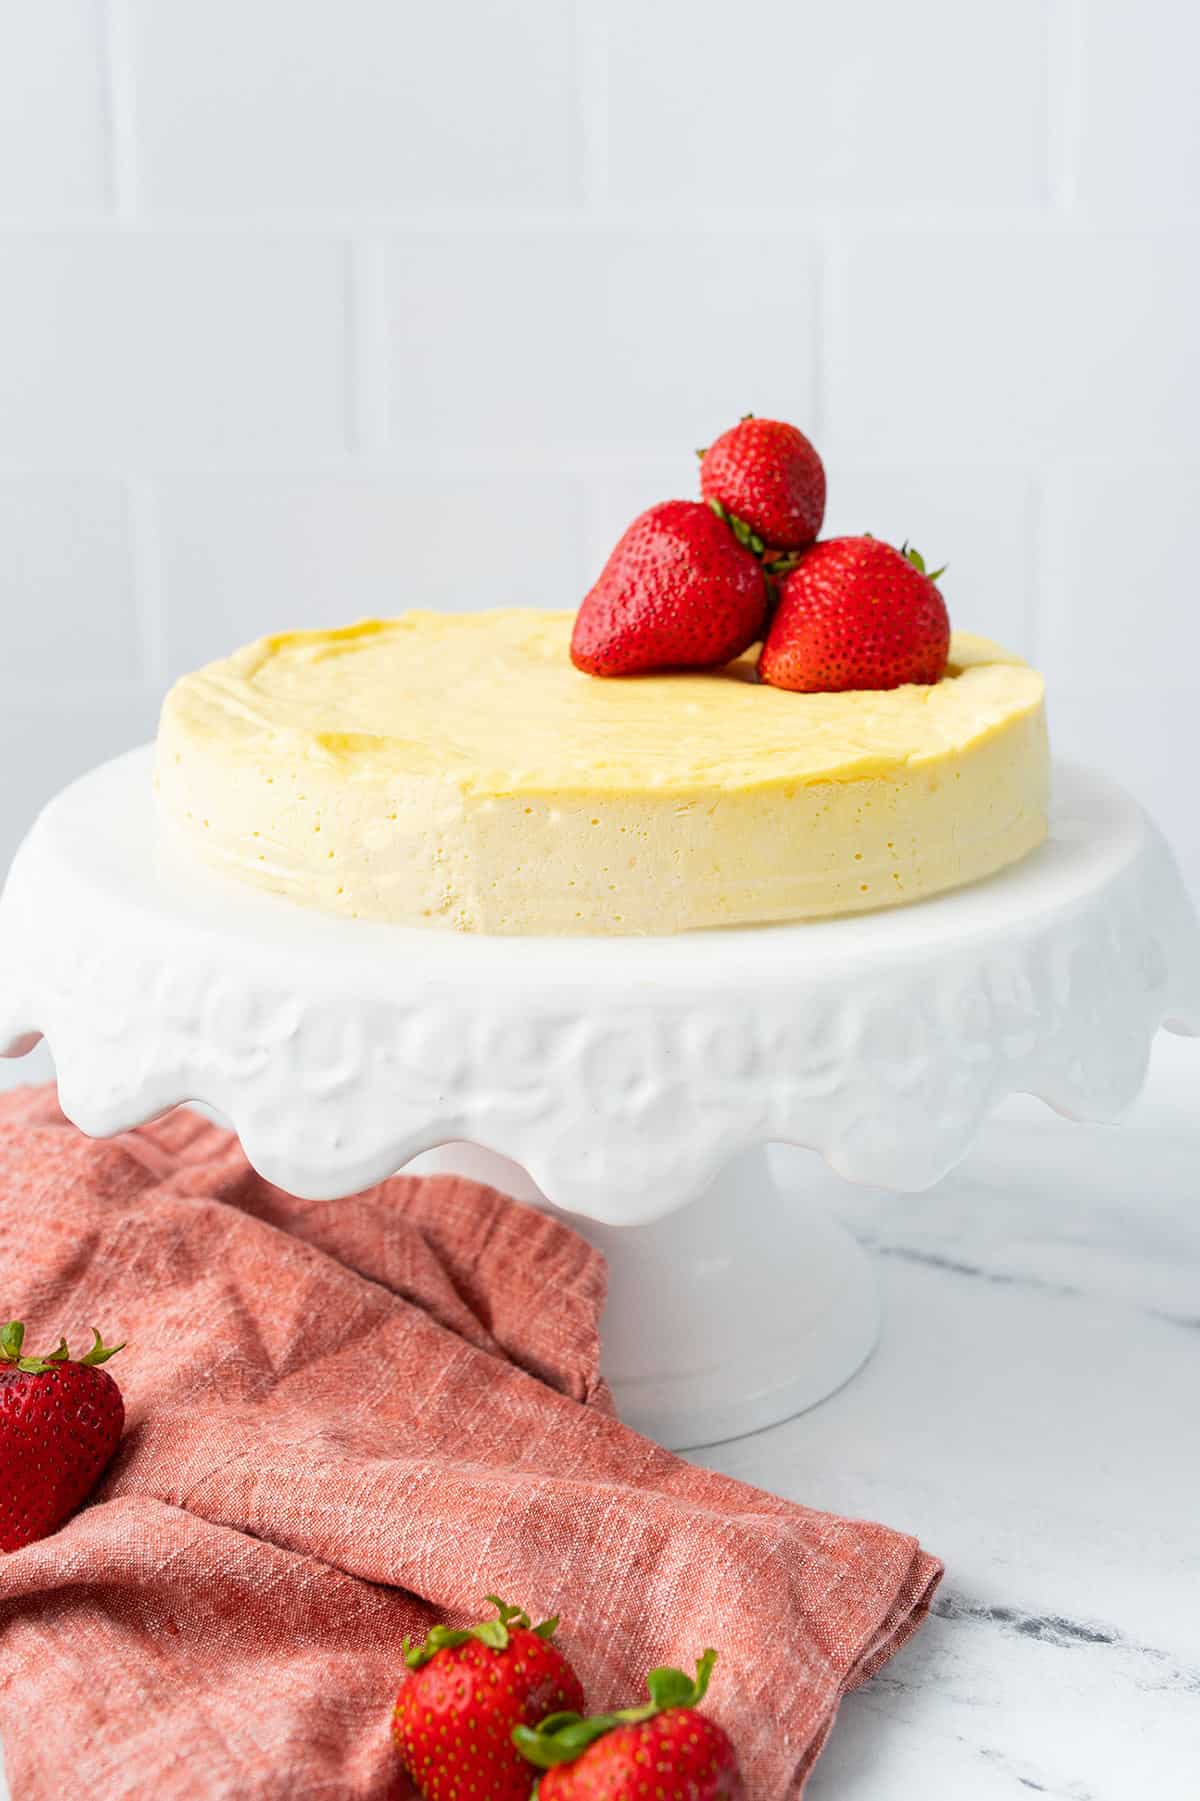
This keto cheesecake recipe is made in the New York style. You may well be wondering how that differs from classic cheesecake, and I’ve got one word for you: texture.
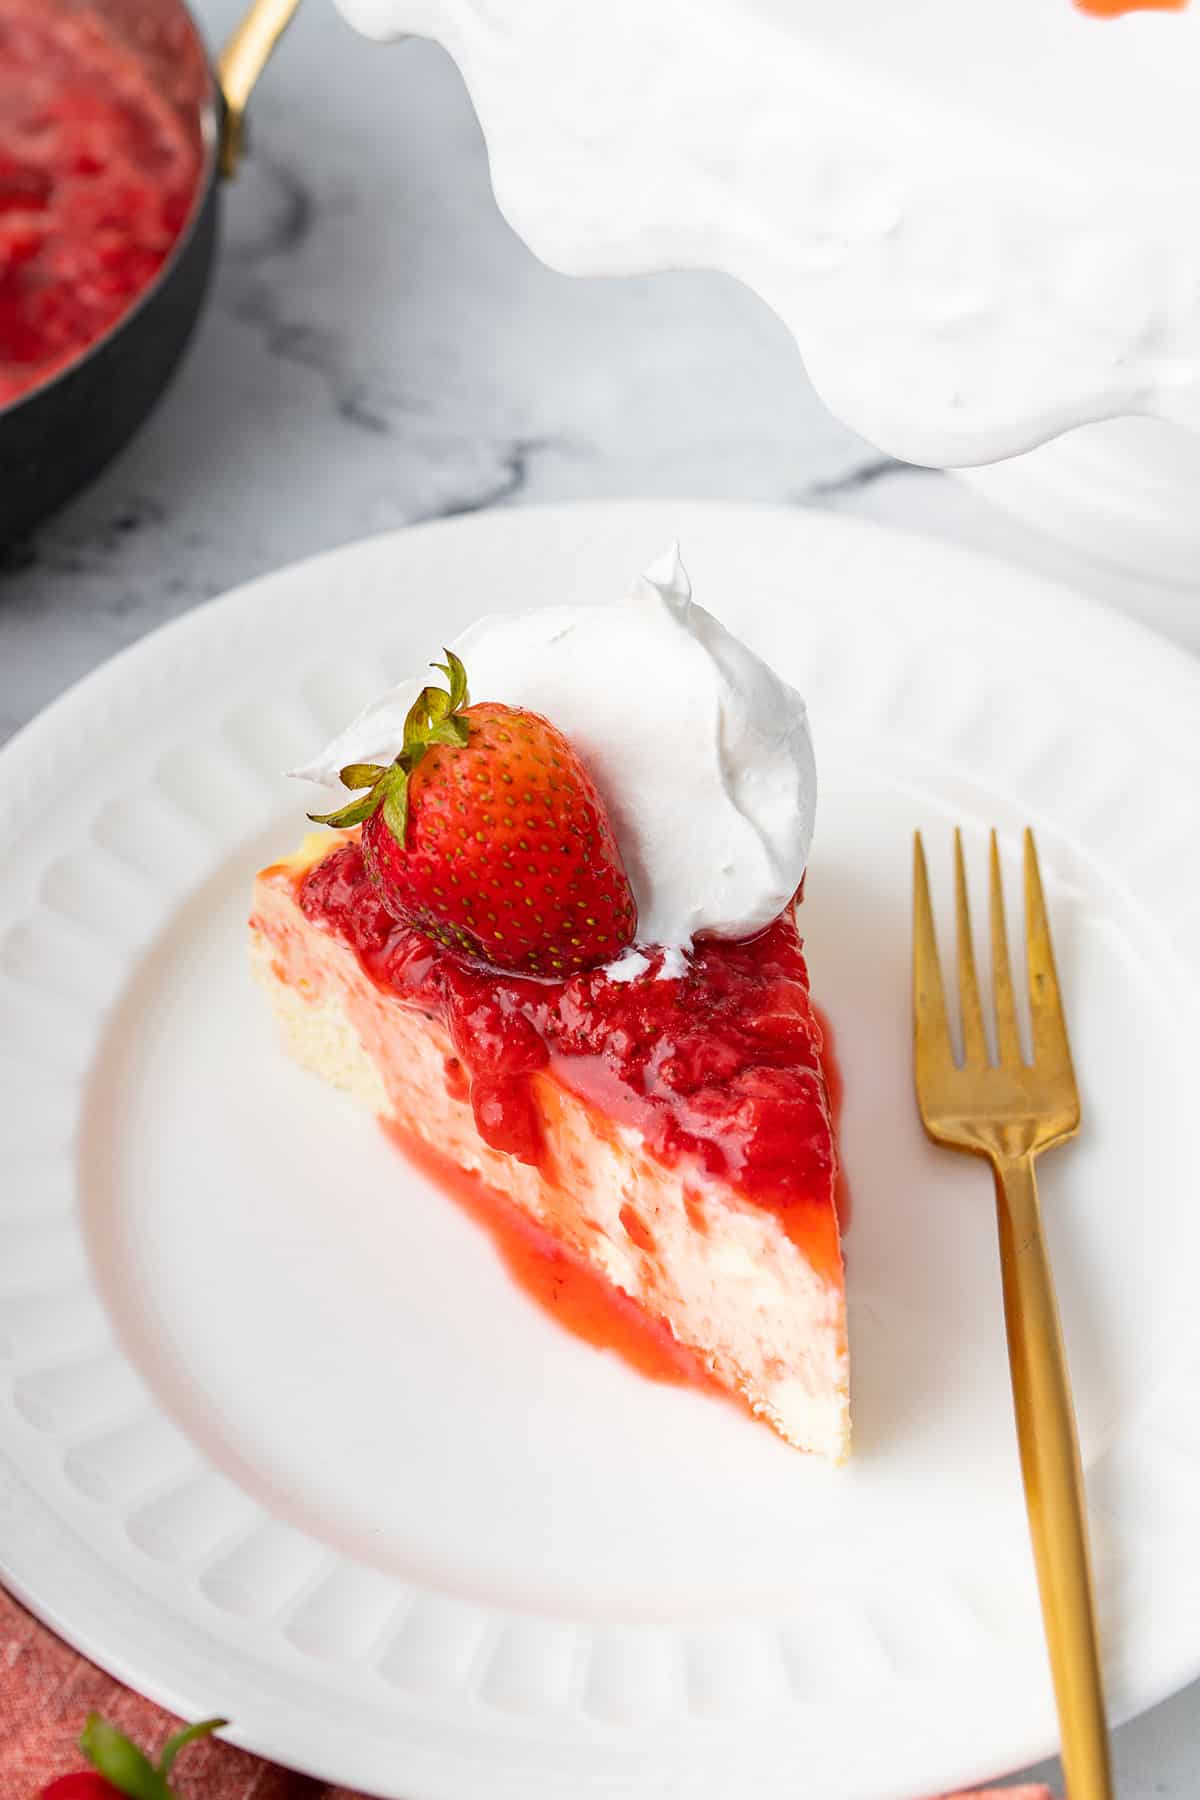
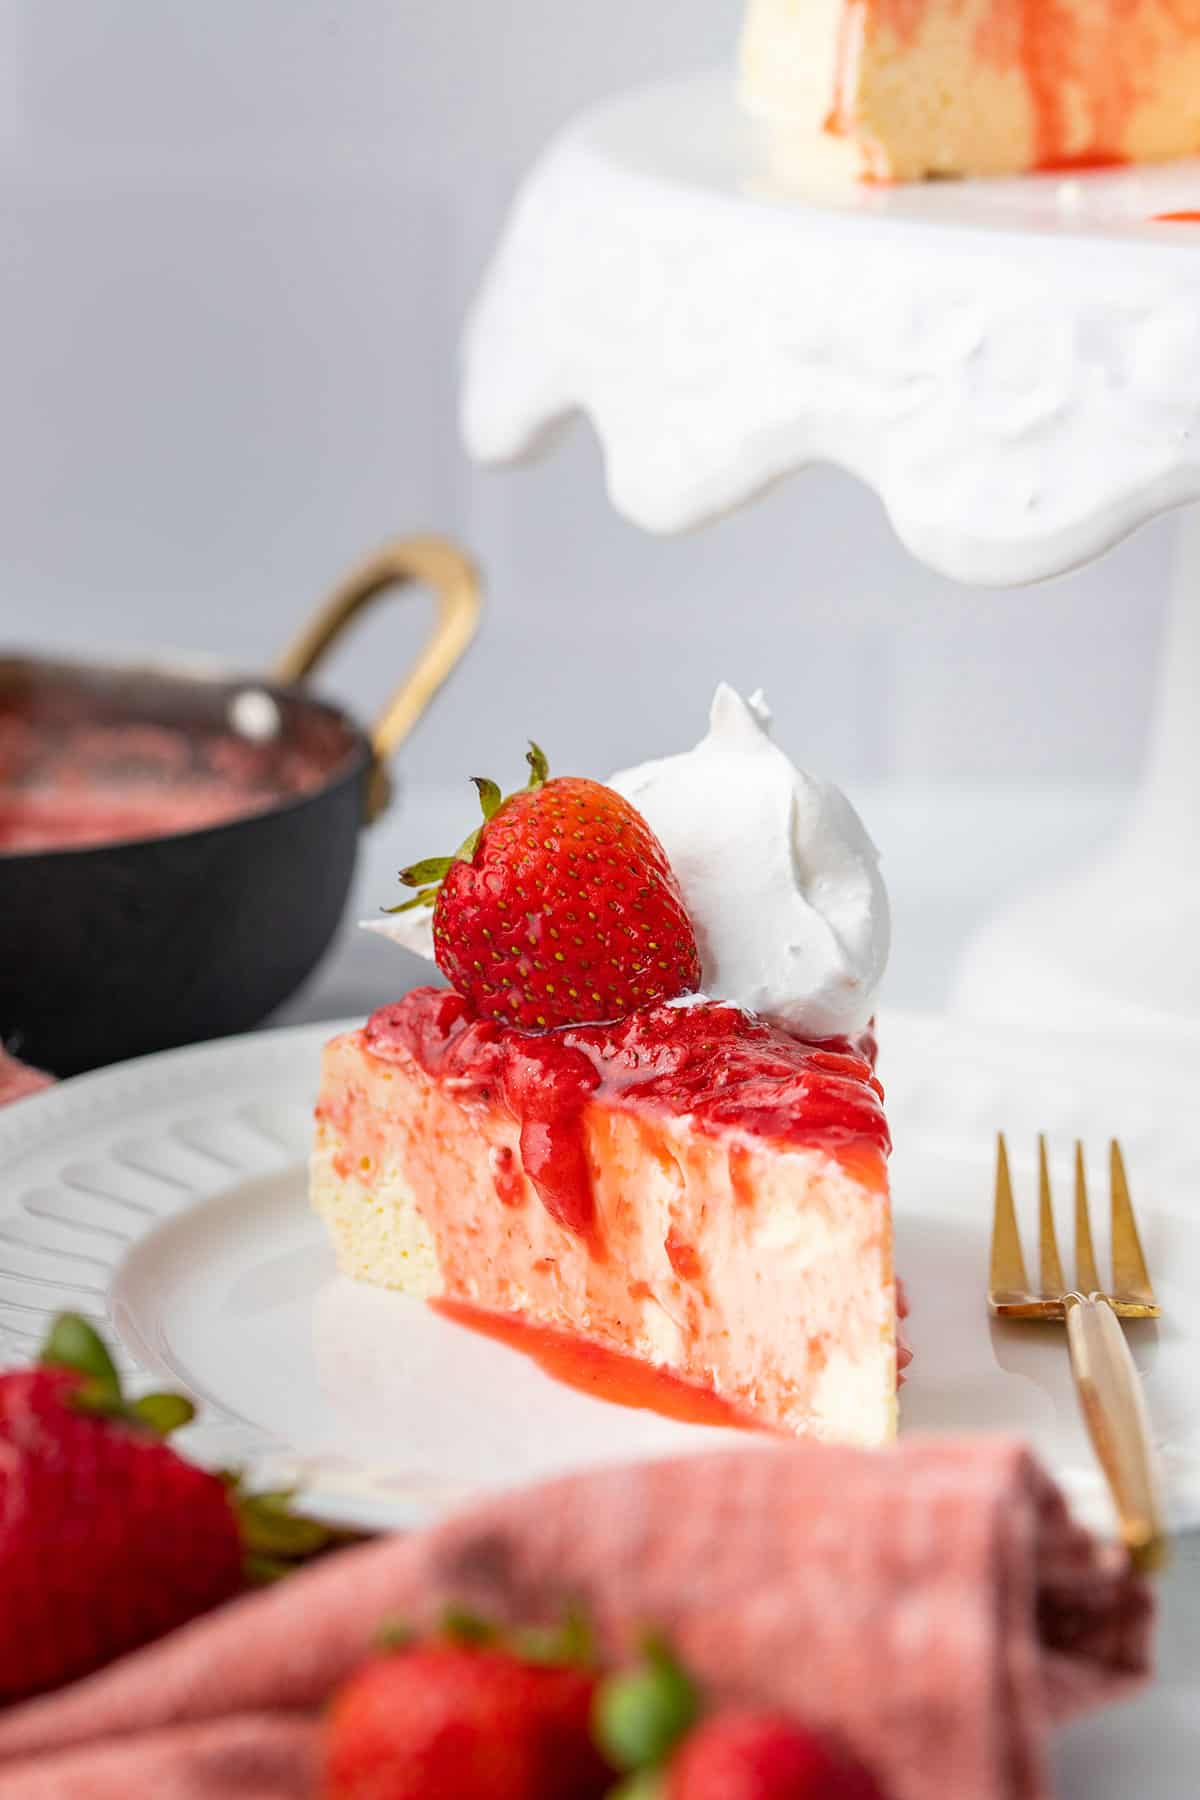
New York cheesecake is more dense and creamy than the regular kind. It’s so smooth and rich, it’s like velvet on your tongue. And it has a very simple flavor profile, without too many additions. Most people top it with a simple berry sauce.
It often includes sour cream or heavy cream, and sometimes even a little butter to give it a unique velvety texture.
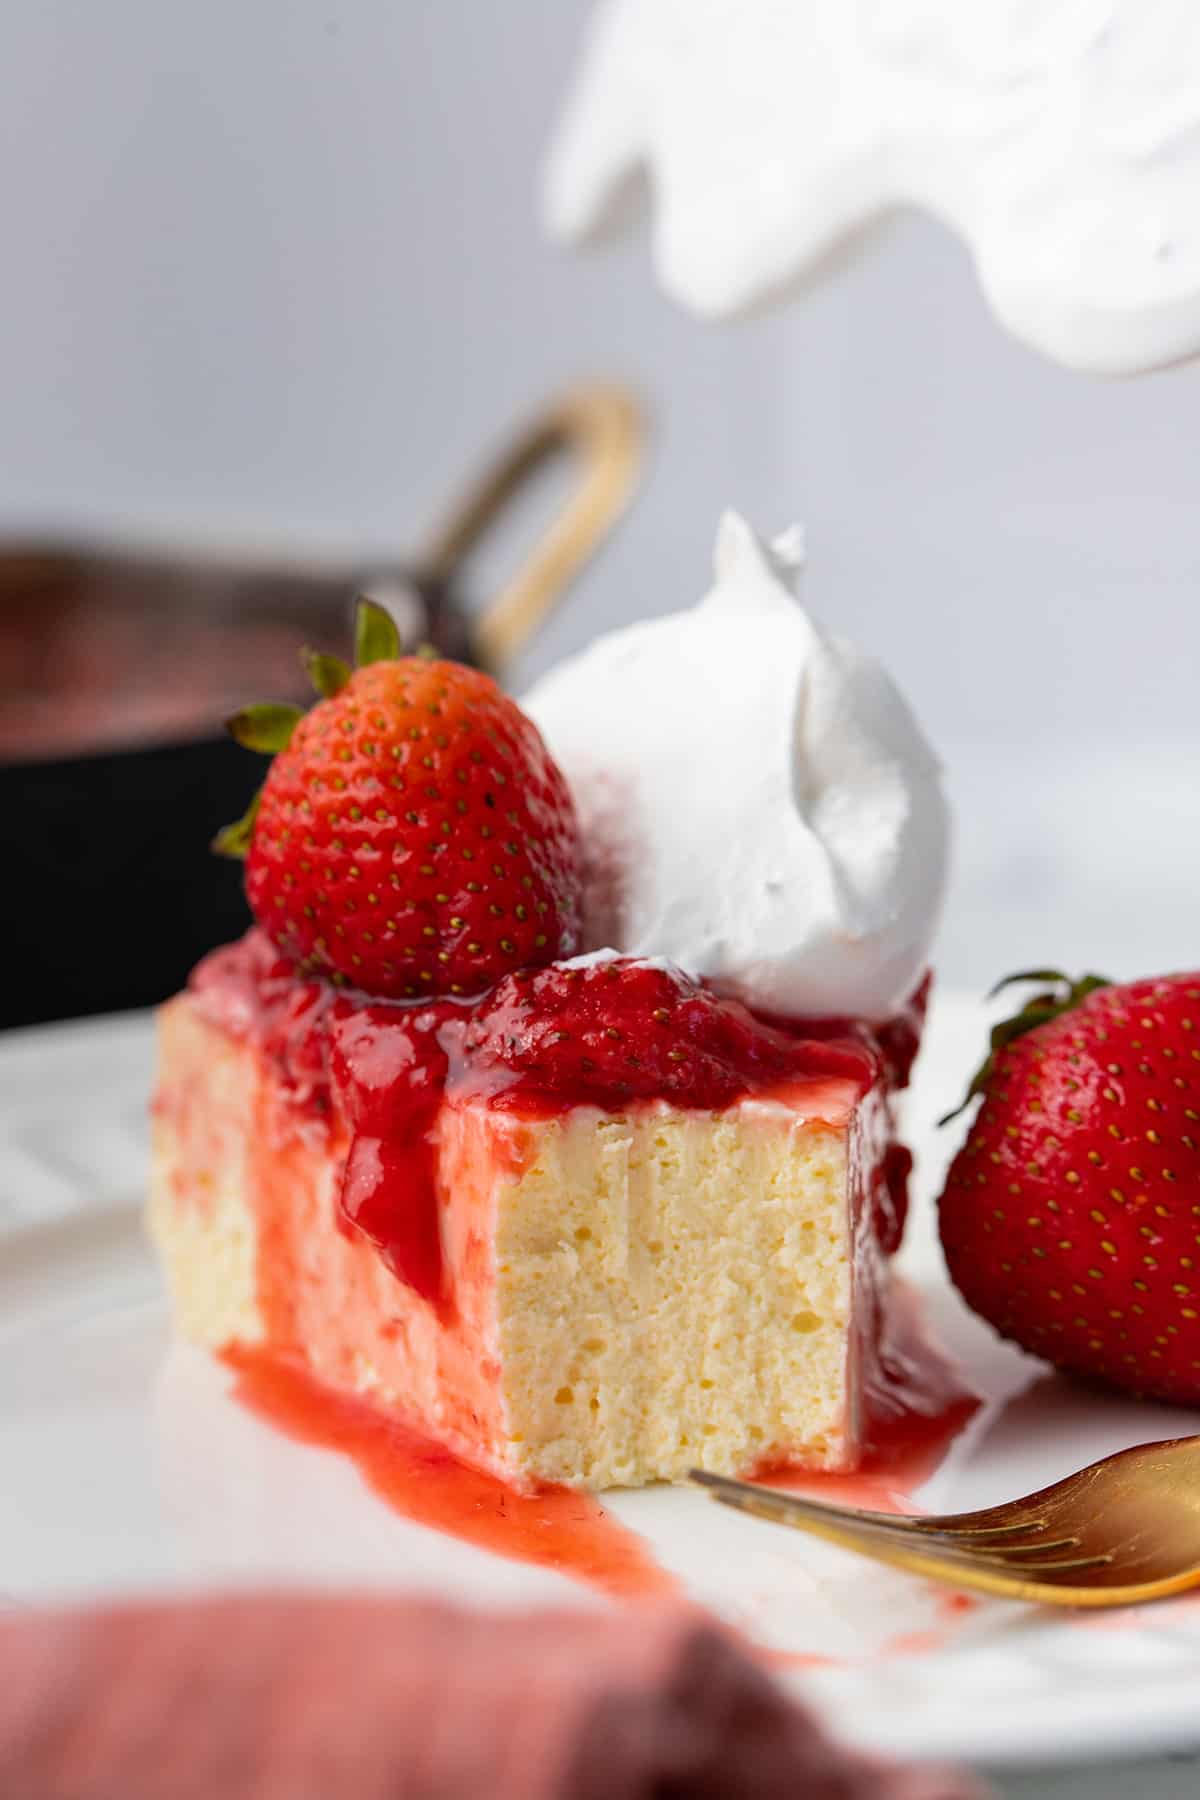
The end result is so rich and delicious, it doesn’t even need a crust! That keeps it simple and even lower in carbs. So you can eat more of it!
Reader Testimonials
“I’ve been making this cheesecake for over a year now and it comes out great every time. Thanks for such a great and easy recipe. It’s so nice to have a treat and not feel guilty about it.” — Annette
“This is absolutely THE BEST cheesecake I have ever made or tasted. Nothing else nowadays comes close to these macros while being *more* delicious than the sugar-laden cheesecakes out there. My non keto inlaws loved it and didn’t know it was sugar free.” — Angela
- Full fat cream cheese: Read the labels and avoid brands with lots of fillers, which can raise the carb count. Good organic cream cheese such as Organic Valley has only 1g carbs per serving (1 oz), and the USDA listing for cream cheese indicates that it has 1.2g carbs per ounce.
- Butter: This recipe uses unsalted butter.
- Powdered sweetener: I highly recommend using Swerve Confectioners for this cheesecake. I made this for a friend recently using an allulose based sweetener, and it took almost 24 hours to set properly in the fridge. So be mindful that any changes to the original recipe may affect the outcome.
- Sour cream: The addition of sour cream gives the filling a rich, velvety texture.
- Lemon zest: The lemon zest adds flavor but it’s not required for texture. Feel free to leave it out, or add lime zest or orange zest instead.
- Vanilla extract: Feel free to play with the flavors and use other extracts, such as almond.
- Eggs: Always use large eggs, and make sure they are room temperature.
Step-by-step directions
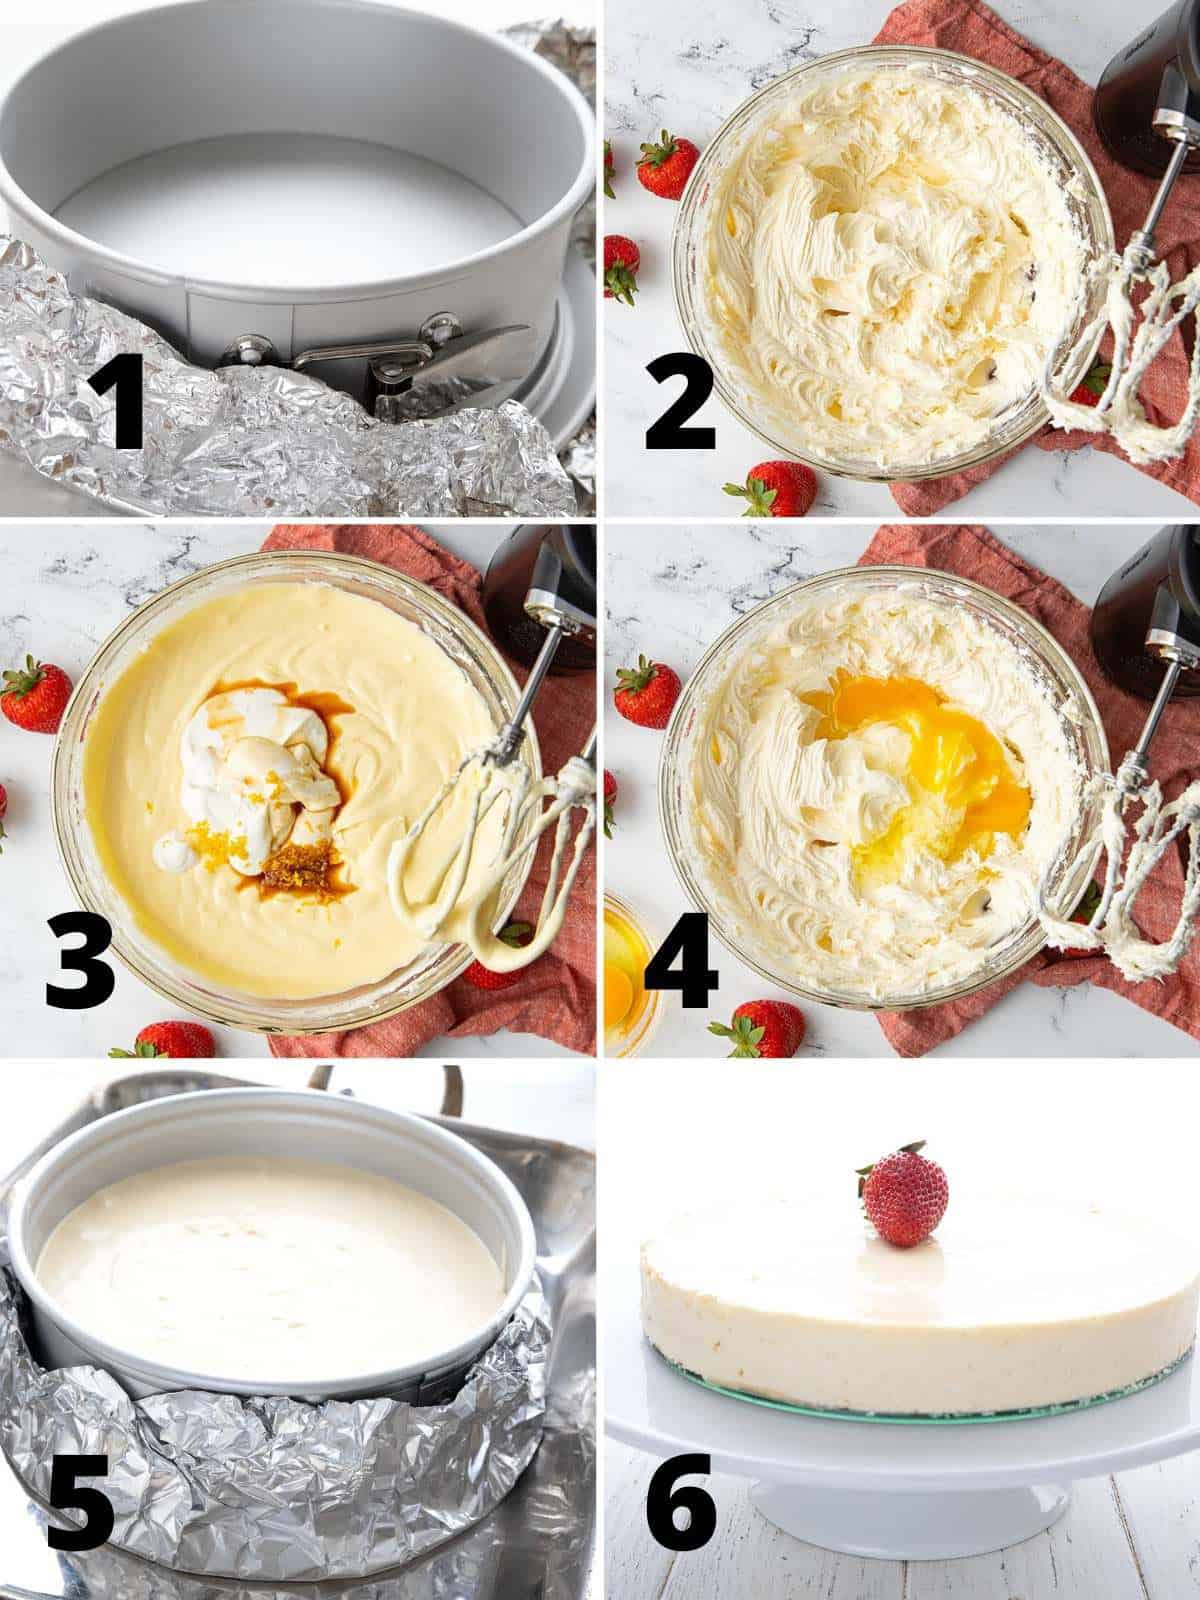
1. Generously grease a 9-inch springform pan. Cut a circle of parchment to fit the bottom the pan and grease the paper. Wrap 2 pieces of aluminum foil around the outside of the pan to cover the bottom and most of the way up the sides.
2. In a large bowl, beat the cream cheese and butter for 1 to 2 minutes, until completely smooth. Then beat in the powdered sweetener until well combined.
3. Add the sour cream, lemon zest, and vanilla extract and beat until the batter is smooth. Scrape down the beaters and the sides of the bowl as needed.
4. Beat in the eggs, one at a time, until just barely combined. Pour the batter in the prepared baking pan and smooth the top. Tap the pan gently on the counter a few times to help release any air bubbles.
4. Set the pan inside a roasting pan large enough to prevent the sides from touching. Place the roasting pan in the oven and carefully pour boiling water into the roasting pan until it reaches halfway up the sides of the springform pan.
5. Bake 70 to 90 minutes, until the cheesecake is mostly set but still jiggles just a little in the center when shaken. Remove the roasting pan from the oven, then carefully remove the springform pan from the water bath. Let cool to room temperature.
6. Run a sharp knife around the edges of the cake to loosen, the release the sides of the pan. Refrigerate for at least 4 hours before serving.
Expert tips
Bain marie: Using a water bath, or a bain marie, creates a gentle heat the cooks the cheesecake slowly. This is a vital part of creating a rich, creamy texture. Make sure you wrap the pan tightly in foil so that water doesn’t leak in during cooking.
Room temperature ingredients are a must! If you add cold liquids or eggs to the cream cheese, it will clump badly. And once it becomes lumpy, it’s hard to rescue and smooth it out again.
Add the eggs last: This is one of the best pieces of advice I can give for making ANY cheesecake, keto or not. It helps you avoid over-beating the cheesecake mixture, which can cause cracking.
Don’t over-beat: Overly vigorous mixing whips air into cheesecake batter, causing it to rise and puff up, and then fall and crack as it cools. Beat each egg in until just combined and stop right there.
Jiggle it, just a little bit. You know your cheesecake is done when it’s mostly set but the center still jiggles slightly when you shake the pan.
Want to add a crust? If you really want a crust for your keto cheesecake, you can use the shortbread crust from Keto Lemon Cheesecake Bars. Press it into the pan, and pre-bake as directed in that recipe.
Frequently Asked Questions
Most cheesecake recipes have a high sugar content and shouldn’t be consumed on a keto diet. However, with a few minor changes, you can make cheesecake that is very low in carbs. And as it has a high fat content, it’s an ideal keto dessert.
This keto cheesecake recipe has only 2.9g total carbs per serving. This does not include the easy berry sauce or any other toppings or additions.
Absolutely! This cake freezes like a dream. You can freeze the entire cake or cut it into individual slices and freeze those. As always, wrap it up tightly to avoid freezer burn. It will be good for at least 2 months.
There are a number of possibilities. It could be that you over-beat the mixture, so be careful there. It may also be that you didn’t cool it properly before chilling. Once it cools to room temperature, run a sharp knife just around the inside of the pan to loosen it before you release the pan sides. Otherwise the sides will pull the cheesecake apart and cause cracks.
Keto Cheesecake Recipe
Ingredients
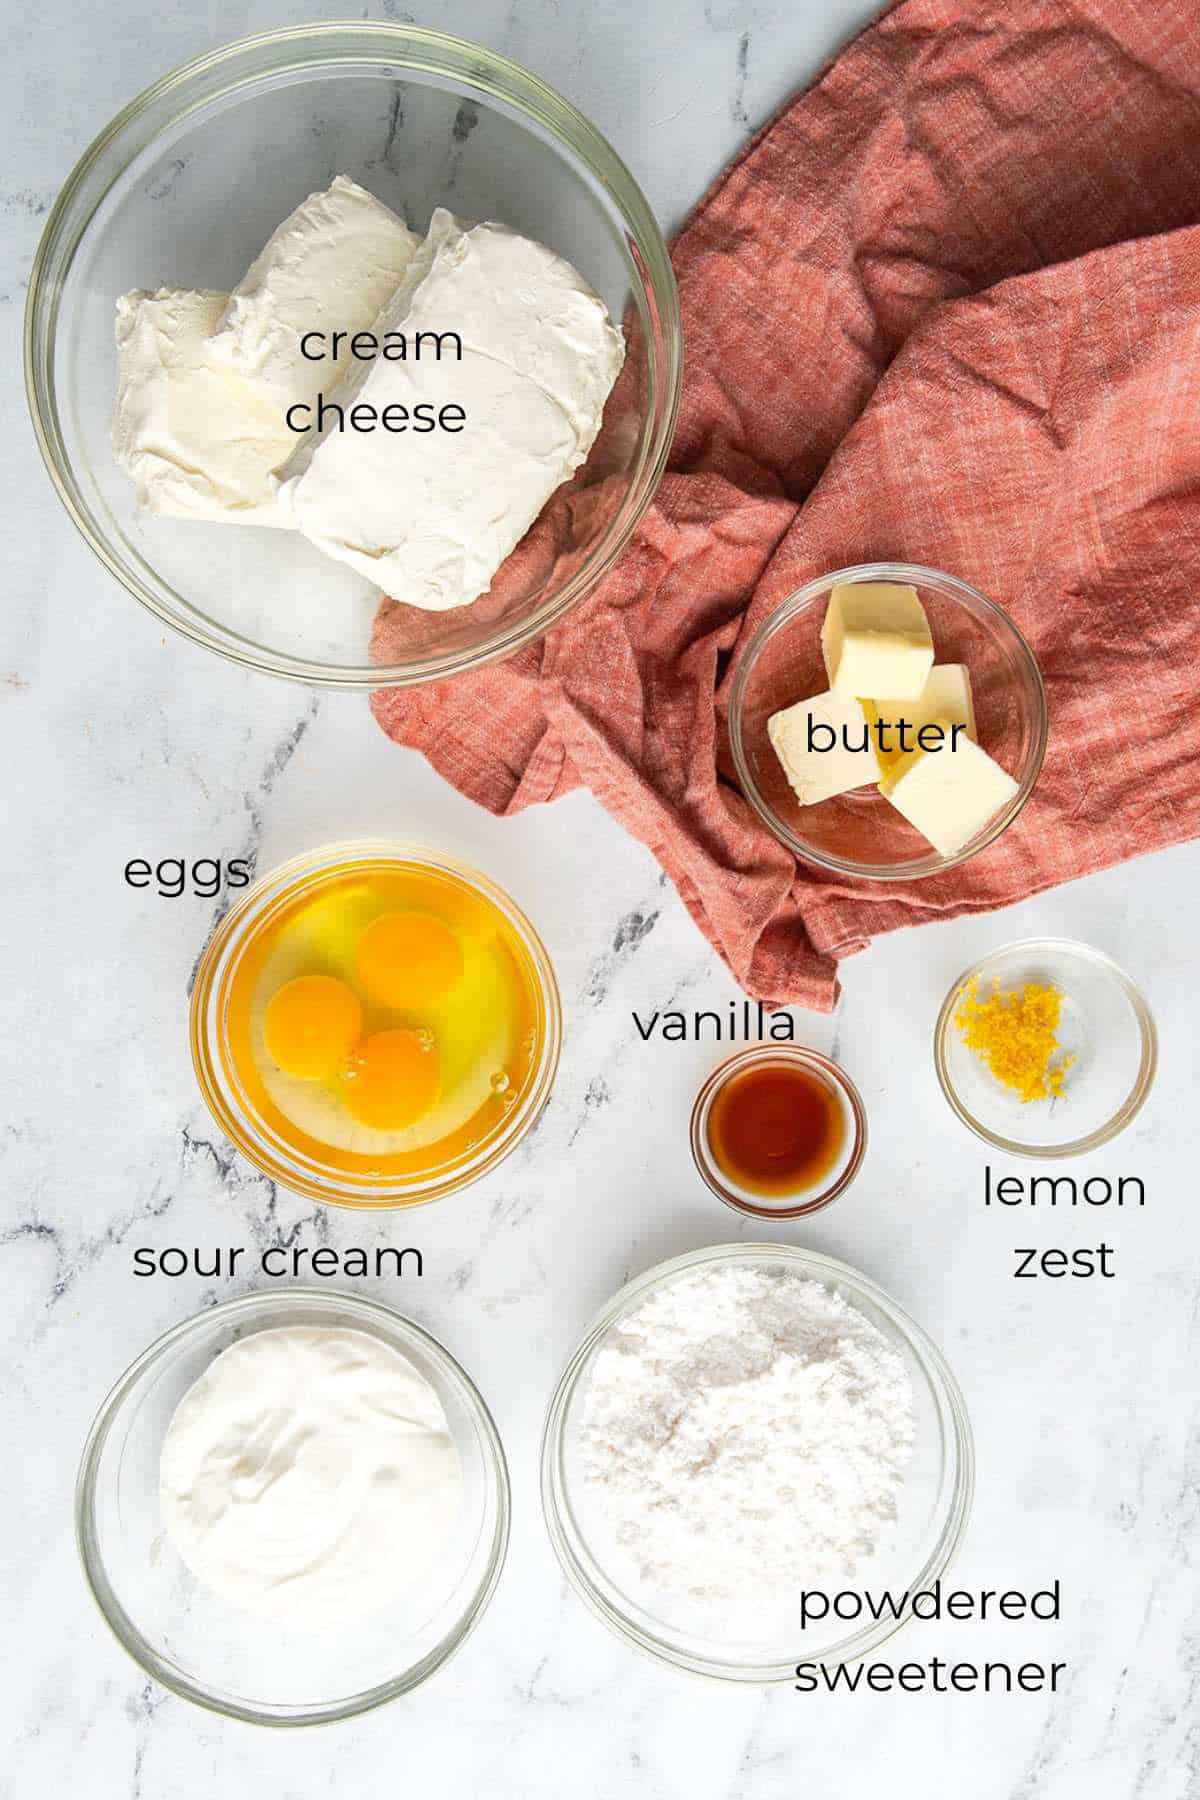
- 24 ounces (680.39 g) cream cheese, softened
- 5 tbsp (71 g) unsalted butter, softened
- 1 cup (182 g) powdered Swerve Sweetener
- 3/4 cup (172.5 g) sour cream, room temperature
- 2 tsp grated lemon zest
- 1 1/2 tsp (1.5 tsp) vanilla extract
- 3 large eggs, room temperature
Instructions
- Preheat the oven to 300F and generously grease a 9-inch springform pan. Cut a circle of parchment to fit the bottom the pan and grease the paper. Wrap 2 pieces of aluminum foil around the outside of the pan to cover the bottom and most of the way up the sides.
- In a large bowl, beat the cream cheese and butter for 1 to 2 minutes, until completely smooth. Then beat in the sweetener until well combined.
- Add the sour cream, lemon zest, and vanilla extract and beat until smooth. Scrape down the beaters and the sides of the bowl as needed.
- Add the eggs, once at a time, beating each until just barely combined. Pour into the prepared springform pan and smooth the top.
- Set the pan inside a roasting pan large enough to prevent the sides from touching. Place the roasting pan in the oven and carefully pour boiling water into the roasting pan until it reaches halfway up the sides of the springform pan.
- Bake 70 to 90 minutes, until the cheesecake is mostly set but still jiggles just a little in the center when shaken. Remove the roasting pan from the one, then carefully remove the springform pan from the water bath. Let cool to room temperature.
- Run a sharp knife around the edges of the cake to loosen, the release the sides of the pan. Refrigerate for at least 4 hours before serving.
Video
Notes
Nutrition
Free Bonus: Secrets to Keto Baking!
Sign up for your favorite recipes delivered straight to your inbox plus get our FREE bonus: Secrets to Keto Baking!




Can I use granulated Swerve in this recipe?
yes, it should be fine.
This has been my GoTo for years and everyone thinks I just leave the crust off to save carbs! They have no idea there is no sugar until I tell them! I use Bocha sweet and it comes out perfectly. Topped with your caramel sauce and whipped cream❤️
I was scared to try to do a regular cheesecake without the instant pot forever. Well I finally did and this is the best cake ever!!!! I do lots of Caroline’s recipes and always like them but this cake just blew my mind. So creamy! Thanks to her tips it did not crack, looked professional lol My review is just WOW! Added the strawberries sauce on top and it was great too.
My grandmother made the worlds best crustless cheesecake. This is the closest recipe I’ve found that is sugar and gluten free. Brings back wonderful memories.
Less sweet than regular cheesecake. I loved it.
Hi, great recipe! I made all the mistakes and got a very lumpy result, but it is so tasty. I wanted to let you know that I cooked it in the Instant Pot, in the Instant Pot cheesecake pan that has a glass bottom and silicone sides. I gave it 30 minutes on the manual setting and let it release naturally until I remembered it.
The Instant Pot pan is only 7″ diameter, so it was a bit deeper than if I had baked it in a regular springform pan in the over.
I was wondering if this could have a crust of some sort
Hi! Please read the Expert Tips section where I offer a suggestion for a crust.
Sooooo good. I followed the recipe exactly and it came out perfectly! I froze mine in individual portions so now I have a delicious keto dessert whenever I have a craving.
So glad you liked it!
Wondering if any way to chocolate it up? cocoa? melted chocolate swirled? my husband loves chocolate.
Make her Death By Chocolate cheesecake on the website.
Yet again, another fabulous recipe. I’m thinking I’d like to use my mini cheesecake pans and give it a try. How long would I cook them?
I really don’t know, you will need to experiment and watch them. I haven’t made this as a mini.
Easy & Delicious -😋
Glad you like it!
I would love to make this recipe, but I do not have a springform pan. Is there something else I can use instead?
No, not really. Cheesecake requires a springform pan because it’s too fragile and soft to be flipped out like regular cake.
Made this for the first time for Christmas dessert. I did use powdered Swerve. It turned out perfect!
Hi my husband does not like the taste of any sugar free sweetner but splenda. Is there a way to substitute with granulated splenda?
You’re welcome to try. I don’t use it at all.
I actually tried both! He liked the one with Swerve much better! I had to use 2 cups of the granulated Splenda to get the right taste, it came out fine but not as good!! Thank you for the awesome recipe, I will definitely make this again in the future.
That’s great to hear…. but I am just impressed that you made two of them!
Would substituting lime zest and adding a little lime juice work also ?
Sure!
My cheesecake turned out really good. I’m really proud of my first try. I won’t be intimidated by cheesecake anymore, lol. Thank you so much for sharing all your wonderful recipes!
Yay, I am so glad you got outside your comfort zone and tried it out!
This is the first time I have made this cheesecake. After I cool to room temperature do I flip upside down onto a serving plate and remove the ring and bottom of pan before chilling for 4 hours, or do I leave it on the bottom pan and serve. I hope I am making sense, lol.
Hi Fonda! Definitely don’t flip it out – you want the top to stay as the top. Once it cools, refrigerate it still on the bottom part of the pan. You can loosen the sides after running a sharp knife around them, but you can tighten them back up to protect it if you want. Or you can remove them and chill it just on the bottom. Once it’s fully chilled, it will be firmer. Then, as long as you lined the bottom with parchment, you can slide a big spatula or two underneath the parchment and gently move it to a platter. Or you can just serve right from the bottom of your pan!
Carolyn, thank you for responding back so quickly. I’m just about to put it into the fridge. I decided to cool in the pan in the fridge. I just hope it turns out good. This is my first time make a cheesecake from scratch. Keep your fingers crossed, lol!
As long as you already ran the sharp knife around it, you should be good to go!
Wanting to try this but wondering if lemon juice can be substituted for the peel/rind? We aren’t usually a fan of rind but didn’t know if the juice would cause issues or how much. Has anyone tried?
Just add a tablespoon or so, it should be fine.
It was amazing, I loved it! Thank you for this and all you do,
So glad you enjoyed it!
Can I make this recipe in a slow cooker?
I am sorry, I haven’t tried this recipe in a slow cooker so I can’t advise.
Have you done this one with your pressure cooker instructions?
I have not. This cake is too large so if you do try it, you need to cut it down in size.