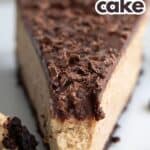
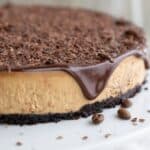
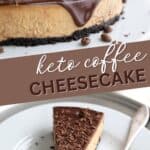
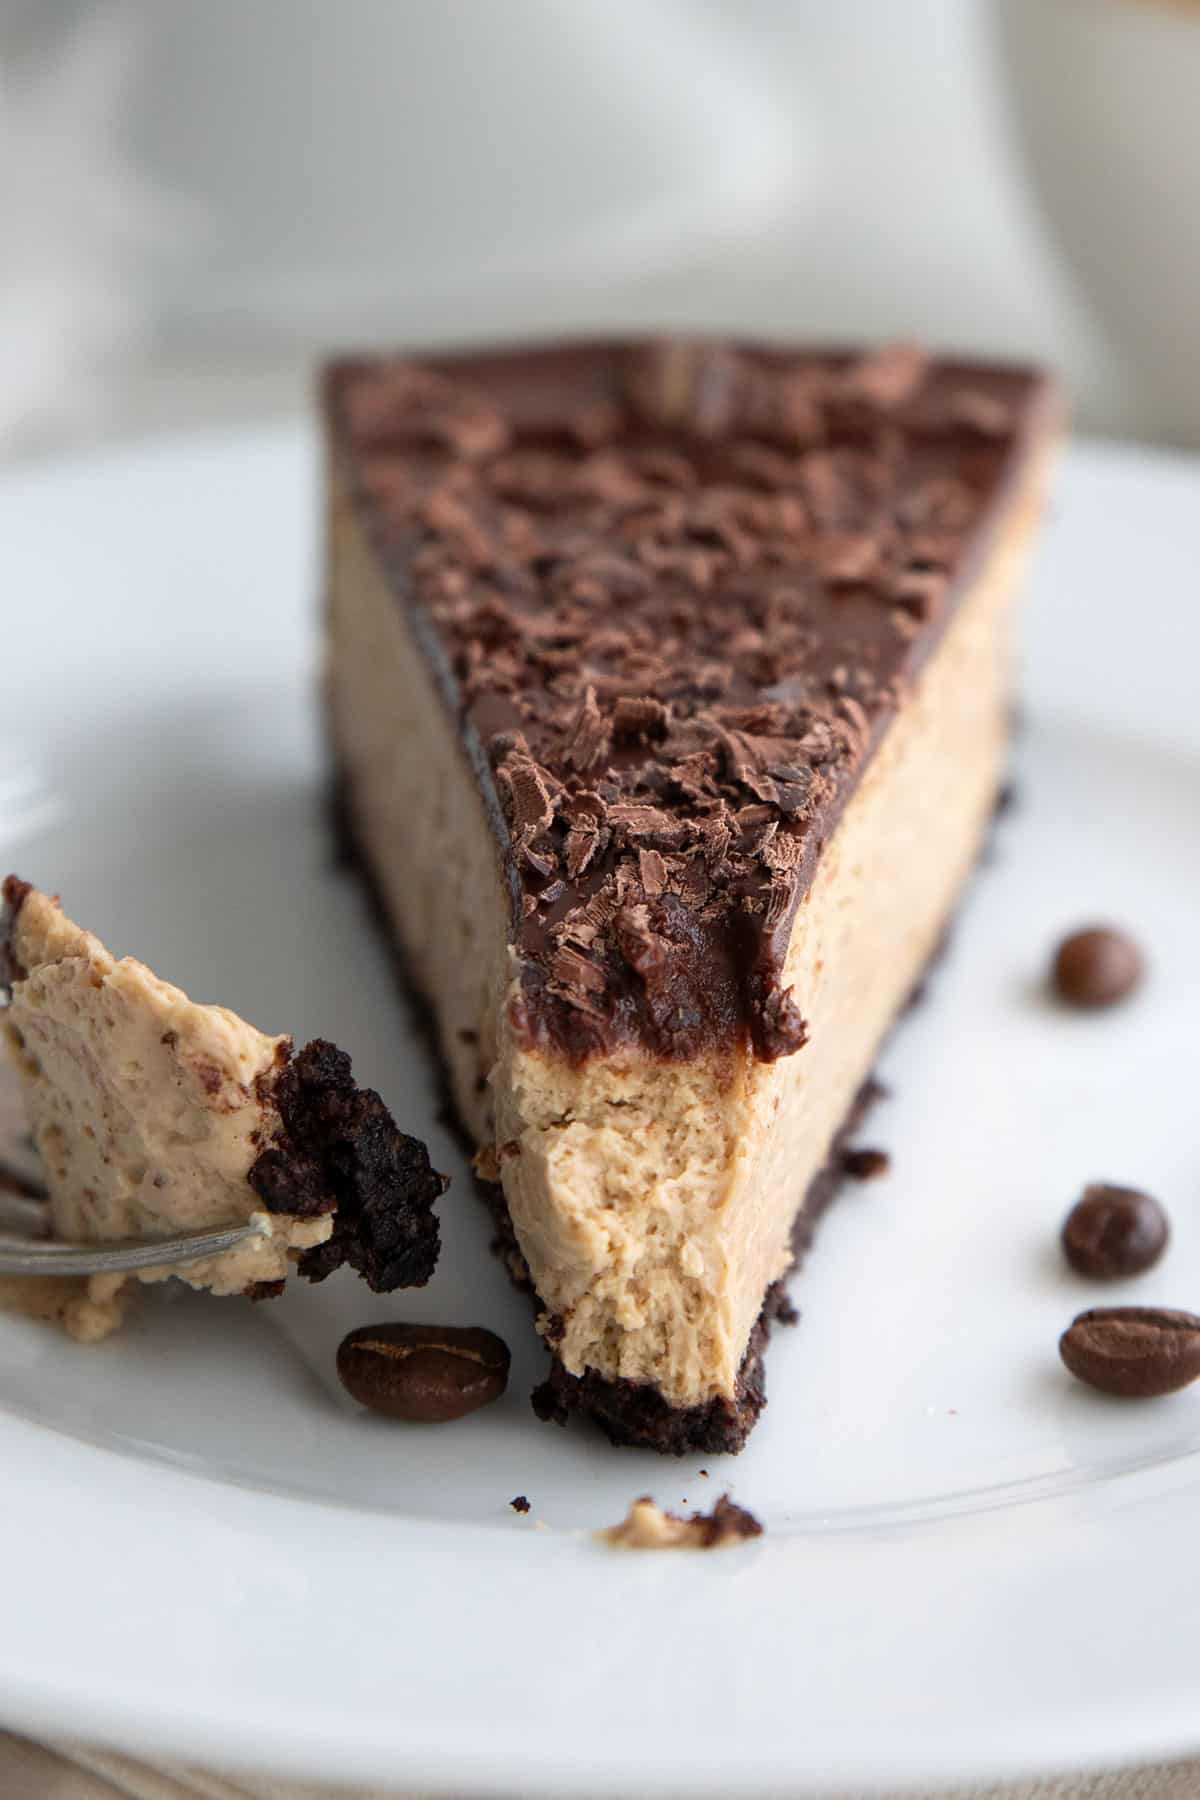
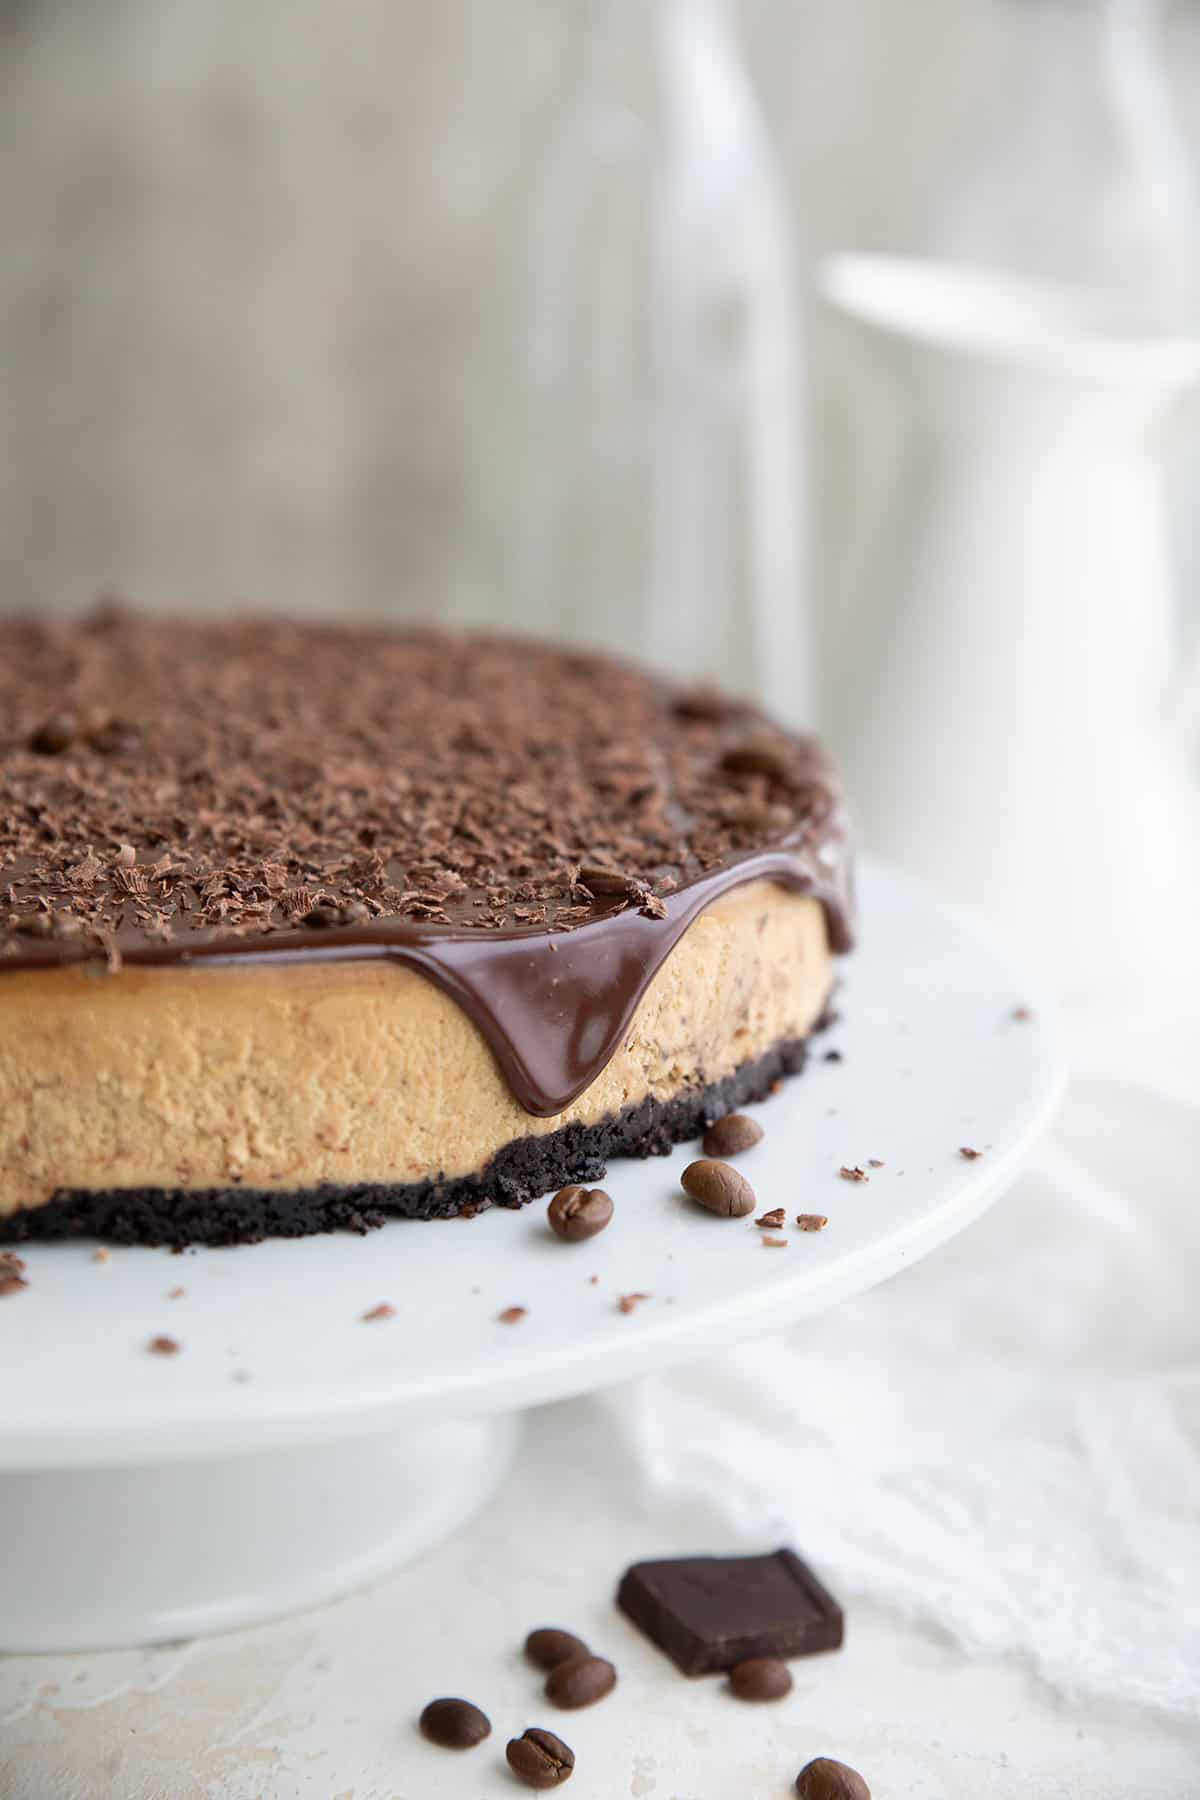
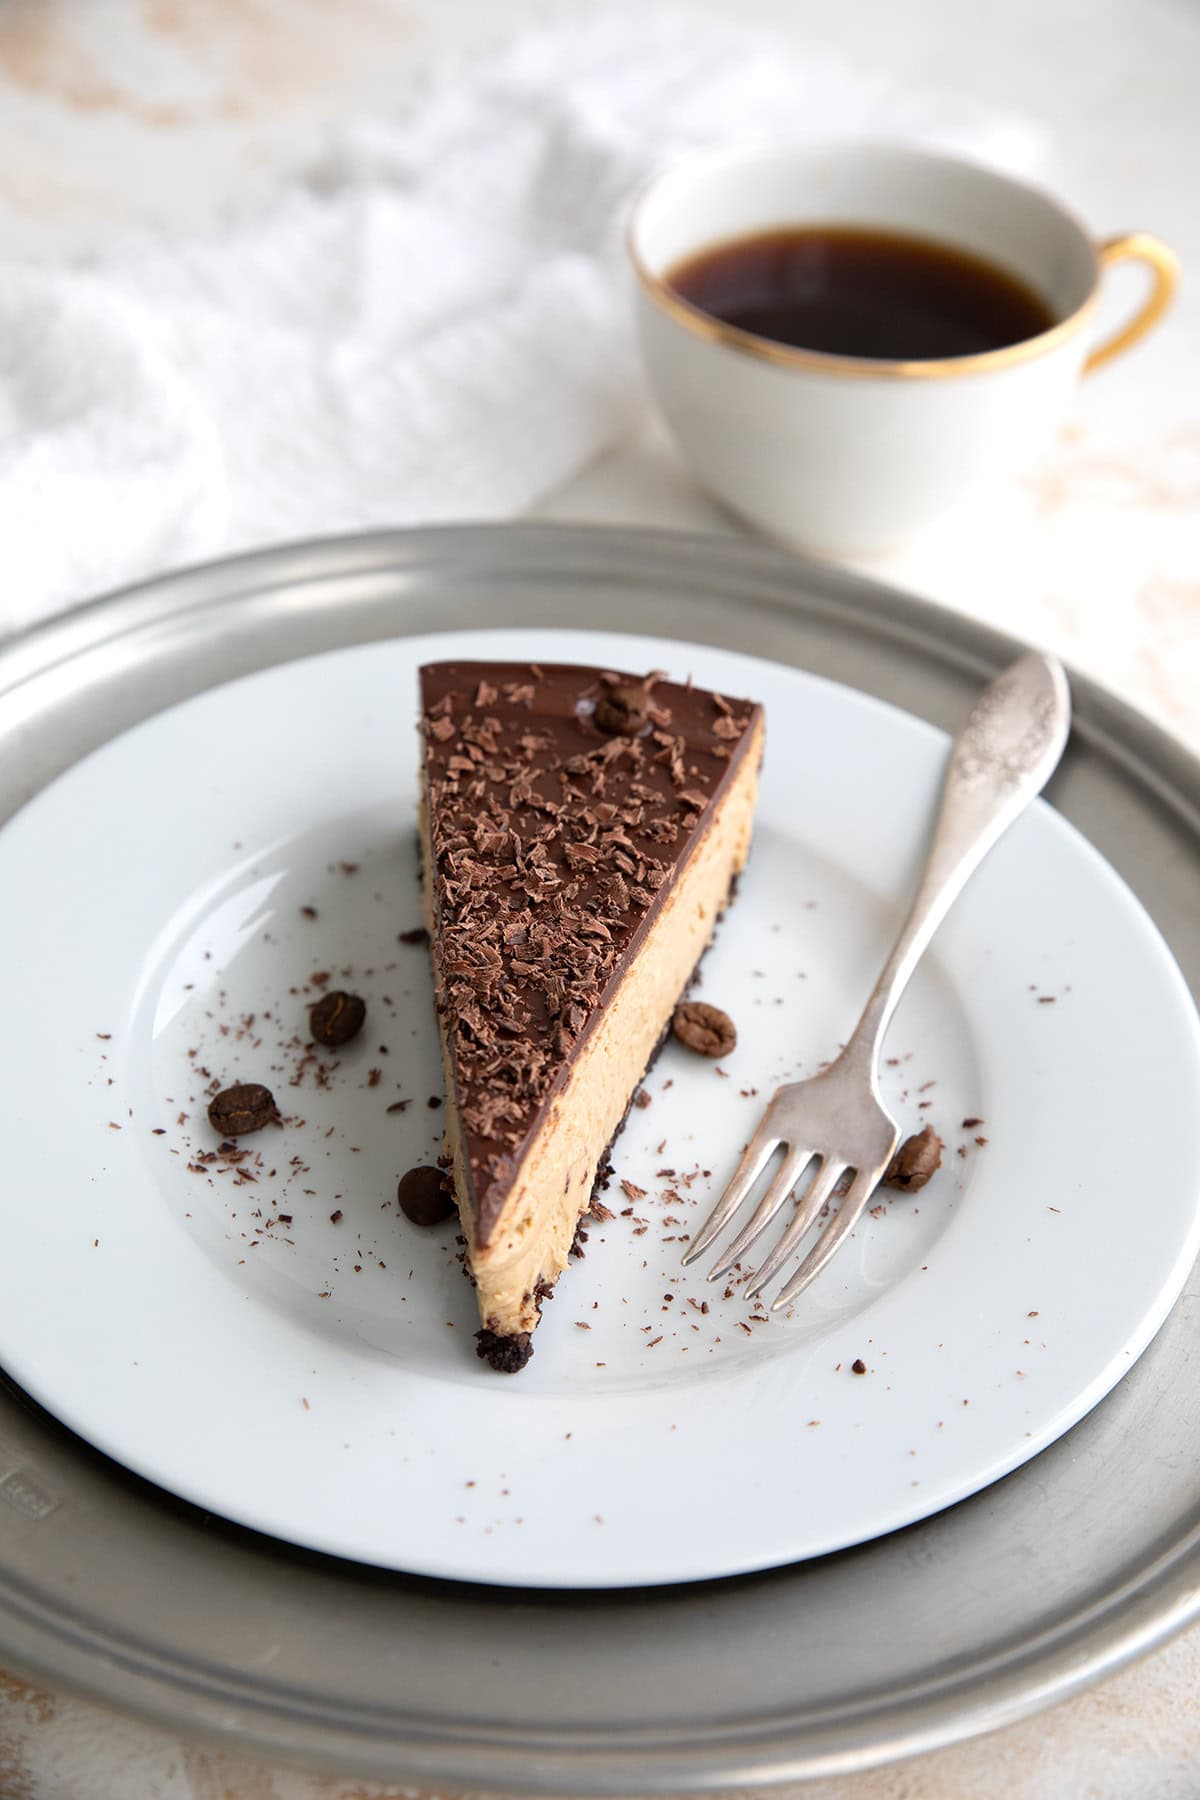
The creamiest, dreamiest coffee cheesecake with a chocolate crust and a rich chocolate glaze. Would you believe it’s low carb and keto-friendly? Oh, but it is!
I have been hard at work and I deserve a little treat. Actually, I deserve a big treat. And I deserve to take a moment for myself and enjoy not only the treat, but the process of making it.
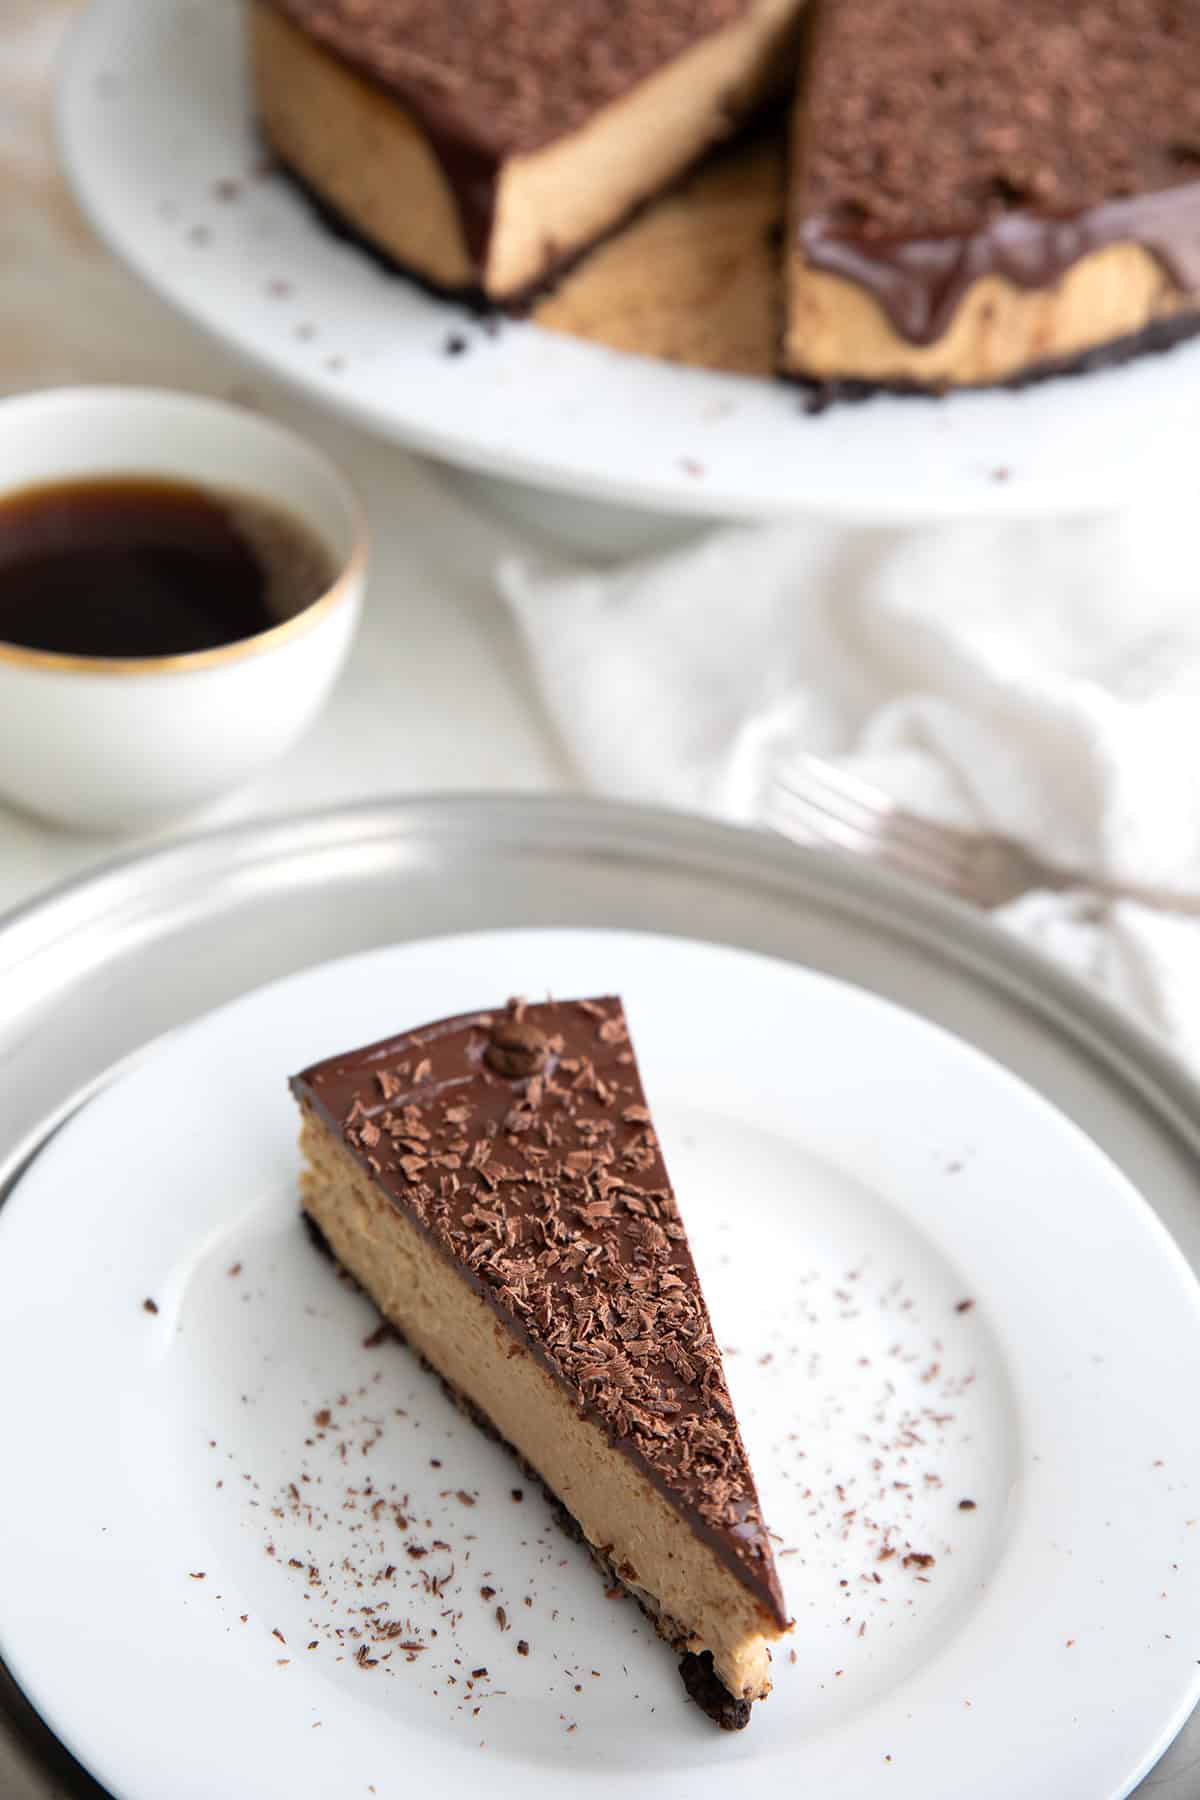
Which is exactly what I did with this Keto Coffee Cheesecake, and I savored every moment. See, I’ve been super hard at work on the recipes and manuscript for an upcoming cookbook. And as always, I hit that point where I am ready to be done with it.
So I decided to take a break and make something I really want to make. I’ve had this idea for chocolate and espresso cheesecake for ever so long and it was time to execute.
It was just what my mental health, and my tastebuds, needed!
Why you will love this recipe
Cheesecake can come in so many delicious flavors and formats. And despite its reputation, it really isn’t that hard to make. It is a bit time consuming, but much of that time is inactive, while it’s baking or chilling.
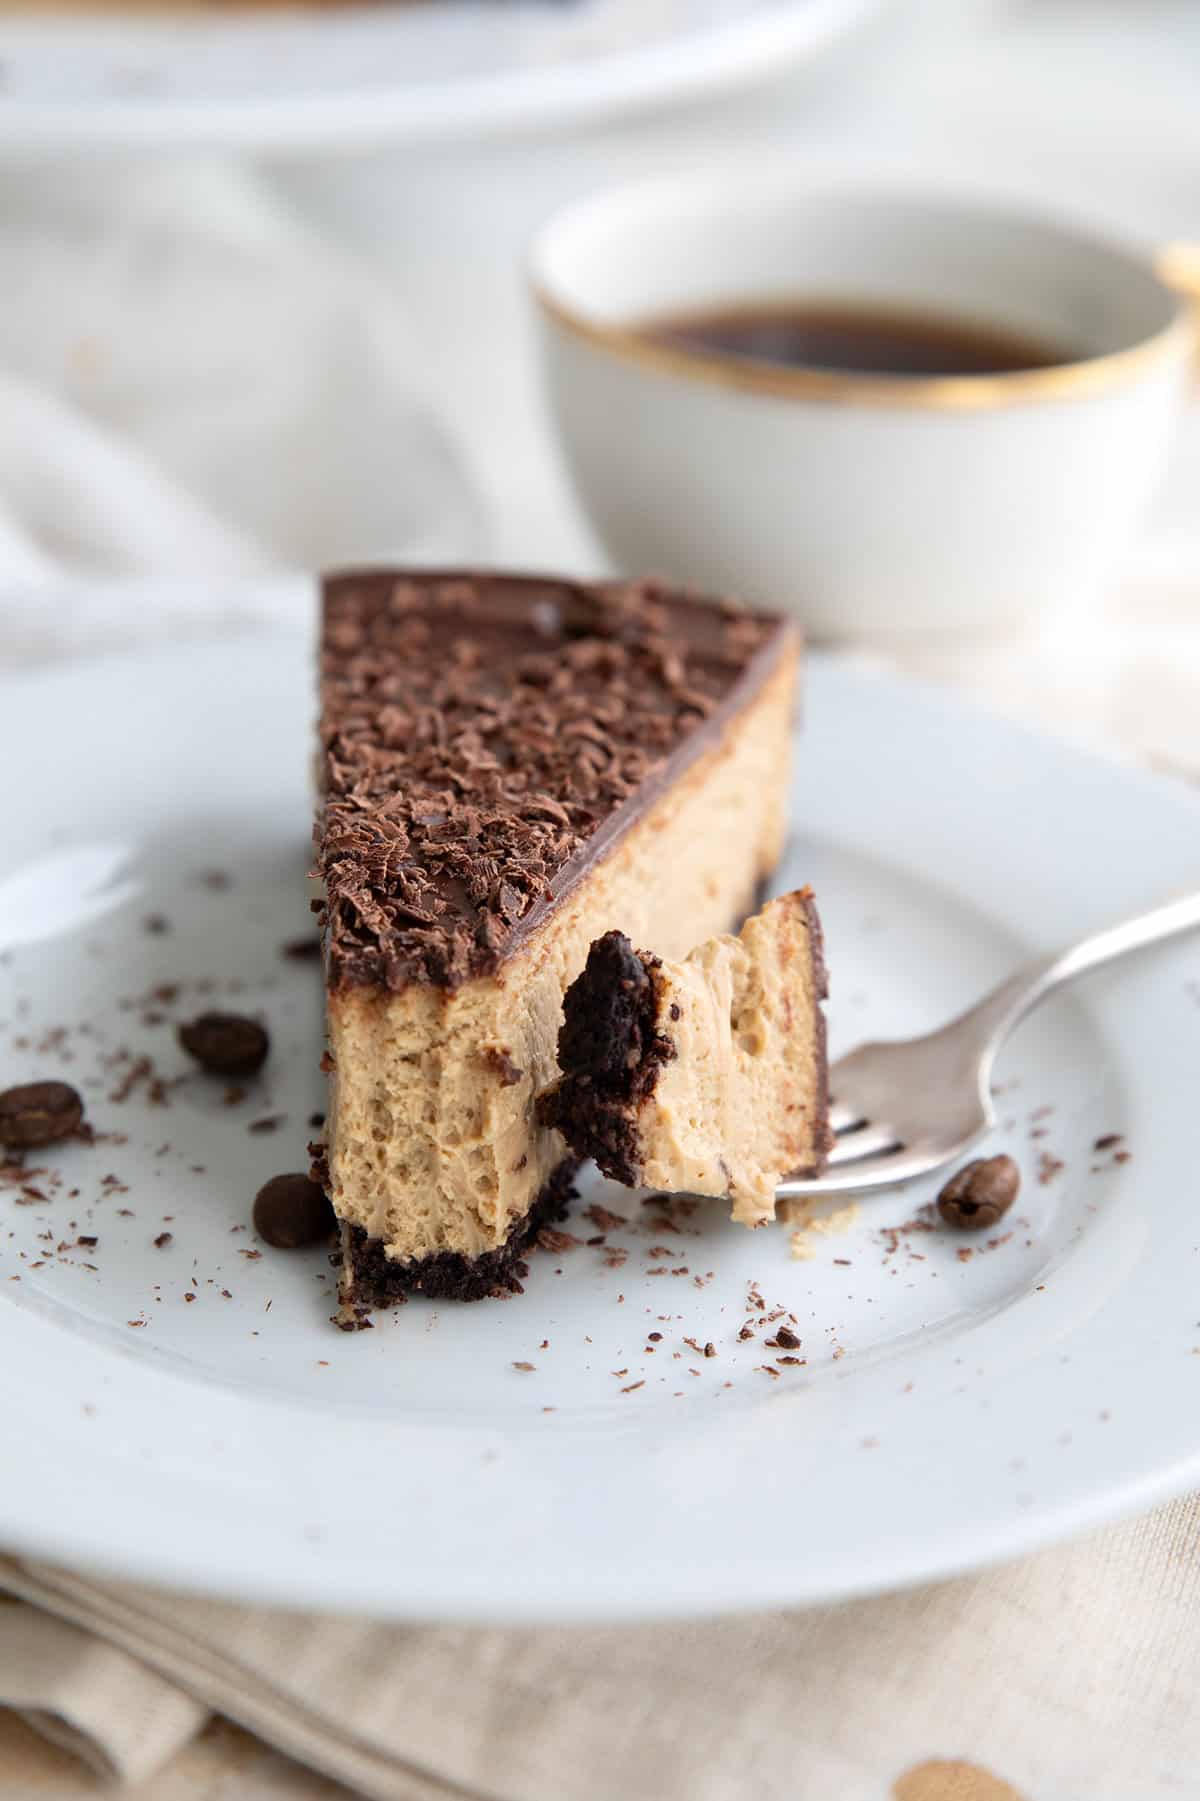
Over the years, I have learned a few tricks for making super creamy keto cheesecake, so make sure you read all my tips and take the time to do it right. I’ve used these same tricks in recipes like Keto Dulce de Leche Cheesecake and Keto Chocolate Cheesecake and they work their magic every time.
And while this cake may look like a sugary, high carb confection, rest assured that it fits nicely into your keto diet. Each slice has only 3.6g net carbs per serving. How dreamy is that?
Ingredients you need
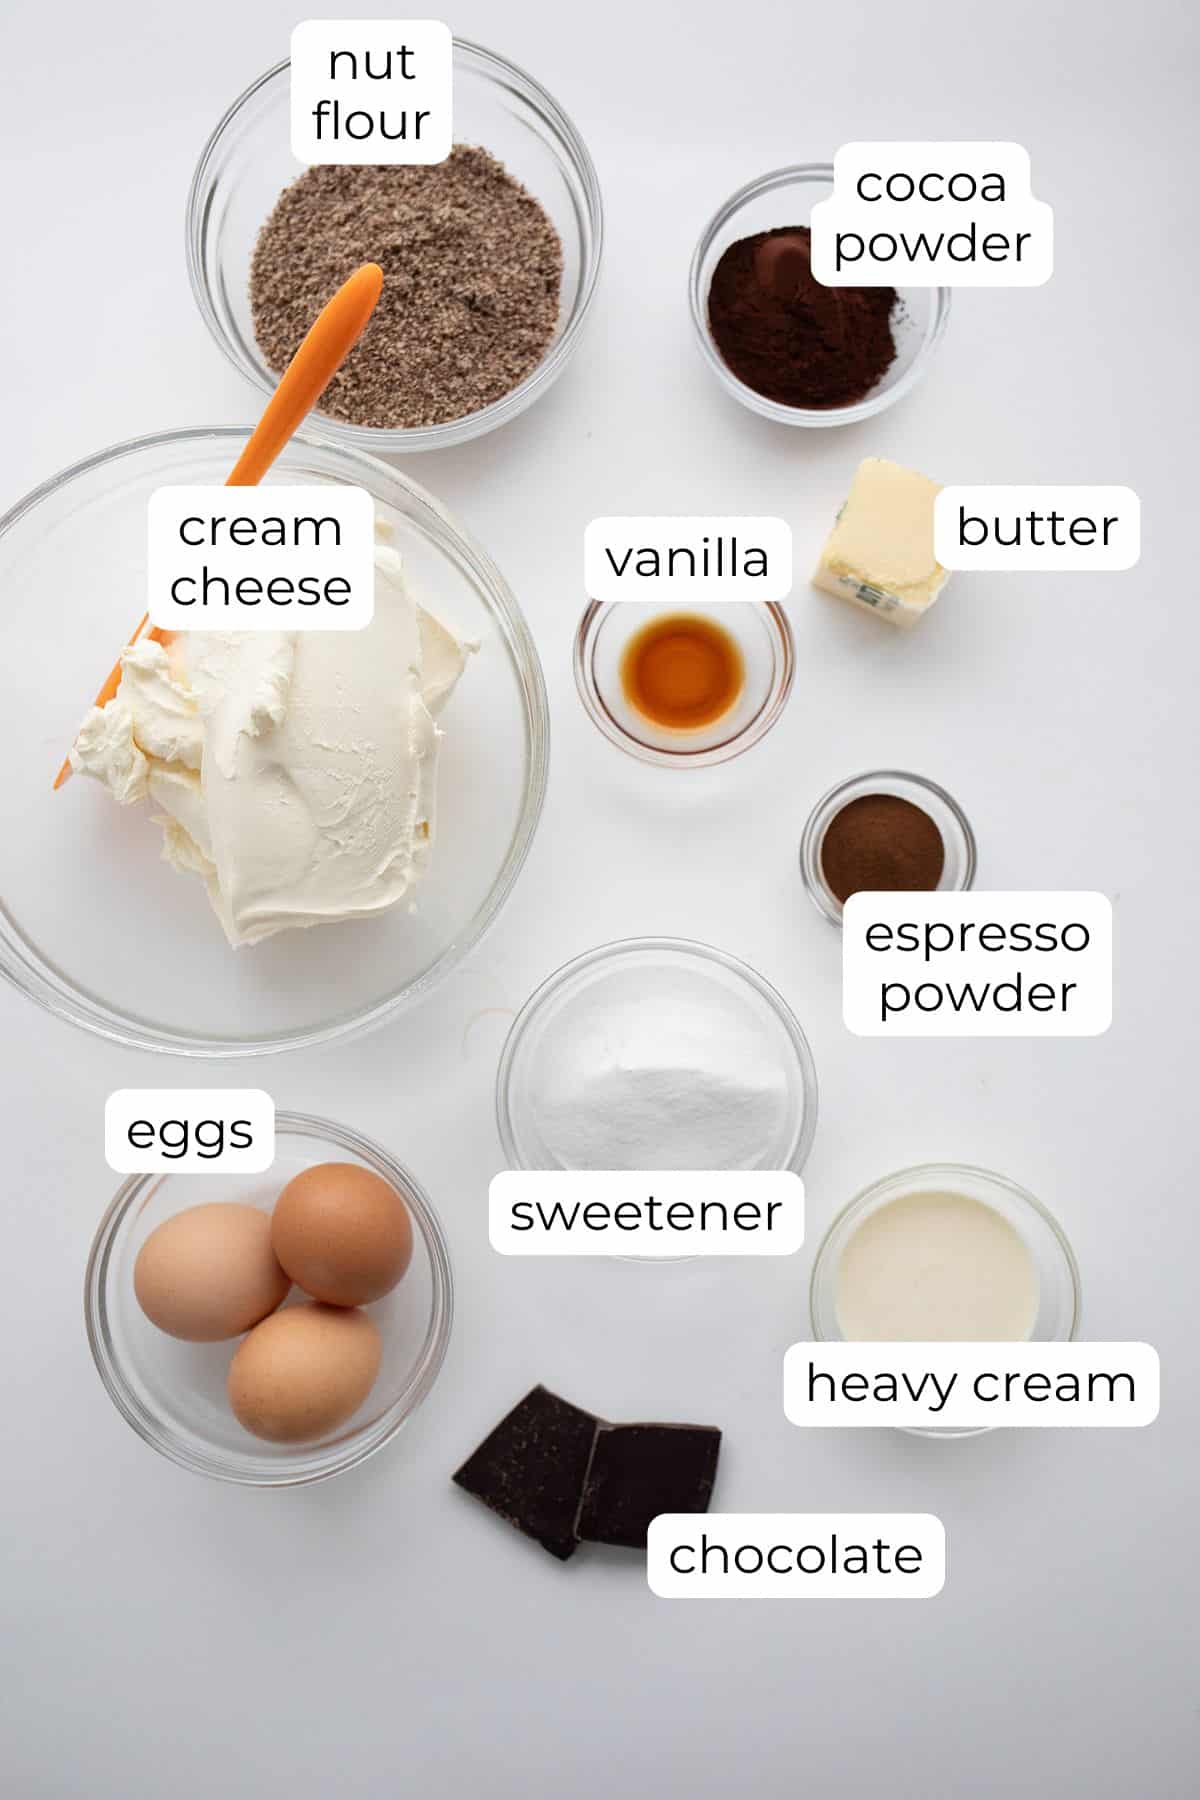
- Pecan flour: You can really use any nut or seed meal for this crust. You can also make your own sunflower seed flour for a nut-free version.
- Cocoa powder: Dutch process cocoa imparts a deeper, richer chocolate flavor.
- Sweetener: The crust really requires an erythritol based sweetener, but the filling and topping can be made with your favorites. Check out the Tips for Success section for more information.
- Heavy whipping cream: A little heavy cream smooths out the filling and makes the cheesecake even creamier. You also need it to make the chocolate glaze.
- Espresso powder: I really like the espresso powder from King Arthur Baking. You can also use Starbucks Via Packs, and the decaf packets works well if you don’t want the added caffeine.
- Full fat cream cheese: Good organic cream cheese such as Organic Valley has only 1g carbs per serving (1 oz), and the USDA listing for cream cheese indicates that it has 1.2g carbs per ounce.
- Eggs: Make sure they are room temperature to keep the cream cheese mixture from clumping up.
- Sugar free chocolate: You can also use Lily’s or ChocZero chocolate chips.
- Pantry staples: Butter, vanilla extract, and salt
Step by step directions
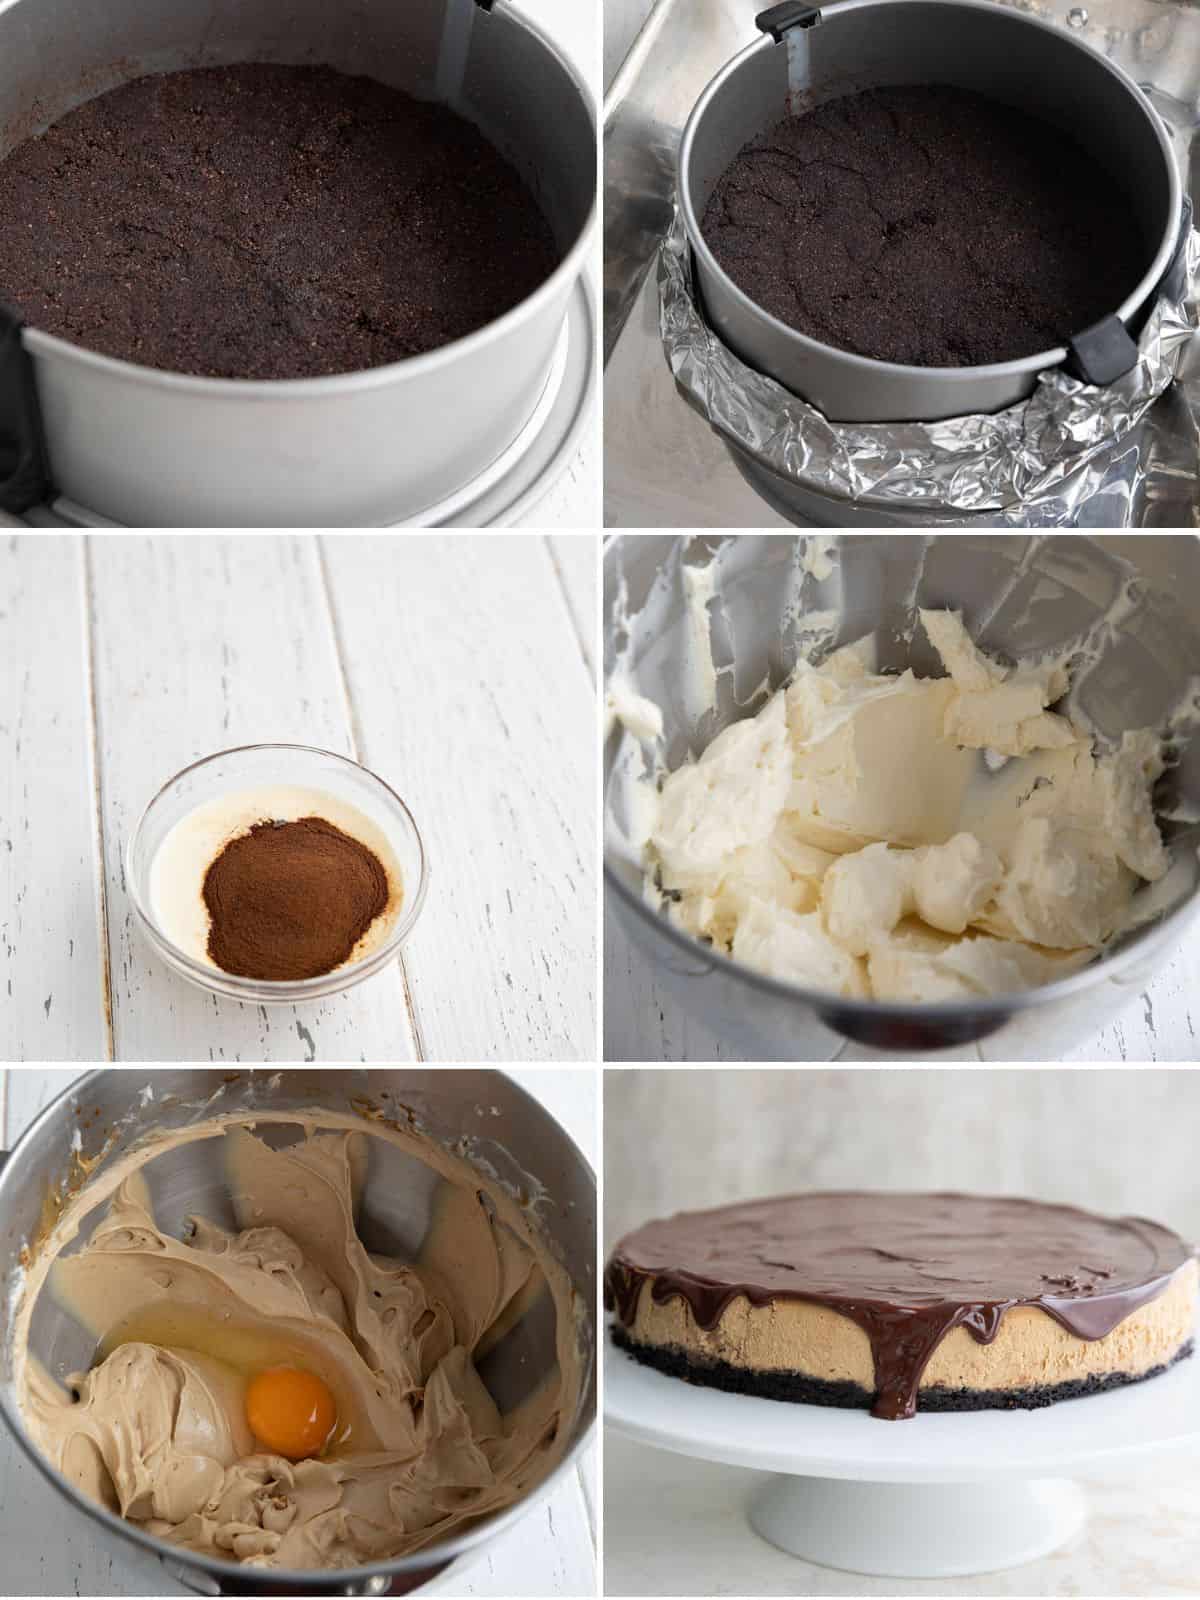
1. Prepare the crust: In a medium bowl, whisk together the pecan flour, cocoa powder, sweetener, and salt. Stir in the melted butter until well combined. Press the crust mixture firmly into the bottom of a greased 9-inch springform pan that has been lined with parchment.
2. Bake the crust: Bake at 325ºF for 10 minutes, and then remove and reduce the oven temperature to 300ºF. Once cool wrap the bottom of the pan in tin foil so that the foil reaches about halfway up the sides of the pan.
3. Prepare the coffee: In a small bowl, whisk together the cream and espresso powder until well combined.
4. Beat the cream cheese. In a large bowl, beat the cream cheese on medium for 1 to 2 minutes, until super creamy. Beat in the sweetener and vanilla extract until well combined. Add the cream and espresso mixture and beat in until combined. Taste the mixture and adjust sweetener and coffee flavor as desired.
5. Add the eggs: Beat in the eggs one at a time until just barely incorporated, scraping the beaters, and the bottom and sides of the bowl in between. Pour the filling into the pan and gently shake from side to side to even it out. Tap lightly on the counter to release any air bubbles.
6. Bake the cheesecake: Place the whole pan inside a large roasting pan and fill with hot water to reach partway up the sides of the pan (do not allow it to go over the foil). Bake 70 to 90 minutes, until the cheesecake is mostly set but still jiggles slightly in the center when shaken. Remove and let cool to room temperature, then refrigerate for 2 to 3 hours to set. Run a sharp knife around the inside of the pan to loosen and remove the sides.
7. Prepare the glaze: In a medium saucepan over medium heat, whisk the cream and allulose together and bring to just a simmer. Remove from heat and add the chopped chocolate. Let sit 5 minutes to melt, then whisk until smooth.
8. Glaze the cake: Let sit a few minutes to thicken, then pour over the top of the chilled cheesecake, spreading to the edges and allowing some to drip down the sides. Return to the fridge for 30 minutes to help set the glaze.
Tips for Success
I have several tips for you to make your cheesecake super smooth and creamy. The first, and perhaps the most important, is to have all of your ingredients at room temperature. It does no good to get the cream cheese all smooth and then add cold eggs and see it clump up again.
My second tip is to beat the cream cheese on its own for 1 to 2 minutes first, until it’s super creamy and smooth. Don’t add anything else until this is done.
My final tip is to add the eggs at the very end, one at a time. Beat each one until just combined. Before you add them, you can taste and adjust the filling for sweetness and flavor.
Sweetener options
I highly recommend an erythritol sweetener for the base, so that it firms up properly. But for the filling, you can use allulose, erythritol, stevia, or a combination. I don’t recommend stevia on its own, as it can be quite bitter. I used half a cup of allulose and 1/4 cup of erythritol. Then I added a touch of extra sweetness with some stevia extract.
The topping takes sugar-free chocolate such as Lily’s or ChocZero. But to keep the glaze nice and shiny, I added 1 tablespoon of allulose to the cream before simmering.
Frequently Asked Questions
It’s easy to make a rich, sugar-free chocolate ganache. You simply simmer some cream and add chopped sugar-free chocolate. However, the glaze can go a little dull in the refrigerator, especially if the chocolate is made with erythritol. I like to use a little allulose to offset this and keep the glaze glossy.
This keto coffee cheesecake recipe has 5.6g of carbs and 2.0g of fiber per serving. That comes to 3.6g net carbs per slice.
Store the cheesecake in the fridge, tightly wrapped, for up to a week. You can also freeze it for several months. If you plan on making it ahead for a party, I recommend leaving the ganache off until a few hours before you serve it, so it stays glossy.
Keto Coffee Cheesecake
Equipment
Ingredients
Crust
- 1 1/4 cups (123.75 g) pecan flour, or another nut or seed meal
- 3 tbsp (15.22 g) cocoa powder
- 3 tbsp (30.43 g) Swerve Sweetener
- 1/4 tsp salt
- 1/4 cup (56.75 g) butter, melted
Filling
- 1/3 cup (78.86 ml) heavy whipping, room temperature
- 1 tbsp espresso powder
- 24 ounces (680.39 g) cream cheese, well softened
- 1/2 cup (100 g) allulose
- 1/4 cup (50 g) erythritol sweetener
- 1 tsp vanilla extract
- 3 large eggs, room temperature
Chocolate Glaze
- 1/2 cup (118.29 ml) heavy whipping cream
- 2 ounces (56.7 g) sugar-free dark chocolate, chopped
- 1 tbsp allulose
Instructions
Crust
- Lightly grease a 9-inch springform pan and line the bottom with a 9 inch circle of parchment paper.
- Preheat the oven to 325ºF. In a medium bowl, whisk together the pecan flour, cocoa powder, sweetener, and salt. Stir in the melted butter until well combined.
- Press mixture firmly into the bottom of the prepared pan. Bake 10 minutes, and then remove and reduce the oven temperature to 300ºF.
- Once cool wrap the bottom of the pan in tin foil so that the foil reaches about halfway up the sides of the pan.
Filling
- In a small bowl, whisk together the cream and espresso powder until well combined.
- In a large bowl, beat the cream cheese on medium for 1 to 2 minutes, until super creamy. Beat in the sweetener and vanilla extract until well combined.
- Add the cream and espresso mixture and beat in until combined. Taste the mixture and adjust sweetener and coffee flavor as desired.
- Beat in the eggs one at a time until just barely incorporated, scraping the beaters, and the bottom and sides of the bowl in between.
- Pour the filling into the pan and gently shake from side to side to even it out. Tap lightly on the counter to release any air bubbles. Place the whole pan inside a large roasting pan and fill with hot water to reach partway up the sides of the pan (do not allow it to go over the foil).
- Bake 70 to 90 minutes, until the cheesecake is mostly set but still jiggles slightly in the center when shaken. Remove and let cool to room temperature, then refrigerate for 2 to 3 hours to set.
- Run a sharp knife around the inside of the pan to loosen and remove the sides.
Chocolate Glaze
- In a medium saucepan over medium heat, whisk the cream and allulose together and bring to just a simmer. Remove from heat and add the chopped chocolate. Let sit 5 minutes to melt, then whisk until smooth.
- Let sit a few minutes to thicken, then pour over the top of the chilled cheesecake, spreading to the edges and allowing some to drip down the sides.
- Return to the fridge for 30 minutes to help set the glaze.
Nutrition
Nutritional Disclaimer
Please note that I am not a medical or nutritional professional. I am simply recounting and sharing my own experiences on this blog. Nothing I express here should be taken as medical advice and you should consult with your doctor before starting any diet or exercise program. I provide nutritional information for my recipes simply as a courtesy to my readers. It is calculated using MacGourmet software and I remove erythritol from the final carb count and net carb count, as it does not affect my own blood glucose levels. I do my best to be as accurate as possible but you should independently calculate nutritional information on your own before relying on them. I expressly disclaim any and all liability of any kind with respect to any act or omission wholly or in part in reliance on anything contained in this website.
Free Bonus: Secrets to Keto Baking!
Sign up for your favorite recipes delivered straight to your inbox plus get our FREE bonus: Secrets to Keto Baking!


Hi. What’s the point of wrapping the pan with the tin foil? I worry that water will seep into the cheesecake pan as my foil isn’t wide enough to completely envelop the bottom.
I love your recipes and have been a fan for a long time, but I really really wish you’d stop advocating erythritol. There is SO much scientific evidence that it is a serious health hazard! Raises risk of heart attacks and also cognitive decline! With so many people following your advice, you have a responsibility to check this out.
I do not “advocate” for erythritol… I recommend the sweetener that works best for the right outcome. I have made it abundantly clear that I will do my best to give as many options as possible. If you bothered to read the full blog post, you would see I discuss this in several places.
I also have posted my thoughts on the studies concerning heart health. https://alldayidreamaboutfood.com/is-erythritol-safe/
I am doing my best here. You have to choose for yourself based on all the available information.
I made this cake for my husband’s birthday. Of course it doesn’t look as pretty as yours but my husband loved it. I haven’t found a recipe we don’t like HA!HA!
Great to hear!